Casio WK-6500 User Guide - Page 72
Use the R-17
 |
View all Casio WK-6500 manuals
Add to My Manuals
Save this manual to your list of manuals |
Page 72 highlights
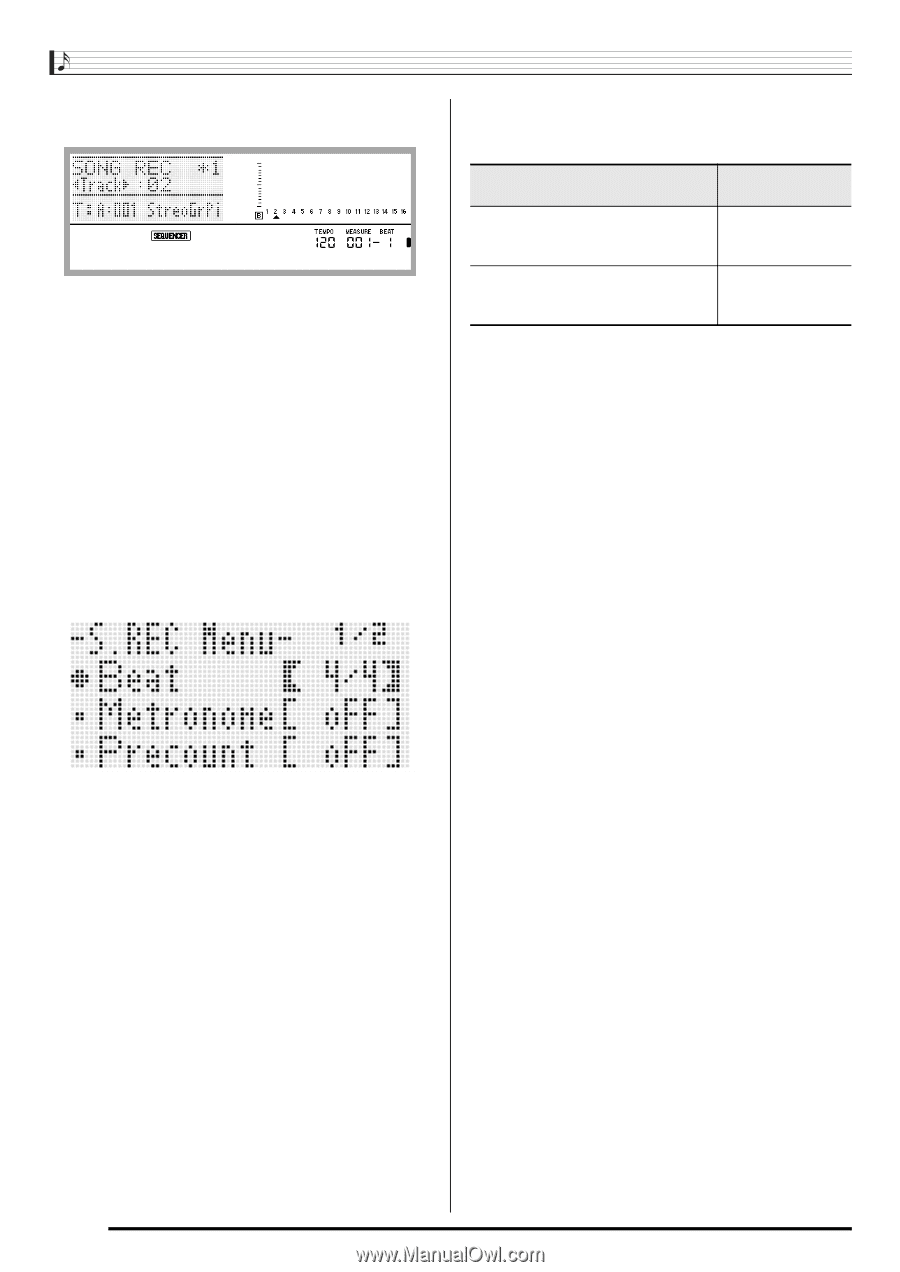
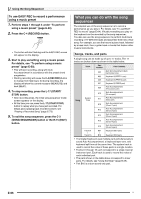
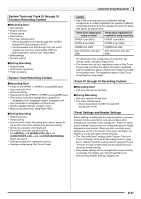
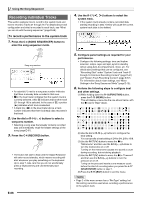
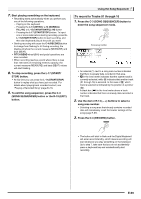
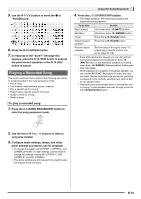
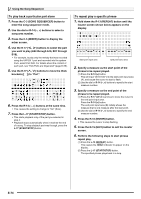
Using the Song Sequencer 4. Use the R-17 (u, i) buttons to select a track (Track 01 through Track 16). 5. Configure panel settings as required for your performance. • Configure the following settings: tone selection, tempo, mixer settings, etc. For details about settings that can be configured, see "Recording Start" under "System Track and Track 01 through 16 Common Recording Content" (page E-67) and "Track 01 through 16 Recording Content" (page E-67). For information about mixer settings, see "Mixer Settings in the Song Sequencer Mode" (page E-72). 6. Perform the following steps to configure beat and other settings. (1) While holding down the R-13 (FUNCTION) button, press the C-13 (MENU) button. This will display a menu like the one shown below, with the 0 next to "Beat" (beat). (2) Use the dial or R-14 (-, +) buttons to configure the beat setting. You can specify a beat setting of 2/4 to 8/4, 2/8 to 16/8. (3) Use the R-17 (y) button to move the 0 to "Metronome" and then use the R-14 (-, +) buttons to turn the metronome on or off. Turning on the metronome causes it to count a count during recording, but not during playback. (4) Use the R-17 (y) button to move the 0 to "Precount" and then use the R-14 (-, +) buttons to turn the precount on or off. Turing on the precount inserts a one-measure count before the start of recording when you press the L-17 (START/STOP) button in step 7. (5) Use the R-17 (y) button to move the 0 to "RecType", and then use the R-14 (-, +) buttons to select "REPL" or "OVDB". When you want to perform this type Select this of recording: RecType option: Delete any data currently existing in REPL (Replace) the track being recorded to and start a new recording. Overdub any data currently existing in OVDB (Overdub) the track being recorded to with the new recording. (6) Press the R-15 (EXIT) button to exit the menu. 7. Start playing something on the keyboard. • This will start recording and cause the C-4 (RECORD) button to change from flashing to lit. During recording, the display will show the current measure (MEASURE) and beat (BEAT). • To input one or more rests before starting recording, press the L-17 (START/STOP) button to start recording, and then start keyboard play at the point you want. • PITCH BEND wheel (S-1) and pedal operations are also recorded. • When recording reaches a point where there is less than 100 notes of remaining memory capacity, the current measure (MEASURE) and beat (BEAT) values will start flashing. 8. To stop recording, press the L-17 (START/ STOP) button. • At this time you can press the L-17 (START/STOP) button to replay what you have just recorded. For details about playing back recorded content, see "Playing a Recorded Song" (page E-73). 9. To exit the song sequencer, press the C-3 (SONG SEQUENCER) button or the R-15 (EXIT) button. E-70
-
 1
1 -
2
-
3
-
4
-
5
-
6
-
7
-
8
-
9
-
10
-
11
-
12
-
13
-
14
-
15
-
16
-
17
-
18
-
19
-
20
-
21
-
22
-
23
-
24
-
25
-
26
-
27
-
28
-
29
-
30
-
31
-
32
-
33
-
34
-
35
-
36
-
37
-
38
-
39
-
40
-
41
-
42
-
43
-
44
-
45
-
46
-
47
-
48
-
49
-
50
-
51
-
52
-
53
-
54
-
55
-
56
-
57
-
58
-
59
-
60
-
61
-
62
-
63
-
64
-
65
-
66
-
 67
67 -
 68
68 -
 69
69 -
 70
70 -
 71
71 -
 72
72 -
 73
73 -
 74
74 -
 75
75 -
 76
76 -
 77
77 -
78
-
79
-
80
-
81
-
82
-
83
-
84
-
85
-
86
-
87
-
88
-
89
-
90
-
91
-
92
-
93
-
94
-
95
-
96
-
97
-
98
-
99
-
100
-
101
-
102
-
103
-
104
-
105
-
106
-
107
-
108
-
109
-
110
-
111
-
112
-
113
-
114
-
115
-
116
-
117
-
118
-
119
-
120
-
121
-
122
-
123
-
124
-
125
-
126
-
127
-
128
-
129
-
130
-
131
-
132
 |
 |