Casio WK-6500 User Guide - Page 79
To delete a specific measure from a song, To insert blank measures into a song
 |
View all Casio WK-6500 manuals
Add to My Manuals
Save this manual to your list of manuals |
Page 79 highlights
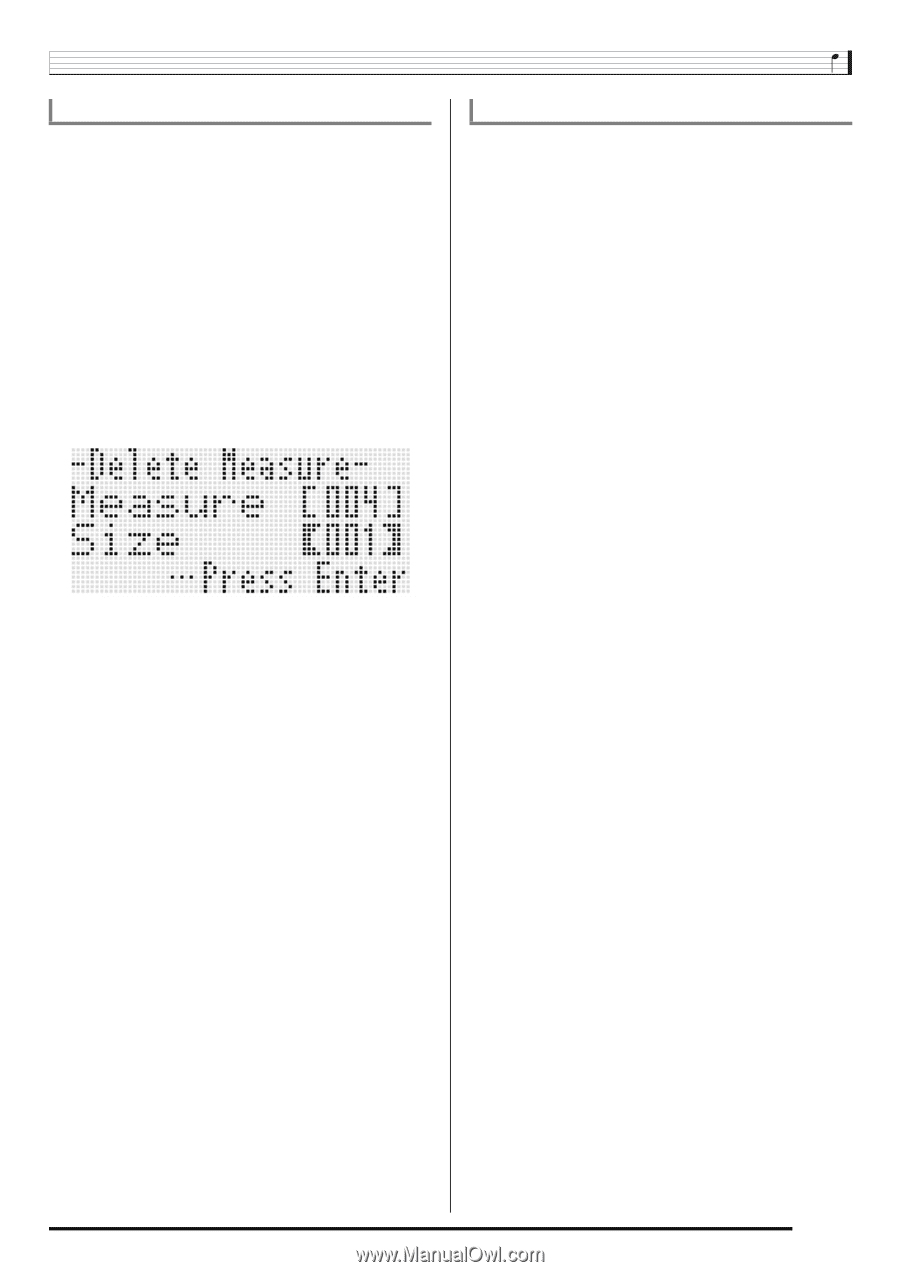
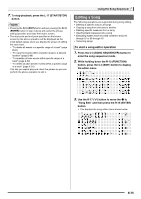
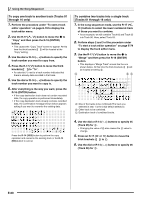
To delete a specific measure from a song 1. Perform the procedure under "To start a song editor operation" on page E-75 to display the song editor menu. 2. Use the R-17 (t, y) button to move the 0 to "DeleteMeas." and then press the R-16 (ENTER) button. • This causes "Delete Measure" screen to appear. At this time the thick brackets (%) will be located at the "Measure" setting. 3. Use the dial or R-14 (-, +) buttons to specify the song measure you want to delete. 4. Press the R-17 (y) button to move the thick brackets (%) to "Size". 5. Use the dial or R-14 (-, +) buttons to specify the number of measures you want to delete. 6. After everything is the way you want, press the R-16 (ENTER) button. 7. In response to the "Sure?" message that appears, press the R-14 (YES) button to delete or the R-14 (NO) button to cancel. Using the Song Sequencer To insert blank measures into a song 1. Perform the procedure under "To start a song editor operation" on page E-75 to display the song editor menu. 2. Use the R-17 (t, y) button to move the 0 to "InsertMeas." and then press the R-16 (ENTER) button. • This causes "Insert Measure" screen to appear. At this time the thick brackets (%) will be located at the "Measure" setting. 3. Use the dial or R-14 (-, +) buttons to specify the song measure number from which you want the insert to start. 4. Press the R-17 (y) button to move the thick brackets (%) to "Size". 5. Use the dial or R-14 (-, +) buttons to specify the number of measures you want to insert. • For example, specifying 002 for "Measure" and 003 for "Size" will insert three blank measures in front of song measure 2. 6. After everything is the way you want, press the R-16 (ENTER) button. 7. In response to the "Sure?" message that appears, press the R-14 (YES) button to insert or the R-14 (NO) button to cancel. E-77
-
 1
1 -
2
-
3
-
4
-
5
-
6
-
7
-
8
-
9
-
10
-
11
-
12
-
13
-
14
-
15
-
16
-
17
-
18
-
19
-
20
-
21
-
22
-
23
-
24
-
25
-
26
-
27
-
28
-
29
-
30
-
31
-
32
-
33
-
34
-
35
-
36
-
37
-
38
-
39
-
40
-
41
-
42
-
43
-
44
-
45
-
46
-
47
-
48
-
49
-
50
-
51
-
52
-
53
-
54
-
55
-
56
-
57
-
58
-
59
-
60
-
61
-
62
-
63
-
64
-
65
-
66
-
67
-
68
-
69
-
70
-
71
-
72
-
73
-
 74
74 -
 75
75 -
 76
76 -
 77
77 -
 78
78 -
 79
79 -
 80
80 -
 81
81 -
 82
82 -
 83
83 -
 84
84 -
85
-
86
-
87
-
88
-
89
-
90
-
91
-
92
-
93
-
94
-
95
-
96
-
97
-
98
-
99
-
100
-
101
-
102
-
103
-
104
-
105
-
106
-
107
-
108
-
109
-
110
-
111
-
112
-
113
-
114
-
115
-
116
-
117
-
118
-
119
-
120
-
121
-
122
-
123
-
124
-
125
-
126
-
127
-
128
-
129
-
130
-
131
-
132
 |
 |