HP 450c HP DesignJet 430, 450C, and 455CA Printer - User's Guide - Page 97
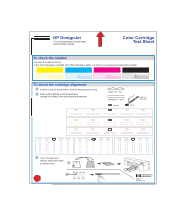
The Black Cartridge Alignment Sheet is printed.
 |
View all HP 450c manuals
Add to My Manuals
Save this manual to your list of manuals |
Page 97 highlights
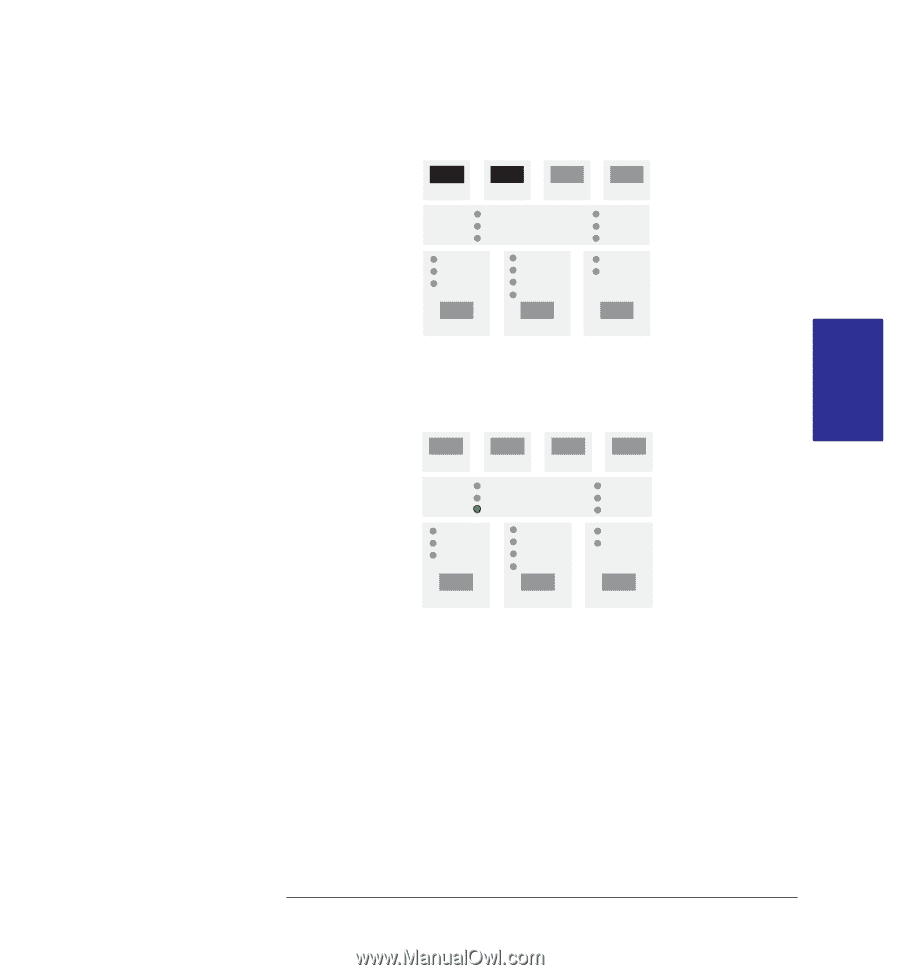
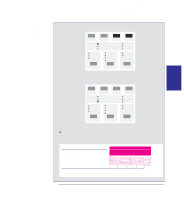
INTERNAL 5 PRINTS Special internal prints Using the Black Cartridge Alignment Sheet 2 When you have correctly loaded the sheet (when the Ready light is on and steady), press the Setup and Form Feed keys simultaneously. SETUP FORM FEED REPLOT CANCEL The Black Cartridge Alignment Sheet is printed. An example is shown on page 5-7. 3 When the Load Media light comes on (not flashing), the print is finished. Simply remove the sheet from the printer. LOAD MEDIA 4 Follow the instructions on the sheet itself. As you will see, this involves you identifying the straightest set of vertical lines in each of the two boxes. 5 If the straightest sets are already the current selection, you need do nothing more. If not, then mark the appropriate ovals, reverse the sheet as indicated, and reload it. 5-5
-
 1
1 -
2
-
3
-
4
-
5
-
6
-
7
-
8
-
9
-
10
-
11
-
12
-
13
-
14
-
15
-
16
-
17
-
18
-
19
-
20
-
21
-
22
-
23
-
24
-
25
-
26
-
27
-
28
-
29
-
30
-
31
-
32
-
33
-
34
-
35
-
36
-
37
-
38
-
39
-
40
-
41
-
42
-
43
-
44
-
45
-
46
-
47
-
48
-
49
-
50
-
51
-
52
-
53
-
54
-
55
-
56
-
57
-
58
-
59
-
60
-
61
-
62
-
63
-
64
-
65
-
66
-
67
-
68
-
69
-
70
-
71
-
72
-
73
-
74
-
75
-
76
-
77
-
78
-
79
-
80
-
81
-
82
-
83
-
84
-
85
-
86
-
87
-
88
-
89
-
90
-
91
-
 92
92 -
 93
93 -
 94
94 -
 95
95 -
 96
96 -
 97
97 -
 98
98 -
 99
99 -
 100
100 -
 101
101 -
 102
102 -
103
-
104
-
105
-
106
-
107
-
108
-
109
-
110
-
111
-
112
-
113
-
114
-
115
-
116
-
117
-
118
-
119
-
120
-
121
-
122
-
123
-
124
-
125
-
126
-
127
-
128
-
129
-
130
-
131
-
132
-
133
-
134
-
135
-
136
-
137
-
138
-
139
-
140
-
141
-
142
-
143
-
144
-
145
-
146
-
147
-
148
-
149
-
150
-
151
-
152
-
153
-
154
-
155
-
156
-
157
-
158
-
159
-
160
-
161
-
162
-
163
-
164
-
165
-
166
-
167
-
168
-
169
-
170
-
171
-
172
-
173
-
174
-
175
-
176
-
177
-
178
-
179
-
180
-
181
-
182
-
183
-
184
-
185
-
186
-
187
-
188
-
189
-
190
-
191
-
192
-
193
-
194
-
195
-
196
 |
 |