Sharp GX17 User Guide - Page 32
Changing the Name Order, Add New Contact, Contacts, Contacts List, Options], Advanced, Name Order
 |
View all Sharp GX17 manuals
Add to My Manuals
Save this manual to your list of manuals |
Page 32 highlights
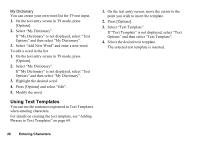
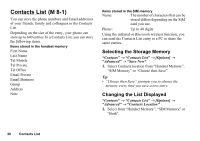
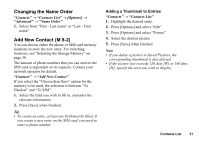
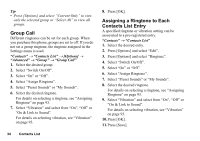
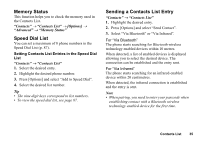
Changing the Name Order "Contacts" → "Contacts List" → [Options] → "Advanced" → "Name Order" 1. Select from "First - Last name" or "Last - First name". Add New Contact (M 8-2) You can choose either the phone or SIM card memory locations to store the new entry. For switching locations, see "Selecting the Storage Memory" on page 30. The amount of phone numbers that you can store to the SIM card is dependent on its capacity. Contact your network operator for details. "Contacts" → "Add New Contact" If you select the "Choose then Save" option for the memory to be used, the selection is between "To Handset" and "To SIM". 1. Select the field you wish to fill in, and enter the relevant information. 2. Press [Save] when finished. Tip • To create an entry, at least one field must be filled. If you create a new entry on the SIM card, you need to enter a phone number. Adding a Thumbnail to Entries "Contacts" → "Contacts List" 1. Highlight the desired entry. 2. Press [Options] and select "Edit". 3. Press [Options] and select "Picture". 4. Select the desired picture. 5. Press [Save] when finished. Note • If you delete a picture in Saved Pictures, the corresponding thumbnail is also deleted. • If the picture size exceeds 120 dots [W] or 160 dots [H], specify the area you wish to display. Contacts List 31
-
 1
1 -
2
-
3
-
4
-
5
-
6
-
7
-
8
-
9
-
10
-
11
-
12
-
13
-
14
-
15
-
16
-
17
-
18
-
19
-
20
-
21
-
22
-
23
-
24
-
25
-
26
-
 27
27 -
 28
28 -
 29
29 -
 30
30 -
 31
31 -
 32
32 -
 33
33 -
 34
34 -
 35
35 -
 36
36 -
 37
37 -
38
-
39
-
40
-
41
-
42
-
43
-
44
-
45
-
46
-
47
-
48
-
49
-
50
-
51
-
52
-
53
-
54
-
55
-
56
-
57
-
58
-
59
-
60
-
61
-
62
-
63
-
64
-
65
-
66
-
67
-
68
-
69
-
70
-
71
-
72
-
73
-
74
-
75
-
76
-
77
-
78
-
79
-
80
-
81
-
82
-
83
-
84
-
85
-
86
-
87
-
88
-
89
-
90
-
91
-
92
-
93
-
94
-
95
-
96
-
97
-
98
-
99
-
100
-
101
-
102
-
103
-
104
-
105
-
106
-
107
-
108
-
109
-
110
-
111
-
112
-
113
-
114
-
115
-
116
-
117
-
118
-
119
-
120
-
121
-
122
-
123
-
124
-
125
-
126
-
127
-
128
 |
 |