Sharp GX17 User Guide - Page 99
Assigning the Pictures, Setting the Greeting Message, Showing the Clock, M 9-3-2, Settings, Display
 |
View all Sharp GX17 manuals
Add to My Manuals
Save this manual to your list of manuals |
Page 99 highlights
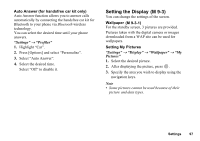
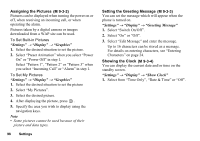
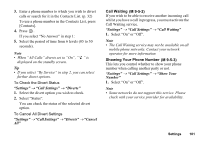
Assigning the Pictures (M 9-3-2) Pictures can be displayed when turning the power on or off, when receiving an incoming call, or when operating the alarm. Pictures taken by a digital camera or images downloaded from a WAP site can be used. To Set Built-in Pictures "Settings" → "Display" → "Graphics" 1. Select the desired situation to set the picture. 2. Select "Preset Animation" when you select "Power On" or "Power Off" in step 1. Select "Pattern 1", "Pattern 2" or "Pattern 3" when you select "Incoming Call" or "Alarm" in step 1. To Set My Pictures "Settings" → "Display" → "Graphics" 1. Select the desired situation to set the picture 2. Select "My Pictures". 3. Select the desired picture. 4. After displaying the picture, press . 5. Specify the area you wish to display using the navigation keys. Note • Some pictures cannot be used because of their picture and data types. 98 Settings Setting the Greeting Message (M 9-3-3) You can set the message which will appear when the phone is turned on. "Settings" → "Display" → "Greeting Message" 1. Select "Switch On/Off". 2. Select "On" or "Off". 3. Select "Edit Message" and enter the message. Up to 16 characters can be stored as a message. For details on entering characters, see "Entering Characters" on page 24. Showing the Clock (M 9-3-4) You can display the current date and/or time on the standby screen. "Settings" → "Display" → "Show Clock" 1. Select from "Time Only", "Date & Time" or "Off".
-
 1
1 -
2
-
3
-
4
-
5
-
6
-
7
-
8
-
9
-
10
-
11
-
12
-
13
-
14
-
15
-
16
-
17
-
18
-
19
-
20
-
21
-
22
-
23
-
24
-
25
-
26
-
27
-
28
-
29
-
30
-
31
-
32
-
33
-
34
-
35
-
36
-
37
-
38
-
39
-
40
-
41
-
42
-
43
-
44
-
45
-
46
-
47
-
48
-
49
-
50
-
51
-
52
-
53
-
54
-
55
-
56
-
57
-
58
-
59
-
60
-
61
-
62
-
63
-
64
-
65
-
66
-
67
-
68
-
69
-
70
-
71
-
72
-
73
-
74
-
75
-
76
-
77
-
78
-
79
-
80
-
81
-
82
-
83
-
84
-
85
-
86
-
87
-
88
-
89
-
90
-
91
-
92
-
93
-
 94
94 -
 95
95 -
 96
96 -
 97
97 -
 98
98 -
 99
99 -
 100
100 -
 101
101 -
 102
102 -
 103
103 -
 104
104 -
105
-
106
-
107
-
108
-
109
-
110
-
111
-
112
-
113
-
114
-
115
-
116
-
117
-
118
-
119
-
120
-
121
-
122
-
123
-
124
-
125
-
126
-
127
-
128
 |
 |