Sharp GX17 User Guide - Page 35
Group Call, Assigning a Ringtone to Each Contacts List Entry, Contacts, Contacts List, Options]
 |
View all Sharp GX17 manuals
Add to My Manuals
Save this manual to your list of manuals |
Page 35 highlights
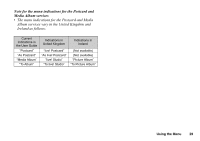
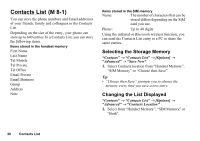
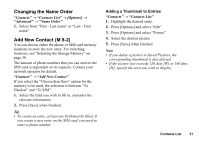
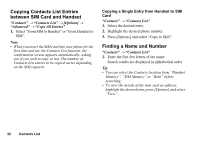
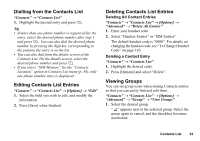
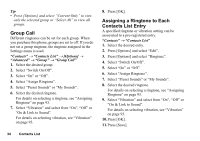
Tip • Press [Options] and select "Current Only" to view only the selected group or "Select All" to view all groups. Group Call Different ringtones can be set for each group. When you purchase this phone, groups are set to off. If you do not set a group ringtone, the ringtone assigned in the Settings menu is used. "Contacts" → "Contacts List" → [Options] → "Advanced" → "Group" → "Group Call" 1. Select the desired group. 2. Select "Switch On/Off". 3. Select "On" or "Off". 4. Select "Assign Ringtone". 5. Select "Preset Sounds" or "My Sounds". 6. Select the desired ringtone. For details on selecting a ringtone, see "Assigning Ringtone" on page 93. 7. Select "Vibration" and select from "On", "Off" or "On & Link to Sound". For details on selecting vibration, see "Vibration" on page 93. 34 Contacts List 8. Press [OK]. Assigning a Ringtone to Each Contacts List Entry A specified ringtone or vibration setting can be associated to a pre-registered entry. "Contacts" → "Contacts List" 1. Select the desired entry. 2. Press [Options] and select "Edit". 3. Press [Options] and select "Ringtone". 4. Select "Switch On/Off". 5. Select "On" or "Off". 6. Select "Assign Ringtone". 7. Select "Preset Sounds" or "My Sounds". 8. Select the desired ringtone. For details on selecting a ringtone, see "Assigning Ringtone" on page 93. 9. Select "Vibration" and select from "On", "Off" or "On & Link to Sound". For details on selecting vibration, see "Vibration" on page 93. 10.Press [OK]. 11.Press [Save].
-
 1
1 -
2
-
3
-
4
-
5
-
6
-
7
-
8
-
9
-
10
-
11
-
12
-
13
-
14
-
15
-
16
-
17
-
18
-
19
-
20
-
21
-
22
-
23
-
24
-
25
-
26
-
27
-
28
-
29
-
 30
30 -
 31
31 -
 32
32 -
 33
33 -
 34
34 -
 35
35 -
 36
36 -
 37
37 -
 38
38 -
 39
39 -
 40
40 -
41
-
42
-
43
-
44
-
45
-
46
-
47
-
48
-
49
-
50
-
51
-
52
-
53
-
54
-
55
-
56
-
57
-
58
-
59
-
60
-
61
-
62
-
63
-
64
-
65
-
66
-
67
-
68
-
69
-
70
-
71
-
72
-
73
-
74
-
75
-
76
-
77
-
78
-
79
-
80
-
81
-
82
-
83
-
84
-
85
-
86
-
87
-
88
-
89
-
90
-
91
-
92
-
93
-
94
-
95
-
96
-
97
-
98
-
99
-
100
-
101
-
102
-
103
-
104
-
105
-
106
-
107
-
108
-
109
-
110
-
111
-
112
-
113
-
114
-
115
-
116
-
117
-
118
-
119
-
120
-
121
-
122
-
123
-
124
-
125
-
126
-
127
-
128
 |
 |