Sharp GX17 User Guide - Page 43
Record Video, Selecting a Frame, Selecting the Shutter Sound, Recording Video Clips
 |
View all Sharp GX17 manuals
Add to My Manuals
Save this manual to your list of manuals |
Page 43 highlights
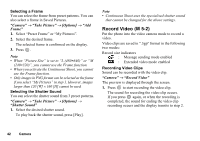
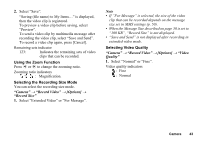
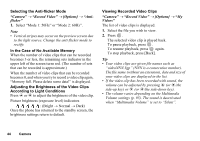
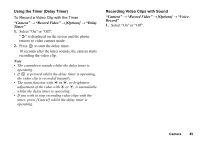
Selecting a Frame You can select the frame from preset patterns. You can also select a frame in Saved Pictures. "Camera" → "Take Picture" → [Options] → "Add Frame" 1. Select "Preset Frame" or "My Pictures". 2. Select the desired frame. The selected frame is confirmed on the display. 3. Press . Note • When "Picture Size" is set to "L (480∗640)" or "M (240∗320)", you cannot use the Frame function. • When you activate the Continuous Shoot, you cannot use the Frame function. • Only images in PNG format can be selected as the frame if you select "My Pictures" in step 1. However, images larger than 120 [W] × 160 [H] cannot be used. Selecting the Shutter Sound You can select the shutter sound from 3 preset patterns. "Camera" → "Take Picture" → [Options] → "Shutter Sound" 1. Select the desired shutter sound. To play back the shutter sound, press [Play]. Note • Continuous Shoot uses the specialised shutter sound that cannot be changed for the above settings. Record Video (M 5-2) Put the phone into the video camera mode to record a video. Video clips are saved in ".3gp" format in the following two modes: Record size indicators : Message sending mode enabled : Extended video mode enabled Recording Video Clips Sound can be recorded with the video clip. "Camera" → "Record Video" The preview is displayed through the screen. 1. Press to start recording the video clip. The sound for recording the video clip occurs. If you press again, or when the recording is completed, the sound for ending the video clip recording occurs and the display transits to step 2. 42 Camera
-
 1
1 -
2
-
3
-
4
-
5
-
6
-
7
-
8
-
9
-
10
-
11
-
12
-
13
-
14
-
15
-
16
-
17
-
18
-
19
-
20
-
21
-
22
-
23
-
24
-
25
-
26
-
27
-
28
-
29
-
30
-
31
-
32
-
33
-
34
-
35
-
36
-
37
-
 38
38 -
 39
39 -
 40
40 -
 41
41 -
 42
42 -
 43
43 -
 44
44 -
 45
45 -
 46
46 -
 47
47 -
 48
48 -
49
-
50
-
51
-
52
-
53
-
54
-
55
-
56
-
57
-
58
-
59
-
60
-
61
-
62
-
63
-
64
-
65
-
66
-
67
-
68
-
69
-
70
-
71
-
72
-
73
-
74
-
75
-
76
-
77
-
78
-
79
-
80
-
81
-
82
-
83
-
84
-
85
-
86
-
87
-
88
-
89
-
90
-
91
-
92
-
93
-
94
-
95
-
96
-
97
-
98
-
99
-
100
-
101
-
102
-
103
-
104
-
105
-
106
-
107
-
108
-
109
-
110
-
111
-
112
-
113
-
114
-
115
-
116
-
117
-
118
-
119
-
120
-
121
-
122
-
123
-
124
-
125
-
126
-
127
-
128
 |
 |