3Ware 7506-8 User Guide - Page 67
Remove the existing Escalade ATA RAID Controller and install the new Escalade ATA RAID Controller
 |
UPC - 693494750683
View all 3Ware 7506-8 manuals
Add to My Manuals
Save this manual to your list of manuals |
Page 67 highlights
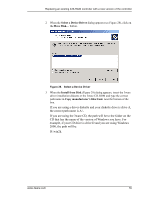
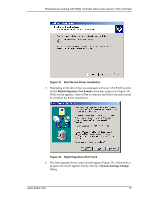
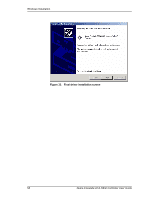
Replacing an existing ATA RAID controller with a new version of the controller Remove the existing Escalade ATA RAID Controller and install the new Escalade ATA RAID Controller Refer to the Hardware Installation chapter. Reboot the machine 1 Remove the driver diskette from your PC, then install the new ATA RAID controller. Afterwards, turn your system on. 2 If you choose to reconfigure your disk arrays press Alt-3 to bring up the Disk Array Configuration Utility. 3 Log in as system administrator. When the system has rebooted you should see a brief splash screen, followed immediately by an "Installation Complete" notification. 4 Partition and format any new disk arrays or independent disks using Disk Management from Administrative Tools. a Choose Administrative Tools from the Start menu. b Choose Computer Management from the Administrative Tools menu. c Select Storage. d Select Disk Management. 5 Follow the steps the appear on-screen to write a signature to the drive. 6 Right click on the drive and select Create Volume. 7 Follow the steps the appear on-screen to create a volume and to assign a drive letter. Install the 3DM disk management utility Refer to the 3DM Disk Management Utility chapter. www.3ware.com 59
-
 1
1 -
2
-
3
-
4
-
5
-
6
-
7
-
8
-
9
-
10
-
11
-
12
-
13
-
14
-
15
-
16
-
17
-
18
-
19
-
20
-
21
-
22
-
23
-
24
-
25
-
26
-
27
-
28
-
29
-
30
-
31
-
32
-
33
-
34
-
35
-
36
-
37
-
38
-
39
-
40
-
41
-
42
-
43
-
44
-
45
-
46
-
47
-
48
-
49
-
50
-
51
-
52
-
53
-
54
-
55
-
56
-
57
-
58
-
59
-
60
-
61
-
 62
62 -
 63
63 -
 64
64 -
 65
65 -
 66
66 -
 67
67 -
 68
68 -
 69
69 -
 70
70 -
 71
71 -
 72
72 -
73
-
74
-
75
-
76
-
77
-
78
-
79
-
80
-
81
-
82
-
83
-
84
-
85
-
86
-
87
-
88
-
89
-
90
-
91
-
92
-
93
-
94
-
95
-
96
-
97
-
98
-
99
-
100
-
101
-
102
-
103
-
104
-
105
-
106
-
107
-
108
-
109
-
110
-
111
-
112
-
113
-
114
-
115
-
116
-
117
-
118
-
119
-
120
-
121
-
122
-
123
-
124
-
125
-
126
 |
 |