Brother International BAS-375E Instruction Manual - English - Page 44
Replacing the fixed knife and movable knife
 |
View all Brother International BAS-375E manuals
Add to My Manuals
Save this manual to your list of manuals |
Page 44 highlights
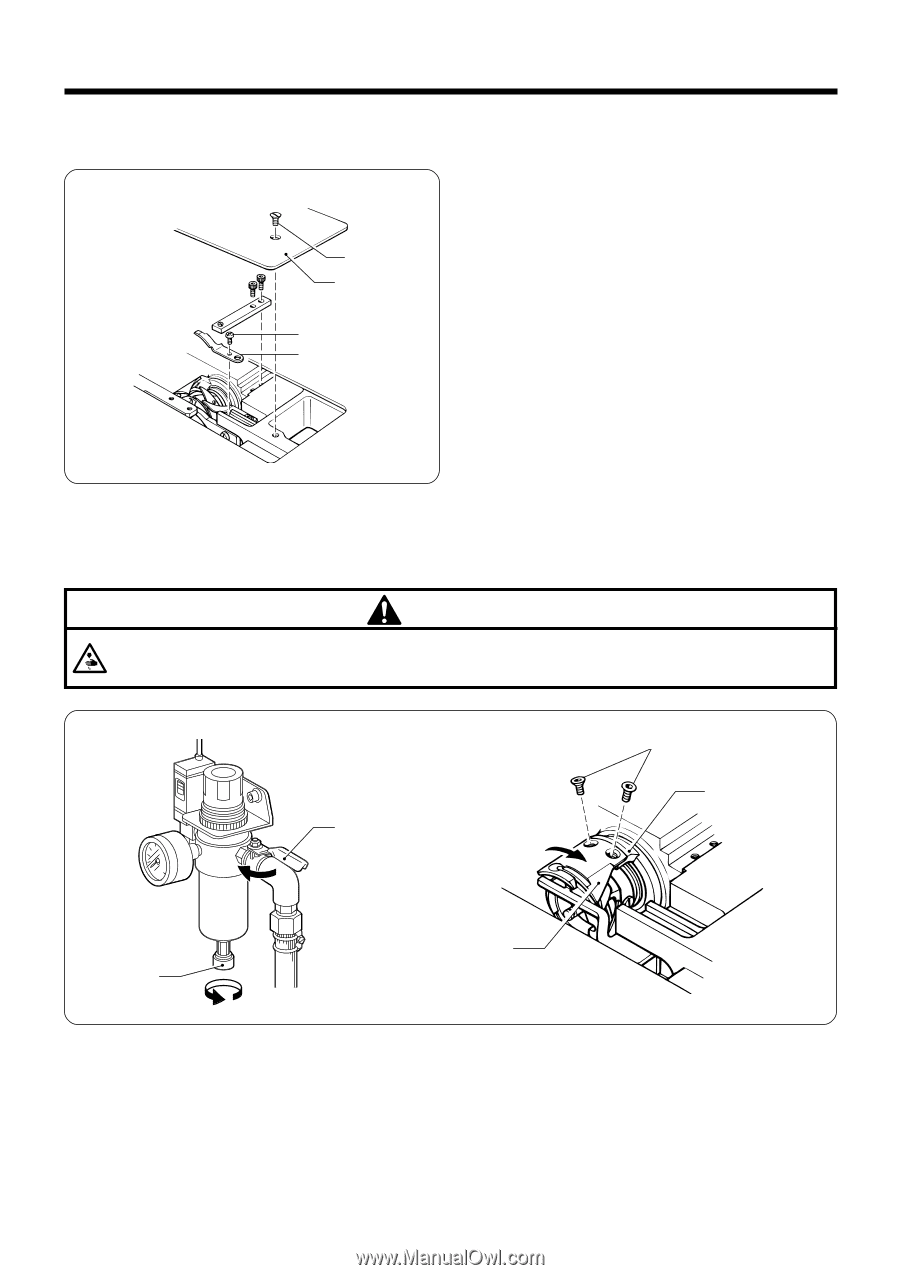
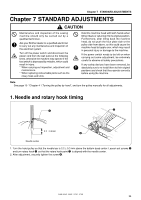
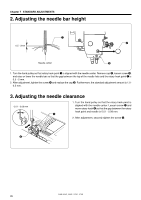
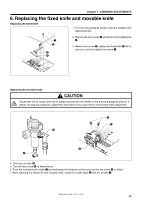
Chapter 7 STANDARD ADJUSTMENTS 6. Replacing the fixed knife and movable knife Replacing the fixed knife 1. Turn the hand pulley by hand to raise the needle to the highest position. q w e r 2. Remove the two screws q and remove the needle plate w. 3. Remove the screw e, replace the fixed knife r with a new one, and then tighten the screw e. Replacing the movable knife CAUTION Disconnect the air hoses from the air supply and wait for the needle on the pressure gauge to dorp to "0" before carrying out inspection, adjustment and repair of any parts which use the pneumatic equipment. i u t o y 4. Close the air cock t. 5. Turn the drain cock y to bleed the air. 6. Push the movable knife holder u by hand toward the direction of the arrow so that the screw i is visible. 7. After replacing the fixed knife and movable knife, install the needle plate w with the screws q. BAS-364E, 366E, 370E, 375E 38
-
 1
1 -
2
-
3
-
4
-
5
-
6
-
7
-
8
-
9
-
10
-
11
-
12
-
13
-
14
-
15
-
16
-
17
-
18
-
19
-
20
-
21
-
22
-
23
-
24
-
25
-
26
-
27
-
28
-
29
-
30
-
31
-
32
-
33
-
34
-
35
-
36
-
37
-
38
-
 39
39 -
 40
40 -
 41
41 -
 42
42 -
 43
43 -
 44
44 -
 45
45 -
 46
46 -
 47
47 -
 48
48 -
 49
49 -
50
-
51
-
52
-
53
-
54
-
55
-
56
-
57
-
58
-
59
-
60
-
61
-
62
-
63
-
64
-
65
-
66
-
67
-
68
 |
 |