Brother International andtrade; QL-500 Users Manual - English - Page 41
Print Options, Setting, Details
 |
View all Brother International andtrade; QL-500 manuals
Add to My Manuals
Save this manual to your list of manuals |
Page 41 highlights
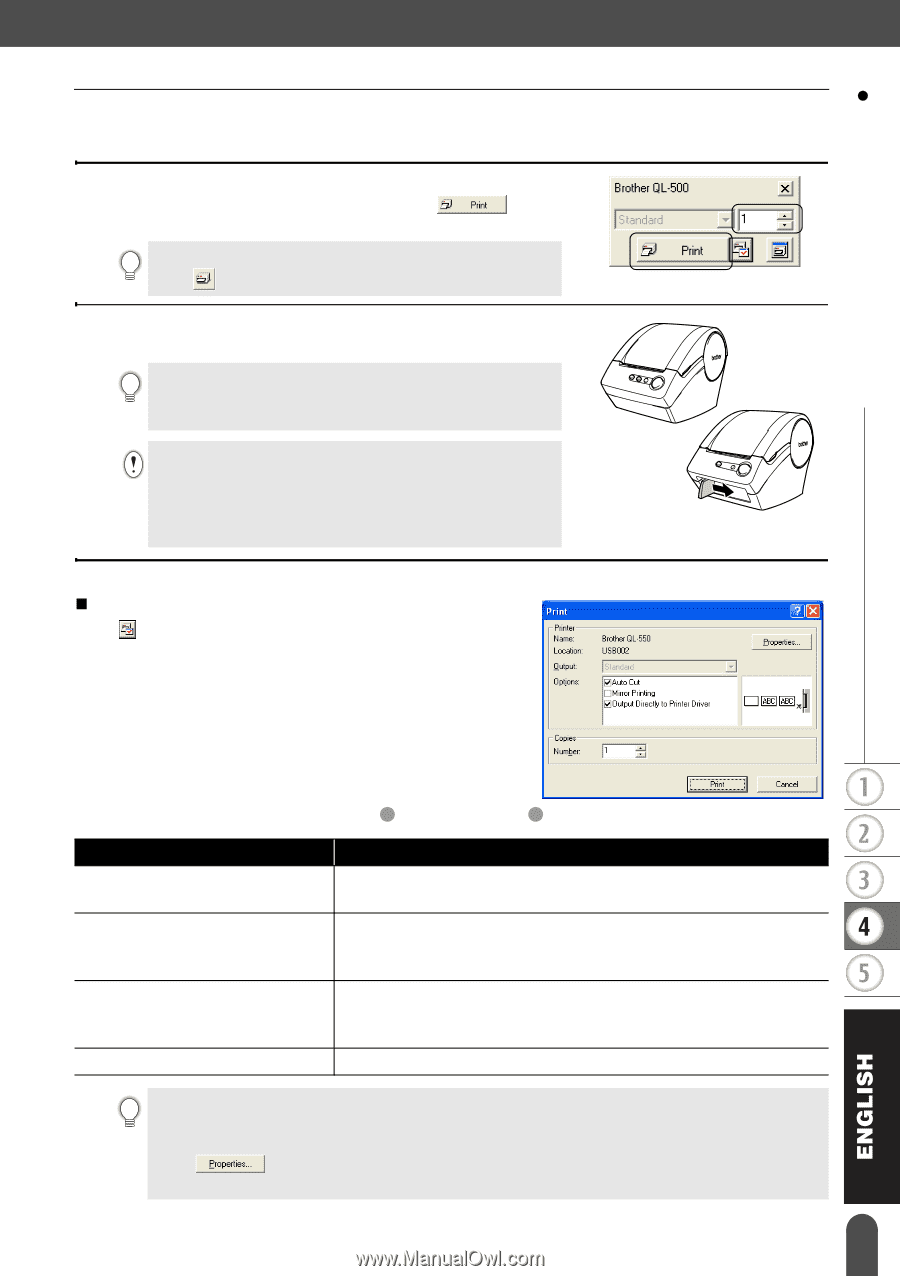
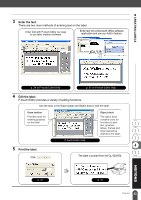
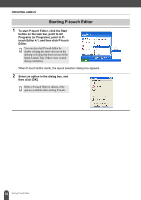
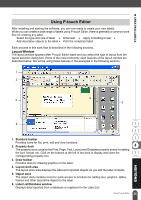
z CREATING LABELS Printing the Label We will now print the label created in the earlier example. 1 In the Print properties box, select the number of copies to be printed (1) and then click . The label is printed. If the Print property box is not displayed in the Property dock click to open it. 2 Cut off the printed label using the CUT button (QL-550) or the CUT lever (QL-500). When the "Auto Cut" option is checked in the Print dialog box for the QL-550, the printed labels are automatically cut after printing. When using the QL-500, make sure that printing is completed before cutting the label with the CUT lever. Attempting to cut the label before printing is completed will result in an error. If an error occurs, turn the power off and then on again to clear the error. „ Printing options and label cutting Click in the Print properties box to open the Print dialog box and select printing options. zPrint Optionsz Setting Details Auto Cut (QL-550 only) Checked - the printed labels are automatically cut after printing. Unchecked - to cut the label, press the CUT button. Mirror Printing Prints a mirror image of the label. Use this option clear tape to create labels that can be applied to the inner surface of glass etc. and read from the outside. Output Directly To Printer Driver Sends the data directly from the application to the printer driver. We recommend that you leave this box checked when printing labels. Copies Selects the number of copies to be printed. When printing a label you can select whether priority is given to print quality or print speed. When Printing Speed over Quality has been checked, some objects may not print or the printed image may appear slightly different. Click to open the Brother QL-500/550 Properties dialog box and then select one of the Quality radio buttons. 37 Using P-touch Editor
-
 1
1 -
2
-
3
-
4
-
5
-
6
-
7
-
8
-
9
-
10
-
11
-
12
-
13
-
14
-
15
-
16
-
17
-
18
-
19
-
20
-
21
-
22
-
23
-
24
-
25
-
26
-
27
-
28
-
29
-
30
-
31
-
32
-
33
-
34
-
35
-
 36
36 -
 37
37 -
 38
38 -
 39
39 -
 40
40 -
 41
41 -
 42
42 -
 43
43 -
 44
44 -
 45
45 -
 46
46 -
47
-
48
-
49
-
50
-
51
-
52
-
53
-
54
-
55
-
56
-
57
-
58
-
59
-
60
-
61
-
62
-
63
-
64
-
65
-
66
-
67
-
68
-
69
-
70
-
71
-
72
-
73
-
74
-
75
-
76
 |
 |