Canon EOS 30D Digital Photo Professional Instruction Manual Macintosh (EOS 30D - Page 25
Reverting Edited Images to Their Original Condition, Saving the Editing Data to the Image
 |
UPC - 013803065114
View all Canon EOS 30D manuals
Add to My Manuals
Save this manual to your list of manuals |
Page 25 highlights
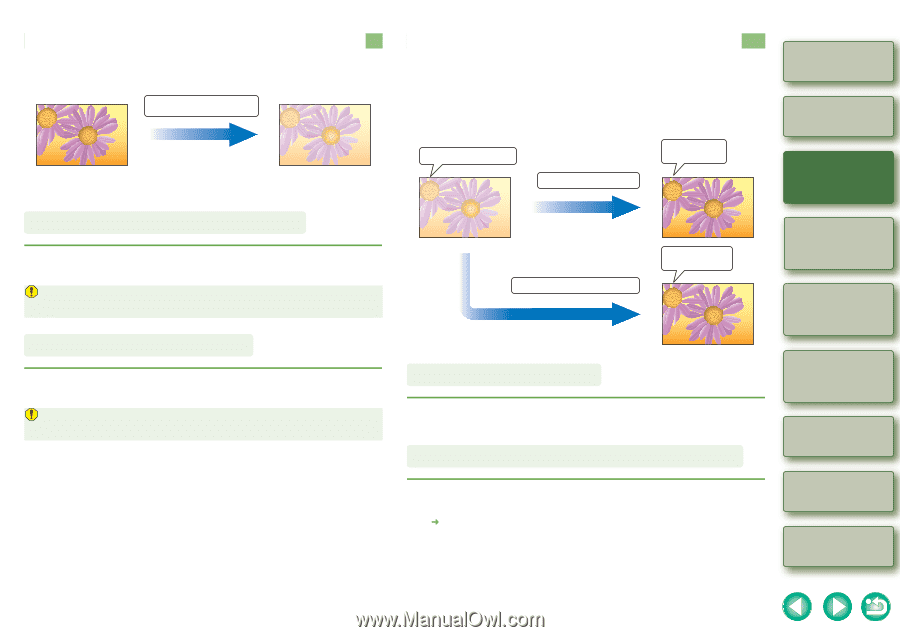
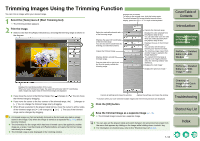
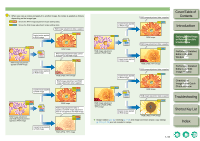
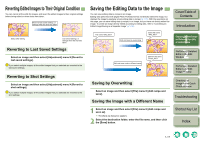
Reverting Edited Images to Their Original Condition You can cancel all the edits for images, and revert the edited images to their original settings before being edited or when shots were taken. Revert to last saved settings, or settings when the shot was taken Status after editing. Last saved settings, or settings when the shot was taken. Reverting to Last Saved Settings Select an image and then select [Adjustment] menu [Revert to last saved settings]. If you select multiple images, all the edited images that you selected are reverted to the last saved settings. Reverting to Shot Settings Select an image and then select [Adjustment] menu [Revert to shot settings]. If you select multiple images, all the edited images that you selected are reverted to the shot settings. Saving the Editing Data to the Image You can save editing data (a recipe) in an image. Editing data performed with Digital Photo Professional has not directly edited the image, but displays the image by applying virtual editing data (a recipe) (p.1-15). With the operations on this page, you can save editing data (a recipe) in an image, but you have not directly edited the image. To create an image directly edited according to editing data, refer to "Converting an Edited Image/Saving as a Separate Image" (p.1-18). File name "IMG_0001" Edit and save by overwriting Same file name "IMG_0001" Cover/Table of Contents Introduction 1 Displaying Thumbnail Images and Performing Basic Edits in the Main Window Edit and save under a different name Different file name "Photo_0001" 2 Performing Detailed Edits in the Edit Window 3 Performing Detailed Edits in the Edit Image Window Saving by Overwriting Select an image and then select [File] menu [Add recipe and save]. Saving the Image with a Different Name 1 Select an image and then select [File] menu [Add recipe and save as]. ¿ The [Save as] dialog box appears. 2 Select the destination folder, enter the file name, and then click the [Save] button. 4 Checking an Image in the Quick Check Window Troubleshooting Shortcut Key List Index 1-17
-
 1
1 -
2
-
3
-
4
-
5
-
6
-
7
-
8
-
9
-
10
-
11
-
12
-
13
-
14
-
15
-
16
-
17
-
18
-
19
-
 20
20 -
 21
21 -
 22
22 -
 23
23 -
 24
24 -
 25
25 -
 26
26 -
 27
27 -
 28
28 -
 29
29 -
 30
30 -
31
-
32
-
33
-
34
-
35
-
36
-
37
-
38
-
39
-
40
-
41
-
42
-
43
-
44
-
45
-
46
-
47
-
48
-
49
-
50
-
51
-
52
 |
 |