Canon EOS 30D Digital Photo Professional Instruction Manual Macintosh (EOS 30D - Page 32
Operating with the Remote Shooting Function, Printing with Canon Large-Format Printers
 |
UPC - 013803065114
View all Canon EOS 30D manuals
Add to My Manuals
Save this manual to your list of manuals |
Page 32 highlights
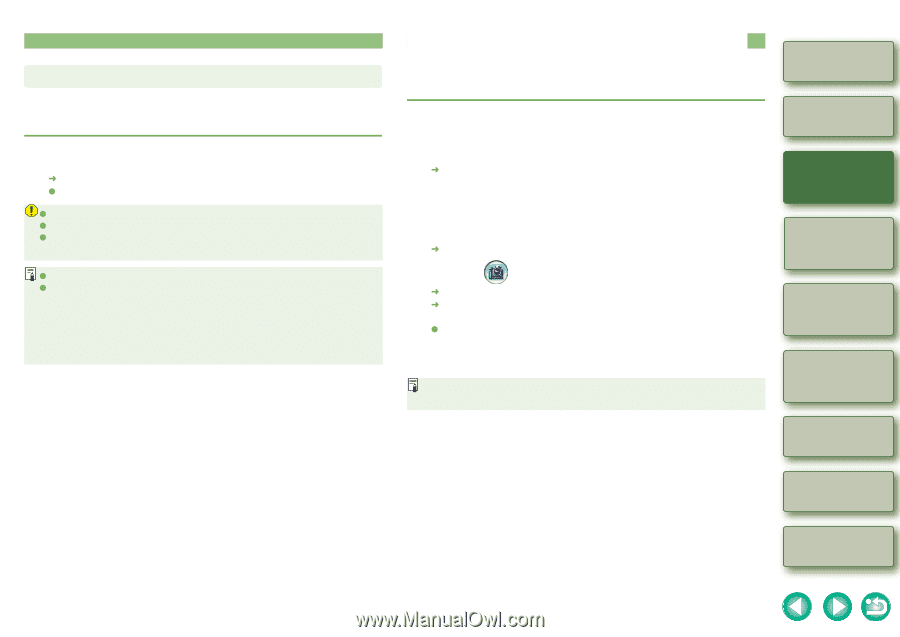
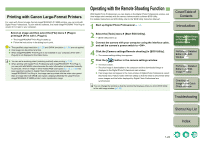
Printing with Canon Large-Format Printers For users with Canon's Large-Format imagePROGRAF iP F5000 printers, you can print with Digital Photo Professional. To print with this software, first install imagePROGRAF Print Plug-In version 2.0 or later to your computer. Select an image and then select the [File] menu printing] [Print with L-Plug-In]. ¿ The imagePROGRAF Print Plug-In starts up. O Follow the instructions in the dialog box to print. [Plug-in O The specified output resolution (p.1-25) and CMYK simulation (p.1-26) are not applied. O One image can be printed at a time. O When imagePROGRAF Print Plug-In is not installed in your computer, [Print with L- Plug-In] is not displayed in the linked menu. O You can set a rendering intent (matching method) when printing (p.1-26). O When printing with Digital Photo Professional and imagePROGRAFF Print Plug-In, you can print with faithful colors because the color information is interpreted correctly. In particular, when an image in which Adobe RGB color space (p.1-10, p.1-26) has been specified is edited in Digital Photo Professional and printed with imagePROGRAF Print Plug-In, the image can be printed with the wider color gamut than an image shot with sRGB color space, utilizing sufficiently the Large-Format imagePROGRAF iP F5000 printer's color reproduction range. Operating with the Remote Shooting Function With Digital Photo Professional, you can display in the Digital Photo Professional window, real time images shot remotely with the camera communication software EOS Utility. For detailed instructions on EOS Utility, refer to the "EOS Utility Instruction Manual". 1 Start up Digital Photo Professional (p.1-2). 2 Select the [Tools] menu [Start EOS Utility]. ¿ [EOS Utility] starts up. 3 Connect the camera with your computer using the interface cable, and set the camera's power switch to . 4 Click the [Camera settings/Remote shooting] in [EOS Utility]. ¿ The camera settings dialog box appears. 5 Click the [ ] button in the camera settings window. ¿ The shot is taken. ¿ The shot image is downloaded to the computer and the downloaded image is displayed in the Digital Photo Professional main window. O If an image does not appear in the main window of Digital Photo Professional, select the [Tools] menu [Sync folder with EOS Utility] so that the folder to which EOS Utility saves images and the folder displayed by Digital Photo Professional are synchronized. You can change the window so that the window that displays when you link to EOS Utility is the edit image window (p.1-25). Cover/Table of Contents Introduction 1 Displaying Thumbnail Images and Performing Basic Edits in the Main Window 2 Performing Detailed Edits in the Edit Window 3 Performing Detailed Edits in the Edit Image Window 4 Checking an Image in the Quick Check Window Troubleshooting Shortcut Key List Index 1-24
-
 1
1 -
2
-
3
-
4
-
5
-
6
-
7
-
8
-
9
-
10
-
11
-
12
-
13
-
14
-
15
-
16
-
17
-
18
-
19
-
20
-
21
-
22
-
23
-
24
-
25
-
26
-
 27
27 -
 28
28 -
 29
29 -
 30
30 -
 31
31 -
 32
32 -
 33
33 -
 34
34 -
 35
35 -
 36
36 -
 37
37 -
38
-
39
-
40
-
41
-
42
-
43
-
44
-
45
-
46
-
47
-
48
-
49
-
50
-
51
-
52
 |
 |