Canon imageCLASS MF5850dn imageCLASS MF5880dn/5850dn Basic Operation Guide - Page 232
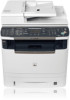
Open the ADF., Close the ADF cover.
 |
View all Canon imageCLASS MF5850dn manuals
Add to My Manuals
Save this manual to your list of manuals |
Page 232 highlights
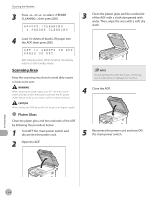
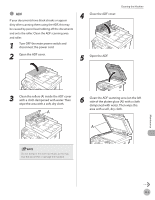
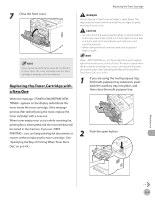
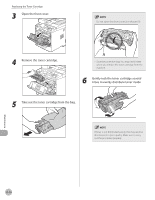
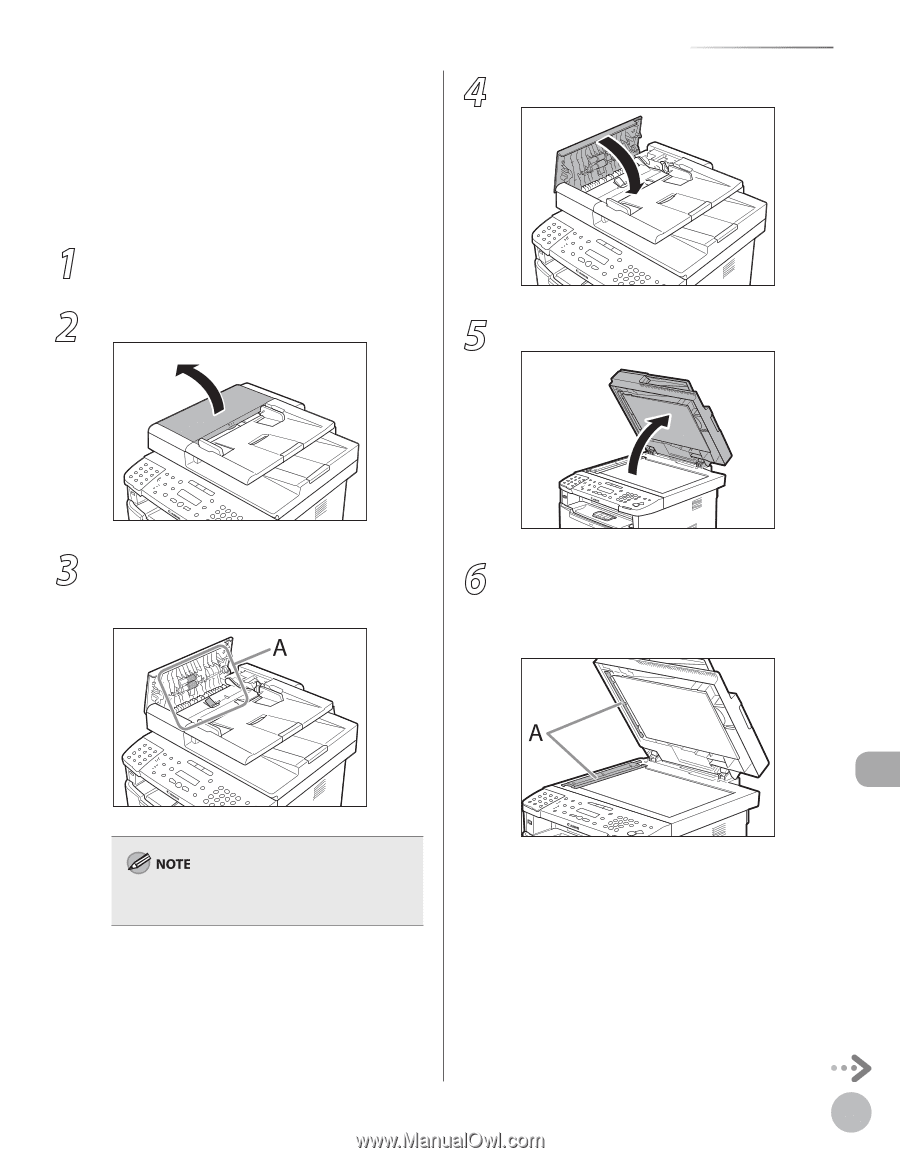
● ADF If your documents have black streaks or appear dirty after scanning them using the ADF, this may be caused by pencil lead rubbing off the documents and onto the roller. Clean the ADF scanning area and roller. 1 Turn OFF the main power switch and disconnect the power cord. 2 Open the ADF cover. Cleaning the Machine 4 Close the ADF cover. 5 Open the ADF. 3 Clean the rollers (A) inside the ADF cover with a cloth dampened with water. Then wipe the area with a soft, dry cloth. 6 Clean the ADF scanning area (on the left side of the platen glass (A)) with a cloth dampened with water. Then wipe the area with a soft, dry cloth. Maintenance Do not dampen the cloth too much, as this may tear the document or damage the machine. 11-5
-
 1
1 -
2
-
3
-
4
-
5
-
6
-
7
-
8
-
9
-
10
-
11
-
12
-
13
-
14
-
15
-
16
-
17
-
18
-
19
-
20
-
21
-
22
-
23
-
24
-
25
-
26
-
27
-
28
-
29
-
30
-
31
-
32
-
33
-
34
-
35
-
36
-
37
-
38
-
39
-
40
-
41
-
42
-
43
-
44
-
45
-
46
-
47
-
48
-
49
-
50
-
51
-
52
-
53
-
54
-
55
-
56
-
57
-
58
-
59
-
60
-
61
-
62
-
63
-
64
-
65
-
66
-
67
-
68
-
69
-
70
-
71
-
72
-
73
-
74
-
75
-
76
-
77
-
78
-
79
-
80
-
81
-
82
-
83
-
84
-
85
-
86
-
87
-
88
-
89
-
90
-
91
-
92
-
93
-
94
-
95
-
96
-
97
-
98
-
99
-
100
-
101
-
102
-
103
-
104
-
105
-
106
-
107
-
108
-
109
-
110
-
111
-
112
-
113
-
114
-
115
-
116
-
117
-
118
-
119
-
120
-
121
-
122
-
123
-
124
-
125
-
126
-
127
-
128
-
129
-
130
-
131
-
132
-
133
-
134
-
135
-
136
-
137
-
138
-
139
-
140
-
141
-
142
-
143
-
144
-
145
-
146
-
147
-
148
-
149
-
150
-
151
-
152
-
153
-
154
-
155
-
156
-
157
-
158
-
159
-
160
-
161
-
162
-
163
-
164
-
165
-
166
-
167
-
168
-
169
-
170
-
171
-
172
-
173
-
174
-
175
-
176
-
177
-
178
-
179
-
180
-
181
-
182
-
183
-
184
-
185
-
186
-
187
-
188
-
189
-
190
-
191
-
192
-
193
-
194
-
195
-
196
-
197
-
198
-
199
-
200
-
201
-
202
-
203
-
204
-
205
-
206
-
207
-
208
-
209
-
210
-
211
-
212
-
213
-
214
-
215
-
216
-
217
-
218
-
219
-
220
-
221
-
222
-
223
-
224
-
225
-
226
-
 227
227 -
 228
228 -
 229
229 -
 230
230 -
 231
231 -
 232
232 -
 233
233 -
 234
234 -
 235
235 -
 236
236 -
 237
237 -
238
-
239
-
240
-
241
-
242
-
243
-
244
-
245
-
246
-
247
-
248
-
249
-
250
-
251
-
252
-
253
-
254
-
255
-
256
-
257
-
258
-
259
-
260
-
261
-
262
-
263
-
264
-
265
-
266
-
267
-
268
-
269
-
270
-
271
-
272
-
273
-
274
-
275
-
276
-
277
-
278
-
279
-
280
-
281
-
282
-
283
-
284
-
285
-
286
-
287
-
288
-
289
-
290
-
291
-
292
-
293
-
294
-
295
-
296
-
297
-
298
-
299
-
300
-
301
-
302
 |
 |
11-5
Maintenance
Cleaning the Machine
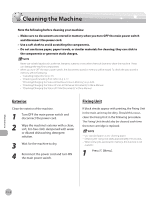
ADF
If your documents have black streaks or appear
dirty after scanning them using the ADF, this may
be caused by pencil lead rubbing off the documents
and onto the roller. Clean the ADF scanning area
and roller.
1
Turn OFF the main power switch and
disconnect the power cord.
2
Open the ADF cover.
3
Clean the rollers (A) inside the ADF cover
with a cloth dampened with water. Then
wipe the area with a soft, dry cloth.
Do not dampen the cloth too much, as this may
tear the document or damage the machine.
●
4
Close the ADF cover.
5
Open the ADF.
6
Clean the ADF scanning area (on the left
side of the platen glass (A)) with a cloth
dampened with water. Then wipe the
area with a soft, dry cloth.