Dell 942 All In One Inkjet Printer Dell™ Photo All-In-One Printer 94 - Page 30
Editing Scanned Text Using Optical Character Recognition, See More Scan Settings
 |
View all Dell 942 All In One Inkjet Printer manuals
Add to My Manuals
Save this manual to your list of manuals |
Page 30 highlights
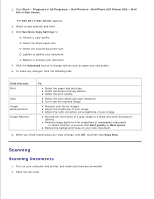
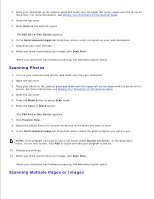
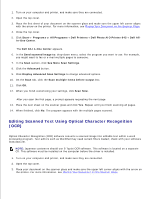
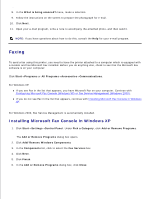
1. Turn on your computer and printer, and make sure they are connected. 2. Open the top cover. 3. Place the first sheet of your document on the scanner glass and make sure the upper left corner aligns with the arrow on the printer. For more information, see Placing Your Document on the Scanner Glass. 4. Close the top cover. 5. Click Start Programs or All Programs Dell Printers Dell Photo AIO Printer 942 Dell All- In-One Center. The Dell All-In-One Center appears. 6. In the Send scanned image to: drop-down menu, select the program you want to use. For example, you might want to fax or e-mail multiple pages to someone. 7. In the Scan section, click See More Scan Settings. 8. Click the Advanced button. 9. Click Display Advanced Scan Settings to change advanced options. 10. On the Scan tab, click the Scan multiple items before output box. 11. Click OK. 12. When you finish customizing your settings, click Scan Now. After you scan the first page, a prompt appears requesting the next page. 13. Place the next sheet on the scanner glass and click Yes. Repeat until you finish scanning all pages. 14. When finished, click No. The program appears with the multiple pages scanned. Editing Scanned Text Using Optical Character Recognition (OCR) Optical Character Recognition (OCR) software converts a scanned image into editable text within a word processing program. Text editors such as WordPad may need certain filters loaded; check with your software manufacturer. NOTE: Japanese customers should use E-Typist OCR software. This software is located on a separate CD. This software must be installed on the computer before the driver is installed. 1. Turn on your computer and printer, and make sure they are connected. 2. Open the top cover. 3. Place your document on the scanner glass and make sure the upper left corner aligns with the arrow on the printer. For more information, see Placing Your Document on the Scanner Glass. 4. 5.
-
 1
1 -
2
-
3
-
4
-
5
-
6
-
7
-
8
-
9
-
10
-
11
-
12
-
13
-
14
-
15
-
16
-
17
-
18
-
19
-
20
-
21
-
22
-
23
-
24
-
 25
25 -
 26
26 -
 27
27 -
 28
28 -
 29
29 -
 30
30 -
 31
31 -
 32
32 -
 33
33 -
 34
34 -
 35
35 -
36
-
37
-
38
-
39
-
40
-
41
-
42
-
43
-
44
-
45
-
46
-
47
-
48
-
49
-
50
-
51
-
52
-
53
-
54
-
55
-
56
-
57
-
58
-
59
-
60
-
61
-
62
-
63
-
64
-
65
-
66
-
67
-
68
-
69
-
70
-
71
-
72
-
73
-
74
-
75
-
76
-
77
 |
 |