Dell OptiPlex GX1 Dell OptiPlex GX1/GX1p Managed PC and OptiPlex NX1 Net PC S - Page 84
When you replace the system power supply, place it down inside the chassis
 |
View all Dell OptiPlex GX1 manuals
Add to My Manuals
Save this manual to your list of manuals |
Page 84 highlights
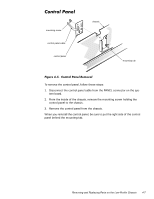
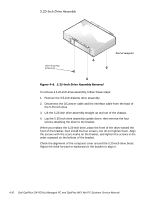
power supply power-supply mounting screw To remove the system power supply, follow these steps: 1. Disconnect the AC power cable from the back of the power supply. 2. Disconnect the DC power cables from the system board and the drives. 3. Remove the power-supply mounting screw at the back of the chassis. 4. Slide the system power supply forward until it stops; then lift it from the chassis. When you replace the system power supply, place it down inside the chassis and against the right side of the chassis. Then slide the system power supply toward the back of the chassis, and hook the tabs into the right side of the power supply. 4-12
-
 1
1 -
2
-
3
-
4
-
5
-
6
-
7
-
8
-
9
-
10
-
11
-
12
-
13
-
14
-
15
-
16
-
17
-
18
-
19
-
20
-
21
-
22
-
23
-
24
-
25
-
26
-
27
-
28
-
29
-
30
-
31
-
32
-
33
-
34
-
35
-
36
-
37
-
38
-
39
-
40
-
41
-
42
-
43
-
44
-
45
-
46
-
47
-
48
-
49
-
50
-
51
-
52
-
53
-
54
-
55
-
56
-
57
-
58
-
59
-
60
-
61
-
62
-
63
-
64
-
65
-
66
-
67
-
68
-
69
-
70
-
71
-
72
-
73
-
74
-
75
-
76
-
77
-
78
-
 79
79 -
 80
80 -
 81
81 -
 82
82 -
 83
83 -
 84
84 -
 85
85 -
 86
86 -
 87
87 -
 88
88 -
 89
89 -
90
-
91
-
92
-
93
-
94
-
95
-
96
-
97
-
98
-
99
-
100
-
101
-
102
-
103
-
104
-
105
-
106
-
107
-
108
-
109
-
110
-
111
-
112
-
113
-
114
-
115
-
116
-
117
-
118
-
119
-
120
-
121
-
122
-
123
-
124
-
125
-
126
-
127
-
128
-
129
-
130
-
131
-
132
-
133
-
134
-
135
-
136
-
137
-
138
-
139
-
140
-
141
-
142
-
143
-
144
-
145
-
146
-
147
-
148
-
149
-
150
-
151
-
152
-
153
-
154
-
155
-
156
-
157
-
158
-
159
-
160
-
161
-
162
-
163
-
164
-
165
-
166
-
167
-
168
-
169
-
170
-
171
-
172
-
173
-
174
-
175
-
176
-
177
-
178
 |
 |
4-12
’HOO±2SWL3OH[±*;²³*;²S±0DQDJHG±3&±DQG±2SWL3OH[±1;²±1HW±3&±6\VWHPV±6HUYLFH±0DQXDO
6\VWHP±3RZHU±6XSSO\±
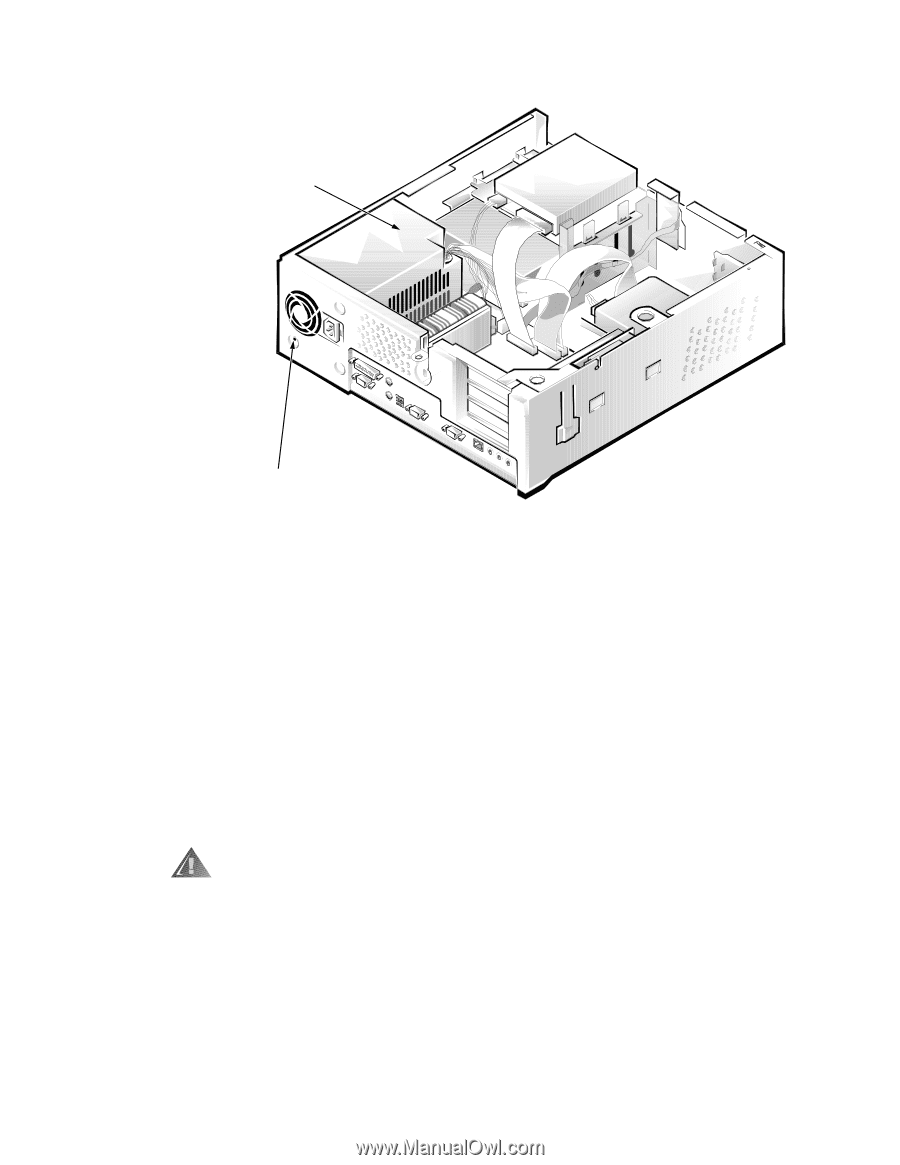
)LJXUH±·´²Â³±±6\VWHP±3RZHU´6XSSO\±5HPRYDO
To remove the system power supply, follow these steps:
1.
Disconnect the AC power cable from the back of the power supply.
2.
Disconnect the DC power cables from the system board and the drives.
3.
Remove the power-supply mounting screw at the back of the chassis.
4.
Slide the system power supply forward until it stops; then lift it from the
chassis.
When you replace the system power supply, place it down inside the chassis
and against the right side of the chassis. Then slide the system power supply
toward the back of the chassis, and hook the tabs into the right side of the
power supply.
:$51,1*±²7KH²YROWDJH²VHOHFWLRQ²VZLWFK¶²ORFDWHG²RQ²WKH²EDFN²RI²WKH²
SRZHU²VXSSO\²DVVHPEO\¶²PXVW²EH²VHW²WR²WKH²FRUUHFW²RSHUDWLQJ²YROWDJH²
·¸¸¹²RU²º»¼²9½²EHIRUH²WKH²SRZHU²FDEOH²LV²SOXJJHG²LQWR²DQ²HOHFWULFDO²
RXWOHW³
power supply
power-supply
mounting screw