Epson Ensemble HD 720 User's Guide - Page 42
Adjusting the Picture, Adjusting the Color Mode
 |
View all Epson Ensemble HD 720 manuals
Add to My Manuals
Save this manual to your list of manuals |
Page 42 highlights
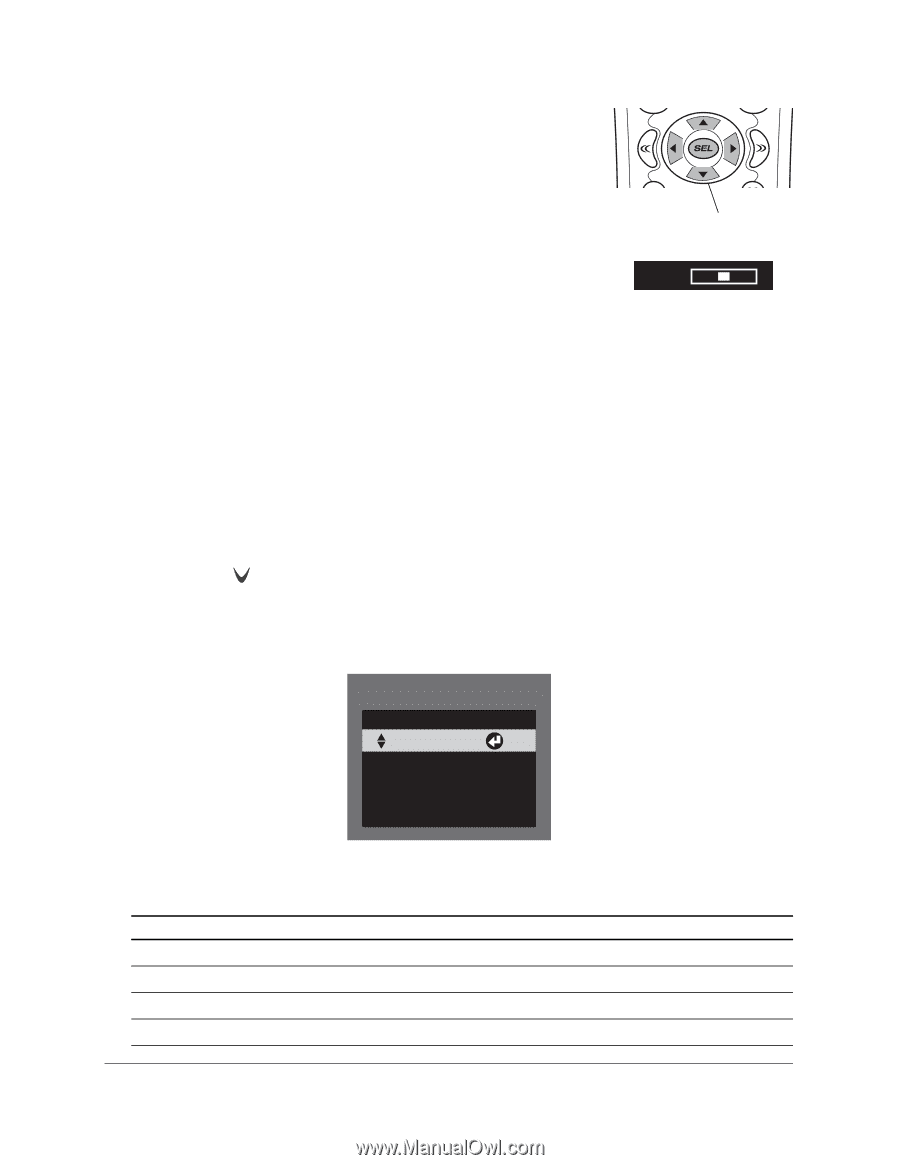
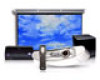
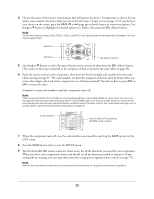
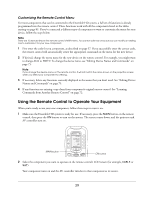
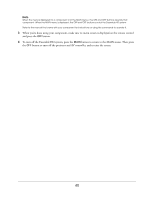
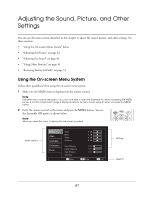
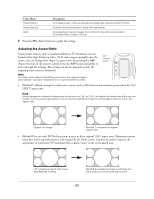
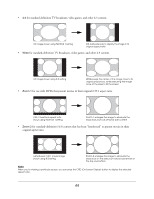
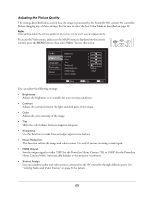
3 Use the u or d button to highlight the menu you want to use (such as Audio or Video). Then press the SEL (Select) button to open it. 4 Use the u or d button to highlight the setting you want to adjust. 5 After highlighting the setting you want to adjust, check the legend at the bottom of the screen. It tells you which buttons let you adjust the setting. Arrow buttons For example, if you see a slider bar like this, use the l and r buttons to change the setting. 0 dB 6 Press the ESC (Escape) button to return to the previous menu level, or press the MENU button to exit the menu system. Adjusting the Picture Adjusting the Color Mode You can change the projector's Color Mode to automatically adjust brightness, contrast, and color, letting you quickly optimize the image for different lighting conditions. For example, you might select Living Room for watching movies in the daytime with the curtains closed, and Theatre for watching movies at night. 1 Make sure the MAIN menu is displayed on the remote control. If necessary, press the MAIN button. 2 Press the PAGE button to display the second page of components. 3 Select the PROJ option on the LCD screen to open the Projector menu. 4 Select COL-M (Color Mode). You see a screen like this: [Color Mode] Dynamic EntLeivr inngewRoPoamssword Natural Theatre Theatre Black 1 Theatre Black 2 Screen shown for the PowerLite Home Cinema 1080 5 Press the COL-M button repeatedly to change modes. (With the PowerLite Home Cinema 720, use the u or d button to highlight the setting you want to use.) Color Mode Dynamic Living Room Natural Theatre Description For projecting the brightest picture available For watching movies during the day For projecting the most natural, accurate colors For viewing movies in a dark room 42
-
 1
1 -
2
-
3
-
4
-
5
-
6
-
7
-
8
-
9
-
10
-
11
-
12
-
13
-
14
-
15
-
16
-
17
-
18
-
19
-
20
-
21
-
22
-
23
-
24
-
25
-
26
-
27
-
28
-
29
-
30
-
31
-
32
-
33
-
34
-
35
-
36
-
 37
37 -
 38
38 -
 39
39 -
 40
40 -
 41
41 -
 42
42 -
 43
43 -
 44
44 -
 45
45 -
 46
46 -
 47
47 -
48
-
49
-
50
-
51
-
52
-
53
-
54
-
55
-
56
-
57
-
58
-
59
-
60
-
61
-
62
-
63
-
64
-
65
-
66
-
67
-
68
-
69
-
70
-
71
-
72
-
73
-
74
-
75
-
76
-
77
-
78
-
79
-
80
-
81
-
82
-
83
-
84
-
85
-
86
-
87
-
88
-
89
-
90
-
91
-
92
-
93
-
94
-
95
-
96
-
97
-
98
-
99
-
100
-
101
-
102
-
103
-
104
-
105
-
106
-
107
-
108
-
109
-
110
-
111
-
112
-
113
-
114
-
115
-
116
-
117
-
118
-
119
-
120
-
121
-
122
-
123
-
124
-
125
-
126
-
127
-
128
-
129
-
130
-
131
-
132
 |
 |