Epson LQ-860 User Manual - Page 84
The DIP Switch Tables, Using the Printer
 |
View all Epson LQ-860 manuals
Add to My Manuals
Save this manual to your list of manuals |
Page 84 highlights
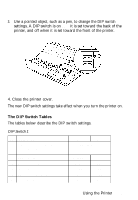
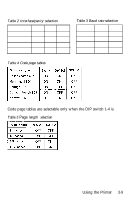
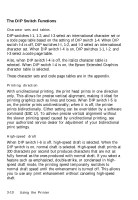
3. Use a pointed object, such as a pen, to change the DIP switch settings. A DIP switch is on when it is set toward the back of the printer, and off when it is set toward the front of the printer. 4. Close the printer cover. The new DIP switch settings take effect when you turn the printer on. The DIP Switch Tables The tables below describe the DIP switch settings. DIP Switch 1 SW Description l - l International character set l-2 Code page table 1-3 l-4 Character table l-5 Print direction for graphics l-6 High-speed draft l-7 Cut sheet feeder mode l-8 Skip over perforation ON OFF See tables 1, 4 Graphics Unidir. OFF ON ON Italics Bidir. ON OFF OFF Using the Printer 3-7
-
 1
1 -
2
-
3
-
4
-
5
-
6
-
7
-
8
-
9
-
10
-
11
-
12
-
13
-
14
-
15
-
16
-
17
-
18
-
19
-
20
-
21
-
22
-
23
-
24
-
25
-
26
-
27
-
28
-
29
-
30
-
31
-
32
-
33
-
34
-
35
-
36
-
37
-
38
-
39
-
40
-
41
-
42
-
43
-
44
-
45
-
46
-
47
-
48
-
49
-
50
-
51
-
52
-
53
-
54
-
55
-
56
-
57
-
58
-
59
-
60
-
61
-
62
-
63
-
64
-
65
-
66
-
67
-
68
-
69
-
70
-
71
-
72
-
73
-
74
-
75
-
76
-
77
-
78
-
 79
79 -
 80
80 -
 81
81 -
 82
82 -
 83
83 -
 84
84 -
 85
85 -
 86
86 -
 87
87 -
 88
88 -
 89
89 -
90
-
91
-
92
-
93
-
94
-
95
-
96
-
97
-
98
-
99
-
100
-
101
-
102
-
103
-
104
-
105
-
106
-
107
-
108
-
109
-
110
-
111
-
112
-
113
-
114
-
115
-
116
-
117
-
118
-
119
-
120
-
121
-
122
-
123
-
124
-
125
-
126
-
127
-
128
-
129
-
130
-
131
-
132
-
133
-
134
-
135
-
136
-
137
-
138
-
139
-
140
-
141
-
142
-
143
-
144
-
145
-
146
-
147
-
148
-
149
-
150
-
151
-
152
-
153
-
154
-
155
-
156
-
157
-
158
-
159
-
160
-
161
-
162
-
163
-
164
-
165
-
166
-
167
-
168
-
169
-
170
-
171
-
172
-
173
-
174
-
175
-
176
-
177
-
178
-
179
-
180
-
181
-
182
-
183
-
184
-
185
-
186
-
187
-
188
-
189
-
190
-
191
-
192
-
193
-
194
-
195
-
196
-
197
-
198
-
199
-
200
-
201
-
202
-
203
-
204
-
205
-
206
-
207
-
208
-
209
-
210
-
211
-
212
-
213
-
214
-
215
-
216
-
217
-
218
-
219
-
220
-
221
-
222
-
223
-
224
-
225
-
226
-
227
-
228
-
229
-
230
-
231
-
232
-
233
-
234
-
235
-
236
-
237
-
238
-
239
-
240
-
241
-
242
-
243
-
244
-
245
-
246
-
247
-
248
-
249
-
250
-
251
-
252
-
253
-
254
-
255
-
256
-
257
-
258
-
259
-
260
-
261
-
262
-
263
-
264
-
265
-
266
-
267
-
268
-
269
-
270
-
271
-
272
-
273
-
274
-
275
-
276
-
277
-
278
-
279
-
280
-
281
-
282
-
283
-
284
-
285
-
286
-
287
-
288
-
289
-
290
-
291
-
292
-
293
-
294
-
295
-
296
-
297
-
298
-
299
-
300
-
301
-
302
-
303
-
304
-
305
-
306
-
307
-
308
-
309
-
310
-
311
-
312
-
313
-
314
-
315
-
316
-
317
-
318
-
319
-
320
-
321
-
322
-
323
-
324
-
325
 |
 |
3.
Use a pointed object, such as a pen, to change the DIP switch
settings. A DIP switch is on
when
it is set toward the back of the
printer, and off when it is set toward the front of the printer.
4. Close the printer cover.
The new DIP switch settings take effect when you turn the printer on.
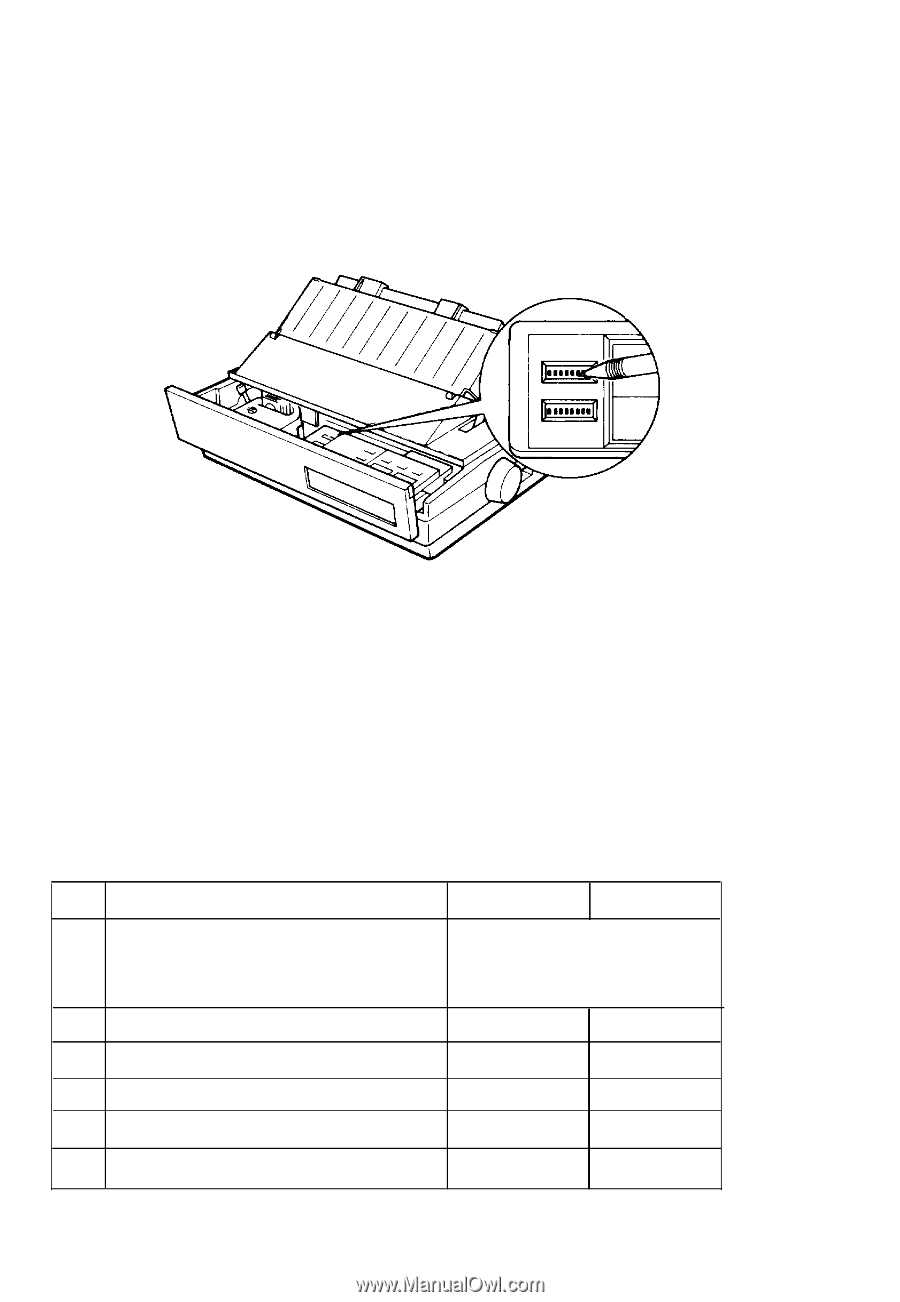
The DIP Switch Tables
The tables below describe the DIP switch settings.
DIP Switch 1
SW Description
l-l
International character set
l-2 Code page table
1-3
l-4 Character table
l-5
Print direction for graphics
l-6 High-speed draft
l-7
Cut sheet feeder mode
l-8 Skip over perforation
ON
OFF
See tables 1, 4
Graphics
Italics
Unidir.
Bidir.
OFF
ON
ON
OFF
ON
OFF
Using the Printer
3-7