HP Designjet 111 HP Designjet 111 Printer Series - User Guide - Page 15
Share the printer, Install the Mac OS printer driver, Connect using a USB cable (Mac OS) - software
 |
View all HP Designjet 111 manuals
Add to My Manuals
Save this manual to your list of manuals |
Page 15 highlights
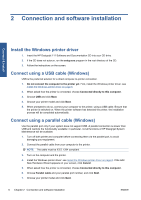
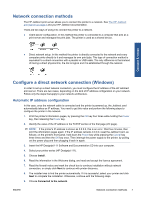
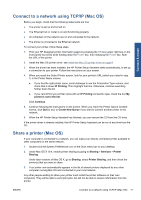
Connect & install Share the printer In order to be able to perform a client installation, the printer must be shared in the computer that will act as a print server. 1. Select Start > Settings > Printers. 2. Right-click the printer you want to share and select Properties. 3. Go to the Sharing tab. 4. Select Shared as and select the sharing name of the device. 5. If the computers you are going to connect as clients have different Windows versions, you may need to install additional drivers for these other operating systems. In order to do so, click Additional drivers and follow the screen instructions. Install the Mac OS printer driver 1. Insert the HP Designjet 111 Software and Documentation CD into your CD drive. 2. In Finder, navigate to the CD. You will see the Mac OS X HP Designjet Installer icon. 3. Double-click the icon to launch the installer. 4. The installer takes you through various steps until you reach the main install dialog box. You have the following three options. ● Easy Install: we recommend that you choose this option, which will install all components. ● Custom Install: you can choose the component you want to install (the driver, the System Maintenance utility, or both) using the check boxes. 5. Click Install. 6. The HP Printer Setup Assistant is displayed. Follow the instructions on the screen until the installation is complete. If you want to delete the print queue at some later time, follow these instructions. ● Under Mac OS X 10.4, 10.5 or 10.6: from the system preferences, select the Printing pane of the Print & Fax dialog. Select the name of the printer and click the - button. ● Under Mac OS X 10.4: from the Print Setup utility, select the name of the printer and click the Delete icon. NOTE: Under Mac OS X 10.4, both methods are available. Connect using a USB cable (Mac OS) 1. Install the Mac OS printer driver: see Install the Mac OS printer driver on page 9. 2. When the driver has been installed, the HP Printer Setup Assistant starts automatically, to set up a connection to your printer. 3. Make sure that the printer is turned on and connected to the computer with a certified USB cable. NOTE: The use of non-certified USB cables can lead to connectivity problems. Only cables certified by the USB Implementor's Forum (http://www.usb.org/) should be used with this printer. 4. In the HP Printer Setup Assistant, click Continue. ENWW Install the Mac OS printer driver 9
-
 1
1 -
2
-
3
-
4
-
5
-
6
-
7
-
8
-
9
-
 10
10 -
 11
11 -
 12
12 -
 13
13 -
 14
14 -
 15
15 -
 16
16 -
 17
17 -
 18
18 -
 19
19 -
 20
20 -
21
-
22
-
23
-
24
-
25
-
26
-
27
-
28
-
29
-
30
-
31
-
32
-
33
-
34
-
35
-
36
-
37
-
38
-
39
-
40
-
41
-
42
-
43
-
44
-
45
-
46
-
47
-
48
-
49
-
50
-
51
-
52
-
53
 |
 |