HP Designjet 111 HP Designjet 111 Printer Series - User Guide - Page 17
Connect to a network using TCP/IP (Mac OS), Share a printer (Mac OS
 |
View all HP Designjet 111 manuals
Add to My Manuals
Save this manual to your list of manuals |
Page 17 highlights
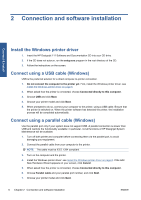
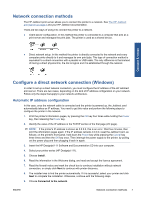
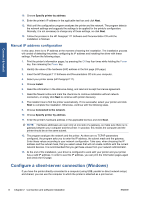
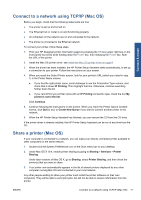
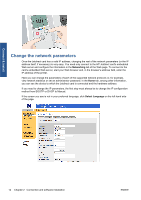
Connect & install Connect to a network using TCP/IP (Mac OS) Before you begin, check that the following statements are true. ● The printer is set up and turned on. ● The Ethernet hub or router is on and functioning properly. ● All computers on the network are on and connected to the network. ● The printer is connected to the Ethernet network. To connect your printer, follow these steps. 1. Print your HP Designjet printer information pages by pressing the OK key (upper right key on the front panel) four times while holding down the Power key, then releasing the Power key. Note the URL of the printer. 2. Install the Mac OS printer driver: see Install the Mac OS printer driver on page 9. 3. When the driver has been installed, the HP Printer Setup Assistant starts automatically, to set up a connection to your printer. Follow the instructions on your screen. 4. When you reach the Select Printer screen, look for your printer's URL (which you noted in step 1) in the Printer Name column. ● If you find the right printer name, scroll sideways to see the Connection Type column, and check that it shows IP Printing. Then highlight that line. Otherwise, continue searching further down the list. ● If you cannot find your printer name with an IP Printing connection type, check the box My printer is not in the list. Click Continue. 5. Continue following the instructions on the screen. When you reach the Printer Queue Created screen, click Quit to exit, or Create New Queue if you want to connect another printer to the network. 6. When the HP Printer Setup Assistant has finished, you can remove the CD from the CD drive. If the printer driver is already installed, the HP Printer Setup Assistant can be run at any time from the CD. Share a printer (Mac OS) If your computer is connected to a network, you can make your directly connected printer available to other computers on the same network. 1. Double-click the System Preferences icon on the Dock menu bar on your desktop. 2. Under Mac OS X 10.4, enable printer sharing by going to Sharing > Services > Printer Sharing. Under later versions of Mac OS X, go to Sharing, select Printer Sharing, and then check the printer(s) that you want to share. 3. Your printer now automatically appears in the list of shared printers displayed by any other computer running Mac OS and connected to your local network. Any other people wishing to share your printer must install the printer software on their own computers. They will be able to send print jobs, but will not be able to receive information from the printer. ENWW Connect to a network using TCP/IP (Mac OS) 11
-
 1
1 -
2
-
3
-
4
-
5
-
6
-
7
-
8
-
9
-
10
-
11
-
 12
12 -
 13
13 -
 14
14 -
 15
15 -
 16
16 -
 17
17 -
 18
18 -
 19
19 -
 20
20 -
 21
21 -
 22
22 -
23
-
24
-
25
-
26
-
27
-
28
-
29
-
30
-
31
-
32
-
33
-
34
-
35
-
36
-
37
-
38
-
39
-
40
-
41
-
42
-
43
-
44
-
45
-
46
-
47
-
48
-
49
-
50
-
51
-
52
-
53
 |
 |