HP OmniBook 600C fw 02.00.02-1 and sw 06.00.02 HAFM Server Omnibook - Installa - Page 24
Default FTP Site Properties, New > Virtual Directory
 |
View all HP OmniBook 600C manuals
Add to My Manuals
Save this manual to your list of manuals |
Page 24 highlights
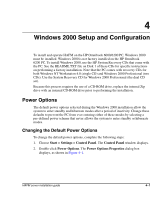
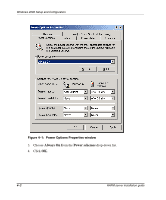
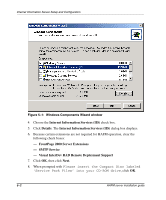
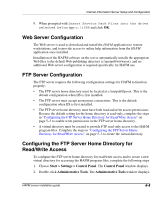
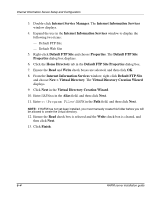
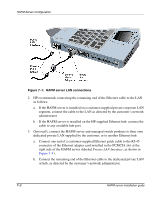
Internet Information Server Setup and Configuration 3. Double-click Internet Service Manager. The Internet Information Services window displays. 4. Expand the tree in the Internet Information Services window to display the following two items: - Default FTP Site - Default Web Site 5. Right-click Default FTP Site and choose Properties. The Default FTP Site Properties dialog box displays. 6. Click the Home Directory tab in the Default FTP Site Properties dialog box. 7. Ensure the Read and Write check boxes are selected, and then click OK. 8. From the Internet Information Services window, right-click Default FTP Site and choose New > Virtual Directory. The Virtual Directory Creation Wizard displays. 9. Click Next in the Virtual Directory Creation Wizard. 10. Enter HAFMan in the Alias field, and then click Next. 11. Enter c:\Program Files\HAFM in the Path field, and then click Next. NOTE: If HAFM has not yet been installed, you must manually create this folder before you will be allowed to create the virtual directory. 12. Ensure the Read check box is selected and the Write check box is cleared, and then click Next. 13. Click Finish. 5-4 HAFM server installation guide
-
 1
1 -
2
-
3
-
4
-
5
-
6
-
7
-
8
-
9
-
10
-
11
-
12
-
13
-
14
-
15
-
16
-
17
-
18
-
 19
19 -
 20
20 -
 21
21 -
 22
22 -
 23
23 -
 24
24 -
 25
25 -
 26
26 -
 27
27 -
 28
28 -
 29
29 -
30
-
31
-
32
-
33
-
34
-
35
-
36
-
37
-
38
-
39
-
40
-
41
-
42
-
43
-
44
-
45
-
46
-
47
-
48
-
49
-
50
-
51
-
52
-
53
-
54
-
55
-
56
-
57
-
58
-
59
-
60
-
61
-
62
-
63
-
64
-
65
-
66
-
67
-
68
 |
 |