HP Photosmart C4400 Full User Guide - Page 68
Edit a scanned image, in the following file formats: BMP, DCX, FPX, GIF, JPG, PCD, PCX, and TIF.
 |
View all HP Photosmart C4400 manuals
Add to My Manuals
Save this manual to your list of manuals |
Page 68 highlights
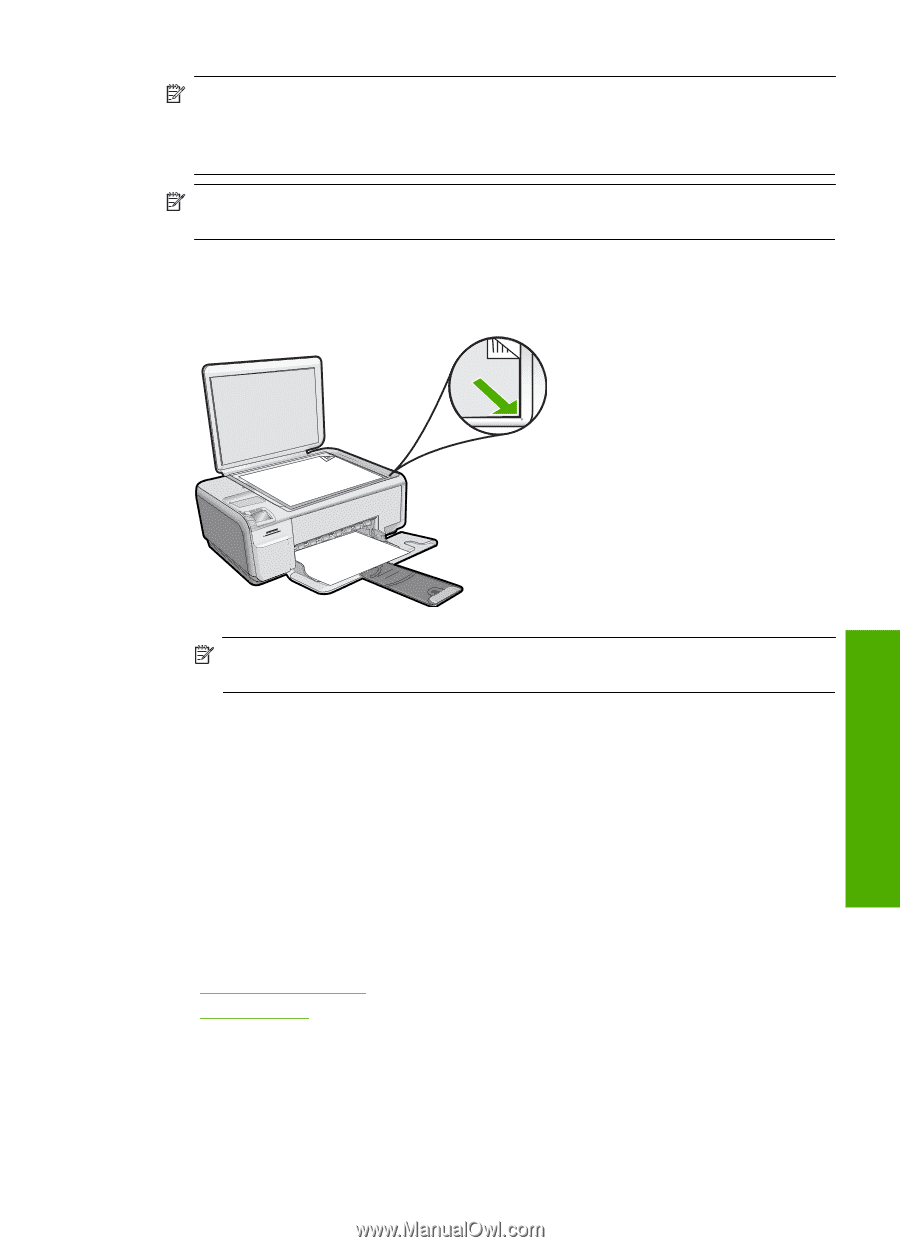
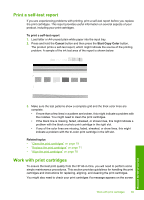
NOTE: Closing the HP Digital Imaging Monitor icon in the Windows system tray can cause the HP All-in-One to lose some of its scan functionality. If this happens, you can restore full functionality by restarting your computer or by starting the HP Photosmart Software. NOTE: When scanning, the HP Photosmart Software enables you to save an image in the following file formats: BMP, DCX, FPX, GIF, JPG, PCD, PCX, and TIF. To scan to a computer 1. Load your original print side down on the right front corner of the glass. Scan NOTE: Ensure that there are no memory cards inserted in the memory card slots on the product. 2. Press the button next to Scan/Reprint. The Scan/Reprint menu appears. 3. Press the button next to Scan to PC. A preview image of the scan appears on your computer, where you can edit it. Any edits that you make apply to the current scan session only. The HP Photosmart Software has many tools that you can use to edit your scanned image. You can improve the overall image quality by adjusting the brightness, sharpness, color tone, and saturation. You can also crop, straighten, rotate, or resize the image. 4. Make any edits to the preview image, and then click Accept when you are finished. Related topics • "Control panel buttons" on page 6 • "Load originals" on page 15 Edit a scanned image You can edit a scanned image, such as a photo or graphic, using the software you installed with the HP All-in-One. Using this software, you can rotate or crop the image, as well as adjust the brightness, contrast, and color saturation. Edit a scanned image 65
-
 1
1 -
2
-
3
-
4
-
5
-
6
-
7
-
8
-
9
-
10
-
11
-
12
-
13
-
14
-
15
-
16
-
17
-
18
-
19
-
20
-
21
-
22
-
23
-
24
-
25
-
26
-
27
-
28
-
29
-
30
-
31
-
32
-
33
-
34
-
35
-
36
-
37
-
38
-
39
-
40
-
41
-
42
-
43
-
44
-
45
-
46
-
47
-
48
-
49
-
50
-
51
-
52
-
53
-
54
-
55
-
56
-
57
-
58
-
59
-
60
-
61
-
62
-
 63
63 -
 64
64 -
 65
65 -
 66
66 -
 67
67 -
 68
68 -
 69
69 -
 70
70 -
 71
71 -
 72
72 -
 73
73 -
74
-
75
-
76
-
77
-
78
-
79
-
80
-
81
-
82
-
83
-
84
-
85
-
86
-
87
-
88
-
89
-
90
-
91
-
92
-
93
-
94
-
95
-
96
-
97
-
98
-
99
-
100
-
101
-
102
-
103
-
104
-
105
-
106
-
107
-
108
-
109
-
110
-
111
-
112
-
113
-
114
-
115
-
116
-
117
-
118
-
119
-
120
-
121
-
122
-
123
-
124
-
125
-
126
-
127
-
128
-
129
-
130
-
131
-
132
-
133
-
134
-
135
-
136
-
137
-
138
-
139
-
140
-
141
-
142
-
143
-
144
-
145
-
146
-
147
-
148
-
149
-
150
-
151
-
152
-
153
-
154
-
155
-
156
-
157
-
158
-
159
-
160
-
161
-
162
-
163
-
164
-
165
-
166
-
167
-
168
-
169
-
170
-
171
-
172
-
173
-
174
-
175
-
176
-
177
-
178
-
179
-
180
-
181
-
182
-
183
-
184
-
185
-
186
-
187
-
188
-
189
-
190
-
191
-
192
-
193
-
194
-
195
-
196
-
197
-
198
-
199
-
200
-
201
-
202
-
203
-
204
-
205
-
206
-
207
-
208
-
209
-
210
-
211
-
212
-
213
-
214
-
215
-
216
-
217
-
218
-
219
-
220
-
221
-
222
-
223
-
224
-
225
-
226
-
227
-
228
-
229
-
230
-
231
-
232
-
233
-
234
-
235
-
236
-
237
-
238
-
239
-
240
-
241
-
242
-
243
 |
 |