Lexmark P350 User's Guide - Page 33
Using the PictBridge menu, Understanding the software, Installing the printer software - driver
 |
View all Lexmark P350 manuals
Add to My Manuals
Save this manual to your list of manuals |
Page 33 highlights
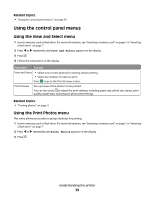
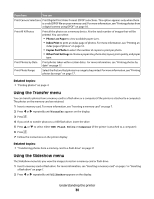
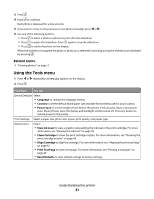
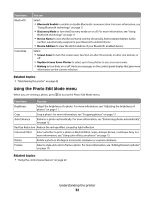
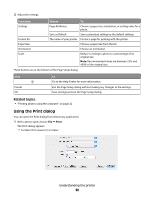
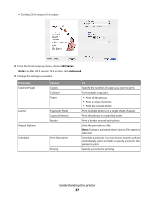
Using the PictBridge menu The PictBridge default settings menu allows the selection of printer settings if no selections were specified on your digital camera beforehand. To make camera selections, see the camera documentation. 1 Connect a PictBridge-enabled digital camera. For more information, see "Connecting a PictBridge-enabled digital camera" on page 6. 2 Press to access the PictBridge menu. 3 Press or to navigate through the following options: From here You can Paper Size Select a paper size. Photo Size Select a photo size. Layout Select a photo layout. Print Quality Select a print quality. Paper Type Select a paper type. For more information, see "Using supported paper types" on page 5. 4 Press or to make a selection. 5 Press to print. Related topics: • "Using the control panel menus" on page 29 • "Connecting a PictBridge-enabled digital camera" on page 6 • "Printing photos" on page 0 Understanding the software Installing the printer software Using the CD that came with the printer: 1 Close all open software applications. 2 Insert the printer software CD. 3 From the Finder desktop, double-click the printer CD icon that automatically appears. 4 Double-click the Install icon. 5 Follow the instructions on the computer screen. Using the World Wide Web: 1 Go to the Lexmark Web site at www.lexmark.com. 2 From the home page, navigate through the menu selection, and then click Drivers & Downloads. 3 Choose the printer and the printer driver for your operating system. 4 Follow the instructions on the computer screen to download the driver and install the printer software. Understanding the printer 33
-
 1
1 -
2
-
3
-
4
-
5
-
6
-
7
-
8
-
9
-
10
-
11
-
12
-
13
-
14
-
15
-
16
-
17
-
18
-
19
-
20
-
21
-
22
-
23
-
24
-
25
-
26
-
27
-
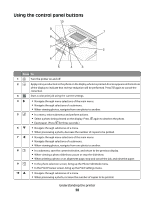 28
28 -
 29
29 -
 30
30 -
 31
31 -
 32
32 -
 33
33 -
 34
34 -
 35
35 -
 36
36 -
 37
37 -
 38
38 -
39
-
40
-
41
-
42
-
43
-
44
-
45
-
46
-
47
-
48
-
49
-
50
-
51
-
52
-
53
-
54
-
55
-
56
-
57
-
58
-
59
-
60
-
61
-
62
-
63
-
64
-
65
-
66
-
67
-
68
 |
 |