Lexmark P350 User's Guide - Page 40
Lexmark 350 Series, Lexmark 350 Series Utility, Print, Printer Services, Advanced
 |
View all Lexmark P350 manuals
Add to My Manuals
Save this manual to your list of manuals |
Page 40 highlights
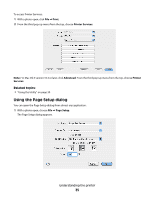
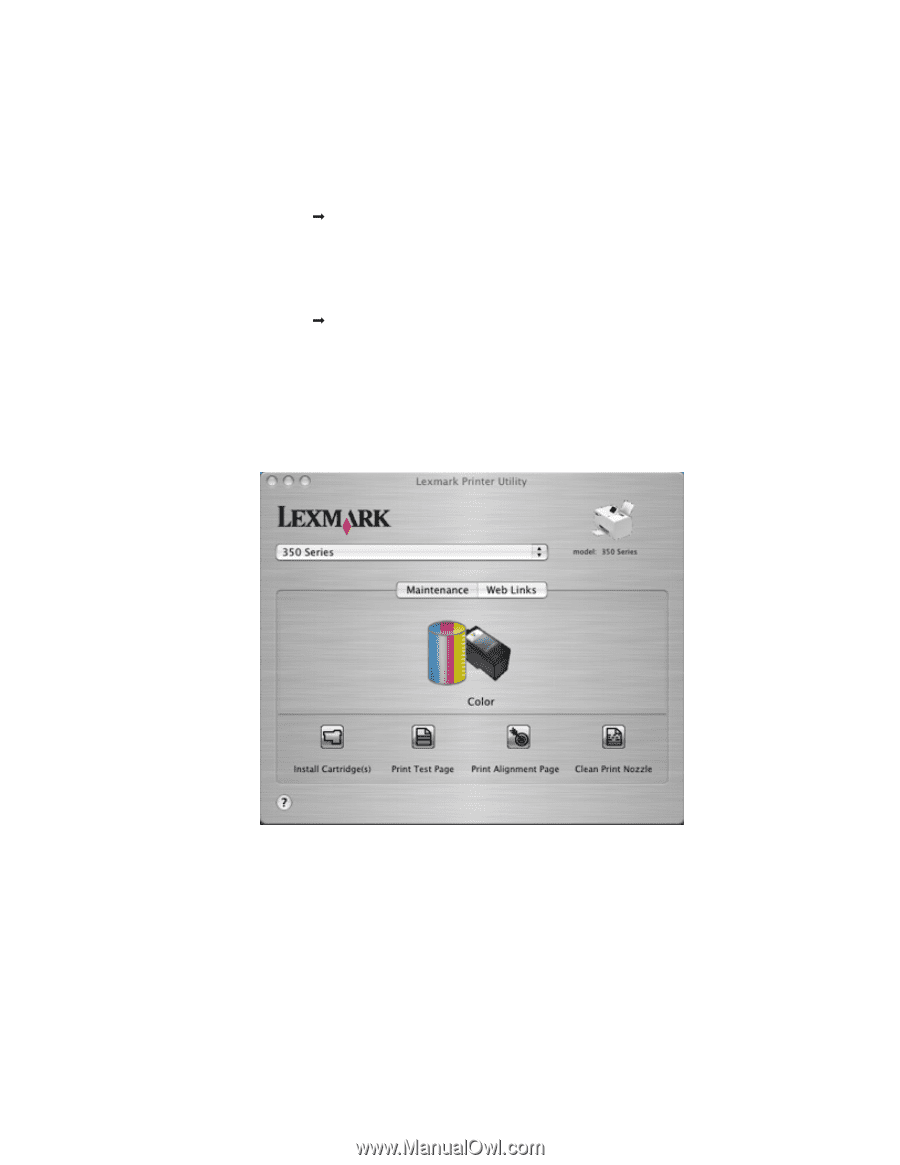
There are two ways to open the Utility: • From the Finder desktop, double-click the Lexmark 350 Series folder. Double-click the Lexmark 350 Series Utility icon. • From an application: For Mac OS X version 10.3 or later: 1 With a photo open, click File Œ Print. 2 From the third pop-up menu from the top, choose Printer Services. 3 Click Lexmark 350 Series Utility. For Mac OS X version 10.4 or later: 1 With a photo open, click File Œ Print. 2 Click Advanced. 3 From the third pop-up menu from the top, choose Printer Services. 4 Click Lexmark 350 Series Utility. The Utility has two tabs with different links under each tab. - Maintenance Tab Understanding the printer 40
-
 1
1 -
2
-
3
-
4
-
5
-
6
-
7
-
8
-
9
-
10
-
11
-
12
-
13
-
14
-
15
-
16
-
17
-
18
-
19
-
20
-
21
-
22
-
23
-
24
-
25
-
26
-
27
-
28
-
29
-
30
-
31
-
32
-
33
-
34
-
 35
35 -
 36
36 -
 37
37 -
 38
38 -
 39
39 -
 40
40 -
 41
41 -
 42
42 -
 43
43 -
 44
44 -
 45
45 -
46
-
47
-
48
-
49
-
50
-
51
-
52
-
53
-
54
-
55
-
56
-
57
-
58
-
59
-
60
-
61
-
62
-
63
-
64
-
65
-
66
-
67
-
68
 |
 |
There are two ways to open the Utility:
•
From the Finder desktop, double-click the
Lexmark 350 Series
folder.
Double-click the
Lexmark 350 Series Utility
icon.
•
From an application:
For Mac OS X version 10.3 or later:
1
With a photo open, click
File
Print
.
2
From the third pop-up menu from the top, choose
Printer Services
.
3
Click
Lexmark 350 Series Utility
.
For Mac OS X version 10.4 or later:
1
With a photo open, click
File
Print
.
2
Click
Advanced
.
3
From the third pop-up menu from the top, choose
Printer Services
.
4
Click
Lexmark 350 Series Utility
.
The Utility has two tabs with different links under each tab.
–
Maintenance Tab
Understanding the printer
40