Philips DVDR615 User manual - Page 25
Time and Date, The DVD recorder is ready for use - 00
 |
UPC - 037849945629
View all Philips DVDR615 manuals
Add to My Manuals
Save this manual to your list of manuals |
Page 25 highlights
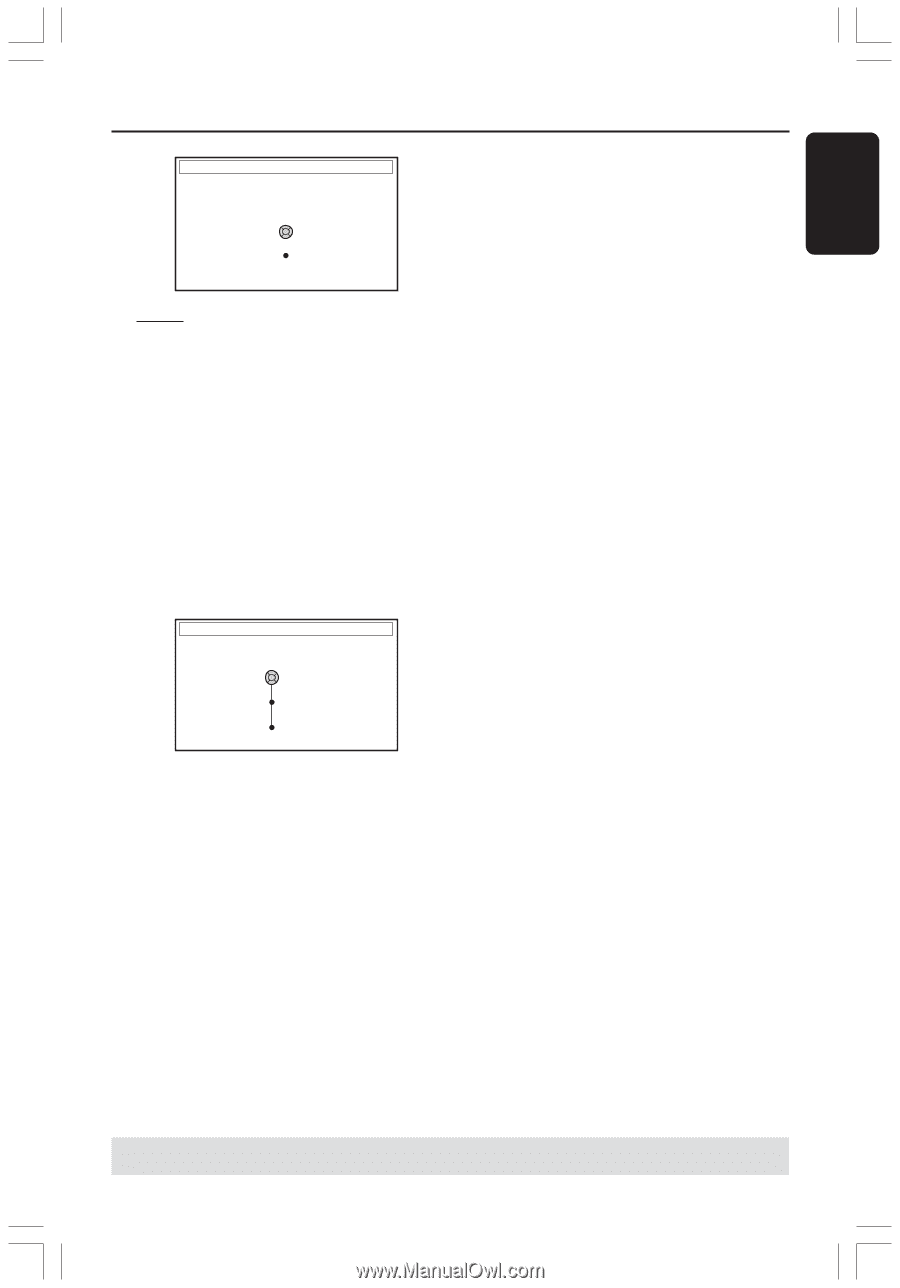
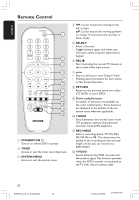
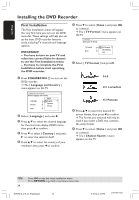
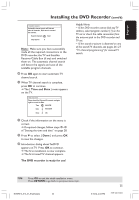
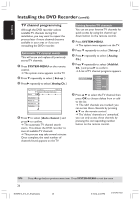
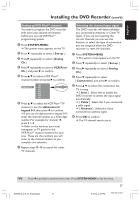
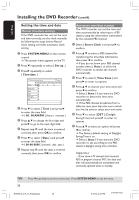
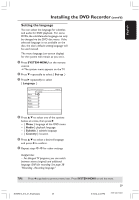
English Installing the DVD Recorder (cont'd) CHANNEL SEARCH Automatic channel search will find and store all channels. Make sure to connect the antenna. Search channels Start Skip Search Note: Make sure you have successfully made all the required connections to the DVD recorder, the TV and Satellite Receiver/Cable Box (if any) and switched them on. The automatic channel search will detect the signals and save all the available program channels. 0 Press OK again to start automatic TV channel search. ! When TV channel search is complete, press OK to continue. ➜ The { Time and Date } menu appears on the TV. TIME AND DATE Please check the Date and if incorrect, navigate right to correct the Date. Time 09:00 PM Date 06.30.2004 Done OK Helpful Hints: - If the DVD recorder cannot find any TV stations, select program number {1} on the TV set or check the cable connection from the antenna jack to the DVD recorder and TV set. - If the sound or picture is distorted on any of the stored TV channels, see pages 26~27 "TV channel programming" for manual TV search. " Check if the information on the menu is correct. ➜ If required changes, follow steps 4~8 of "Setting the time and date" on page 28. § Press 4 to select { Done } and press OK to save the changes. $ Introduction dialog about YesDVD appears on TV. Press OK to continue. ➜ The first installation is now complete. ➜ The first tuned TV channel appears. The DVD recorder is ready for use! TIPS: Press OK to exit the initial installation menu. Press RETURN to go back to previous menu item. DVDR610_615_37_Engfinal434 25 25 8/16/04, 4:05 PM 3139 246 14221
-
 1
1 -
2
-
3
-
4
-
5
-
6
-
7
-
8
-
9
-
10
-
11
-
12
-
13
-
14
-
15
-
16
-
17
-
18
-
19
-
 20
20 -
 21
21 -
 22
22 -
 23
23 -
 24
24 -
 25
25 -
 26
26 -
 27
27 -
 28
28 -
 29
29 -
 30
30 -
31
-
32
-
33
-
34
-
35
-
36
-
37
-
38
-
39
-
40
-
41
-
42
-
43
-
44
-
45
-
46
-
47
-
48
-
49
-
50
-
51
-
52
-
53
-
54
-
55
-
56
-
57
-
58
-
59
-
60
-
61
-
62
-
63
-
64
-
65
-
66
-
67
-
68
-
69
-
70
-
71
-
72
-
73
-
74
 |
 |