Canon VIXIA HF20 VIXIA HF20 / HF200 Manual - Page 122
Authoring High-Definition AVCHD Discs and Photo DVDs
 |
View all Canon VIXIA HF20 manuals
Add to My Manuals
Save this manual to your list of manuals |
Page 122 highlights
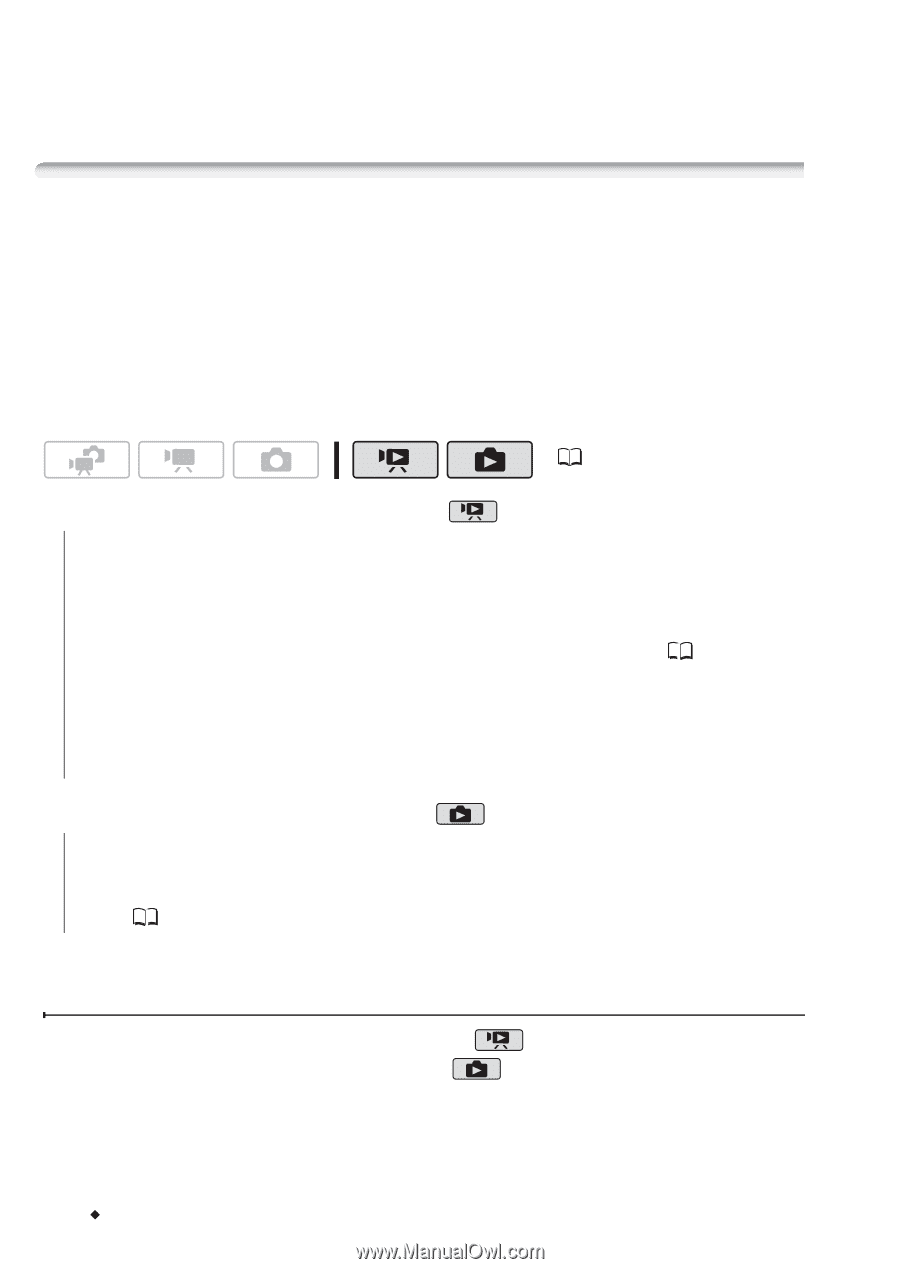
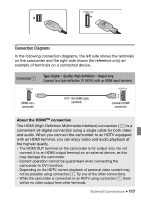
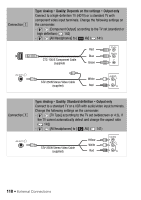
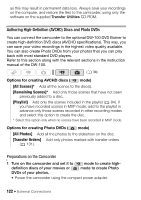
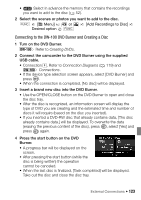
as this may result in permanent data loss. Always save your recordings on the computer, and restore the files to the camcorder, using only the software on the supplied Transfer Utilities CD-ROM. Authoring High-Definition (AVCHD) Discs and Photo DVDs You can connect the camcorder to the optional DW-100 DVD Burner to create high-definition DVD discs (AVCHD specifications). This way, you can save your video recordings in the highest video quality available. You can also create Photo DVDs from your photos that you can play back with most standard DVD players. Refer to this section along with the relevant sections in the instruction manual of the DW-100. ( 34) Options for creating AVCHD discs ( mode) [All Scenes]* Add all the scenes to the disc(s). [Remaining Scenes]* Add only those scenes that have not been previously added to a disc. [Playlist] Add only the scenes included in the playlist ( 84). If you have recorded scenes in MXP mode, add to the playlist in advance only those scenes recorded in other recording modes and select this option to create the disc. * Select this option only when no scenes have been recorded in MXP mode. Options for creating Photo DVDs ( mode) [All Photos] Add all the photos to the slideshow on the disc. [Transfer Orders] Add only photos marked with transfer orders ( 131). Preparations on the Camcorder 1 Turn on the camcorder and set it to mode to create high- definition discs of your movies or mode to create Photo DVDs of your photos. • Power the camcorder using the compact power adapter. 122 Š External Connections
-
 1
1 -
2
-
3
-
4
-
5
-
6
-
7
-
8
-
9
-
10
-
11
-
12
-
13
-
14
-
15
-
16
-
17
-
18
-
19
-
20
-
21
-
22
-
23
-
24
-
25
-
26
-
27
-
28
-
29
-
30
-
31
-
32
-
33
-
34
-
35
-
36
-
37
-
38
-
39
-
40
-
41
-
42
-
43
-
44
-
45
-
46
-
47
-
48
-
49
-
50
-
51
-
52
-
53
-
54
-
55
-
56
-
57
-
58
-
59
-
60
-
61
-
62
-
63
-
64
-
65
-
66
-
67
-
68
-
69
-
70
-
71
-
72
-
73
-
74
-
75
-
76
-
77
-
78
-
79
-
80
-
81
-
82
-
83
-
84
-
85
-
86
-
87
-
88
-
89
-
90
-
91
-
92
-
93
-
94
-
95
-
96
-
97
-
98
-
99
-
100
-
101
-
102
-
103
-
104
-
105
-
106
-
107
-
108
-
109
-
110
-
111
-
112
-
113
-
114
-
115
-
116
-
 117
117 -
 118
118 -
 119
119 -
 120
120 -
 121
121 -
 122
122 -
 123
123 -
 124
124 -
 125
125 -
 126
126 -
 127
127 -
128
-
129
-
130
-
131
-
132
-
133
-
134
-
135
-
136
-
137
-
138
-
139
-
140
-
141
-
142
-
143
-
144
-
145
-
146
-
147
-
148
-
149
-
150
-
151
-
152
-
153
-
154
-
155
-
156
-
157
-
158
-
159
-
160
-
161
-
162
-
163
-
164
-
165
-
166
-
167
-
168
-
169
-
170
-
171
-
172
-
173
-
174
-
175
-
176
-
177
-
178
-
179
-
180
-
181
-
182
-
183
-
184
-
185
-
186
 |
 |