HP 450c HP DesignJet 430/450C/488CA Printer - UserÂ’s Guide - Page 35
Setup Sheet, Note.
 |
View all HP 450c manuals
Add to My Manuals
Save this manual to your list of manuals |
Page 35 highlights
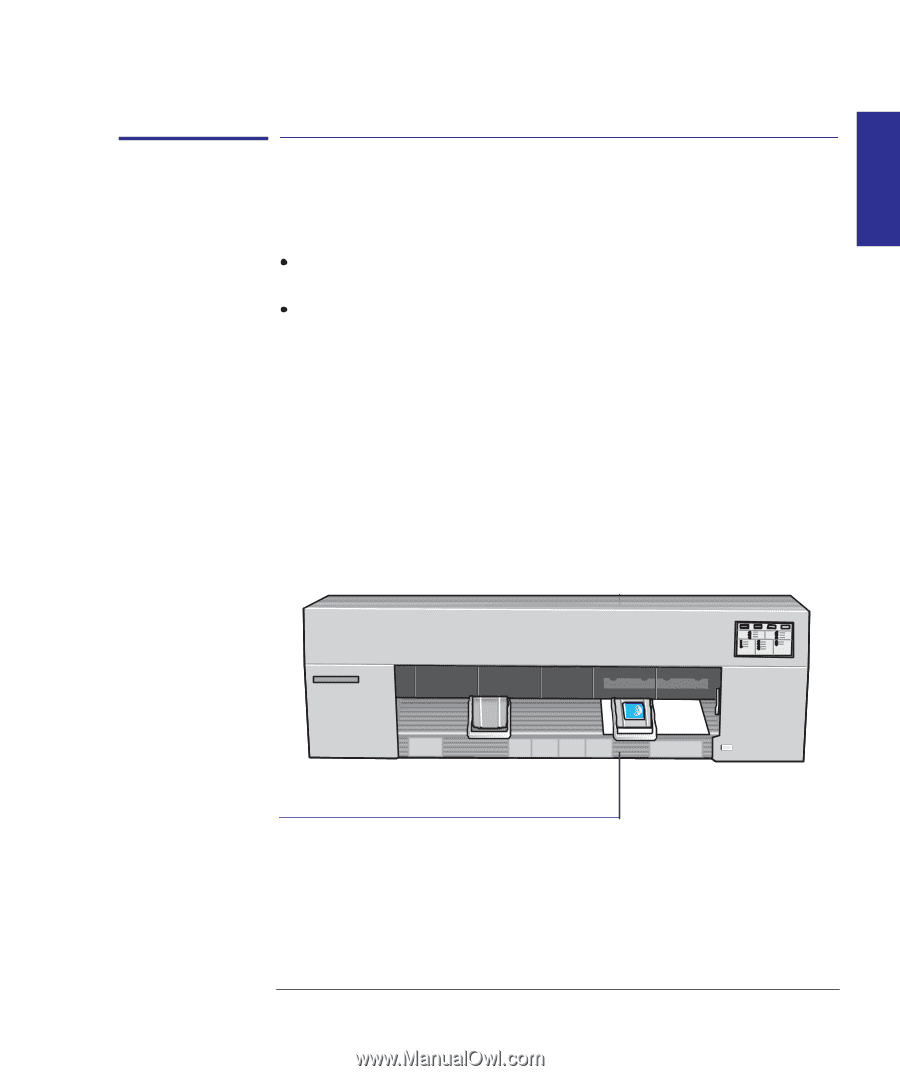
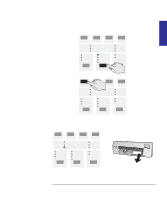
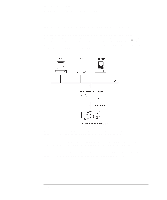
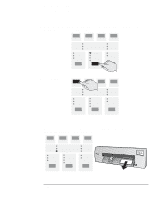
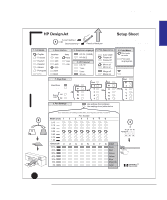
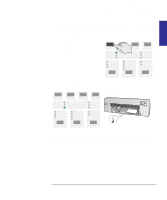
SETUP 1 Setting up your printer Task 8: (Optional) Configure the printer Task 8: (Optional) Configure the printer In the majority of cases, there is no need to change any of the printer's default settings. This may be because: You prefer to change those settings that affect the appearance of your prints from your application software. The printer's factory defaults, listed on page 1-22, are acceptable. However, if you do want to change the defaults, follow these steps, which explain how to print and use the Setup Sheet. Note. If you changed the language from English (see task 6 above), you already know how to use this sheet, but this time it will be in your chosen language. 1 Load a sheet of A-size or A4-size plain paper, in portrait orientation. For help on how to load a sheet, either refer to the pictures on the right-hand side of the printer's media-entry slot, or see the section starting on page 2-9. Don't forget to check that the Media Source is set to Sheet. When the Ready light is on, you have loaded the sheet correctly. Print will be on underside C471307. 1-19
-
 1
1 -
2
-
3
-
4
-
5
-
6
-
7
-
8
-
9
-
10
-
11
-
12
-
13
-
14
-
15
-
16
-
17
-
18
-
19
-
20
-
21
-
22
-
23
-
24
-
25
-
26
-
27
-
28
-
29
-
 30
30 -
 31
31 -
 32
32 -
 33
33 -
 34
34 -
 35
35 -
 36
36 -
 37
37 -
 38
38 -
 39
39 -
 40
40 -
41
-
42
-
43
-
44
-
45
-
46
-
47
-
48
-
49
-
50
-
51
-
52
-
53
-
54
-
55
-
56
-
57
-
58
-
59
-
60
-
61
-
62
-
63
-
64
-
65
-
66
-
67
-
68
-
69
-
70
-
71
-
72
-
73
-
74
-
75
-
76
-
77
-
78
-
79
-
80
-
81
-
82
-
83
-
84
-
85
-
86
-
87
-
88
-
89
-
90
-
91
-
92
-
93
-
94
-
95
-
96
-
97
-
98
-
99
-
100
-
101
-
102
-
103
-
104
-
105
-
106
-
107
-
108
-
109
-
110
-
111
-
112
-
113
-
114
-
115
-
116
-
117
-
118
-
119
-
120
-
121
-
122
-
123
-
124
-
125
-
126
-
127
-
128
-
129
-
130
-
131
-
132
-
133
-
134
-
135
-
136
-
137
-
138
-
139
-
140
-
141
-
142
-
143
-
144
-
145
-
146
-
147
-
148
-
149
-
150
-
151
-
152
-
153
-
154
-
155
-
156
-
157
-
158
-
159
-
160
-
161
-
162
-
163
-
164
-
165
-
166
-
167
-
168
-
169
-
170
-
171
-
172
-
173
-
174
-
175
-
176
-
177
-
178
-
179
-
180
-
181
-
182
-
183
-
184
-
185
-
186
-
187
-
188
-
189
-
190
-
191
-
192
-
193
 |
 |