HP 450c HP DesignJet 430/450C/488CA Printer - UserÂ’s Guide - Page 50
software printer driver.
 |
View all HP 450c manuals
Add to My Manuals
Save this manual to your list of manuals |
Page 50 highlights
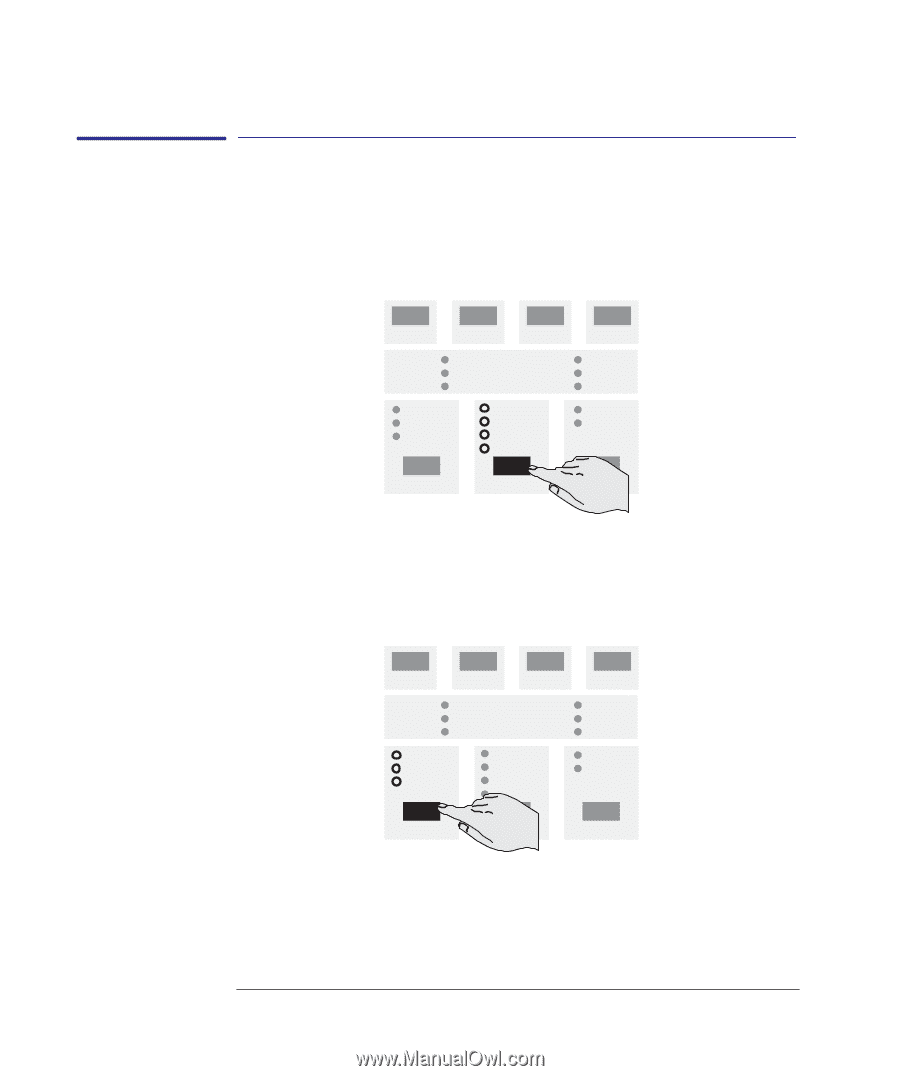
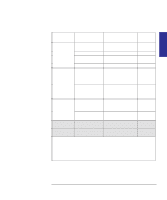
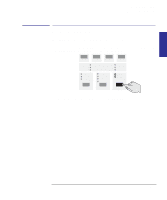
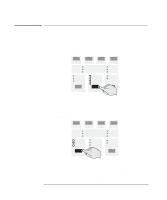
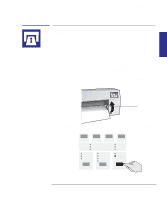
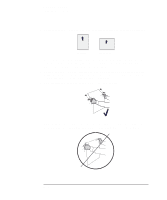
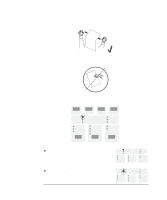
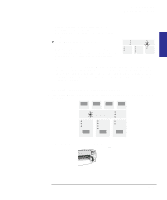
Working with media Before sending your file Before sending your file 1 Specify the media type Press the Media Type key until the light comes on against the name of the media type you are going to load. For an explanation of which media type category on the front panel should be used for each supported media type, see the table on page 2-3. PAPER FILM COATED GLOSSY MEDIA TYPE Note that, if your software printer driver allows you to specify the media type, you must specify it correctly there as well. 2 Specify the print quality setting Press the Print Quality key until the light comes on against the print quality setting you require. FAST NORMAL BEST PRINT QUALITY For details of each print quality setting, see the table on page 3-15. Alternatively, you may be able to specify the print quality setting from your software printer driver. In this case, the driver's setting is used for the next print. During the print, the front-panel setting changes temporarily to that from the driver, and then resumes its previous setting again. 2-8
-
 1
1 -
2
-
3
-
4
-
5
-
6
-
7
-
8
-
9
-
10
-
11
-
12
-
13
-
14
-
15
-
16
-
17
-
18
-
19
-
20
-
21
-
22
-
23
-
24
-
25
-
26
-
27
-
28
-
29
-
30
-
31
-
32
-
33
-
34
-
35
-
36
-
37
-
38
-
39
-
40
-
41
-
42
-
43
-
44
-
 45
45 -
 46
46 -
 47
47 -
 48
48 -
 49
49 -
 50
50 -
 51
51 -
 52
52 -
 53
53 -
 54
54 -
 55
55 -
56
-
57
-
58
-
59
-
60
-
61
-
62
-
63
-
64
-
65
-
66
-
67
-
68
-
69
-
70
-
71
-
72
-
73
-
74
-
75
-
76
-
77
-
78
-
79
-
80
-
81
-
82
-
83
-
84
-
85
-
86
-
87
-
88
-
89
-
90
-
91
-
92
-
93
-
94
-
95
-
96
-
97
-
98
-
99
-
100
-
101
-
102
-
103
-
104
-
105
-
106
-
107
-
108
-
109
-
110
-
111
-
112
-
113
-
114
-
115
-
116
-
117
-
118
-
119
-
120
-
121
-
122
-
123
-
124
-
125
-
126
-
127
-
128
-
129
-
130
-
131
-
132
-
133
-
134
-
135
-
136
-
137
-
138
-
139
-
140
-
141
-
142
-
143
-
144
-
145
-
146
-
147
-
148
-
149
-
150
-
151
-
152
-
153
-
154
-
155
-
156
-
157
-
158
-
159
-
160
-
161
-
162
-
163
-
164
-
165
-
166
-
167
-
168
-
169
-
170
-
171
-
172
-
173
-
174
-
175
-
176
-
177
-
178
-
179
-
180
-
181
-
182
-
183
-
184
-
185
-
186
-
187
-
188
-
189
-
190
-
191
-
192
-
193
 |
 |