HP Designjet 2000/3000cp HP DesignJet ColorPro - User's Guide - Page 27
Monitoring and Replacing Ink Cartridges
 |
View all HP Designjet 2000/3000cp manuals
Add to My Manuals
Save this manual to your list of manuals |
Page 27 highlights
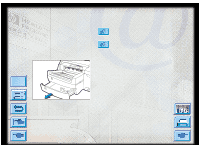
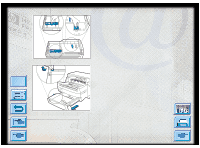
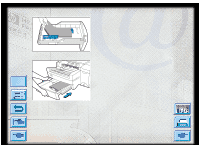
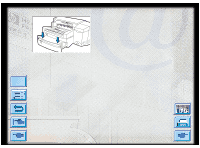
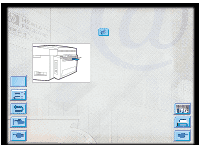
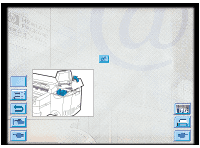
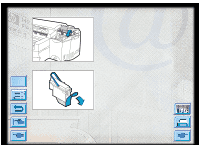
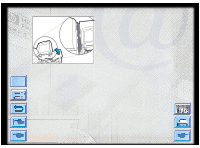
Monitoring and Replacing Ink Cartridges Monitoring and Replacing Ink Cartridges The printer monitors and shows in the display the amount of ink left in each ink cartridge. When the ink in the particular ink cartridge is about to be used up, a warning message will appear on the display panel. At this point, your ink cartridge will still have enough ink left in the cartridges for a few more print jobs. However, it is recommended that you get a replacement ready as soon as this warning message appears. When the ink of a particular ink cartridge has fully run out, the display will show a message [X INK OUT, REPLACE CART] (where X is the color of the cartridge). When this happens, you will not be able to print until the corresponding cartridge is replaced. Click to see a video clip of the following procedure. Menu To replace a cartridge: 1. Lift to open the ink cartridge door. 2. Remove the old ink cartridge by pulling it upwards. 3. Remove the new ink cartridge from its packaging and insert it into its own color-coded slot. The arrow points to the front of the printer. 4. Push down the ink cartridge firmly. 5. Close the ink cartridge door. Note: Use only original No. 10 HP ink cartridges. The use of incompatible cartridges may disrupt the intricate printing system, potentially resulting in reduced print quality and even printer damage. HP does not guarantee non-HP cartridges or the damage to the printer resulting from the use of non-HP cartridges. For more information on HP Supplies, refer to the Getting Started Guide. HP DesignJet ColorPro Series: User's Guide (version 1) page 27 of 64
-
 1
1 -
2
-
3
-
4
-
5
-
6
-
7
-
8
-
9
-
10
-
11
-
12
-
13
-
14
-
15
-
16
-
17
-
18
-
19
-
20
-
21
-
 22
22 -
 23
23 -
 24
24 -
 25
25 -
 26
26 -
 27
27 -
 28
28 -
 29
29 -
 30
30 -
 31
31 -
 32
32 -
33
-
34
-
35
-
36
-
37
-
38
-
39
-
40
-
41
-
42
-
43
-
44
-
45
-
46
-
47
-
48
-
49
-
50
-
51
-
52
-
53
-
54
-
55
-
56
-
57
-
58
-
59
-
60
-
61
-
62
-
63
-
64
 |
 |
