HP R80xi HP OfficeJet R Series All-in-One - (English) Setup Guide and Faxing O - Page 25
Checking the Line Connector, Connecting Your Office Equipment - officejet manual
 |
UPC - 088698680193
View all HP R80xi manuals
Add to My Manuals
Save this manual to your list of manuals |
Page 25 highlights
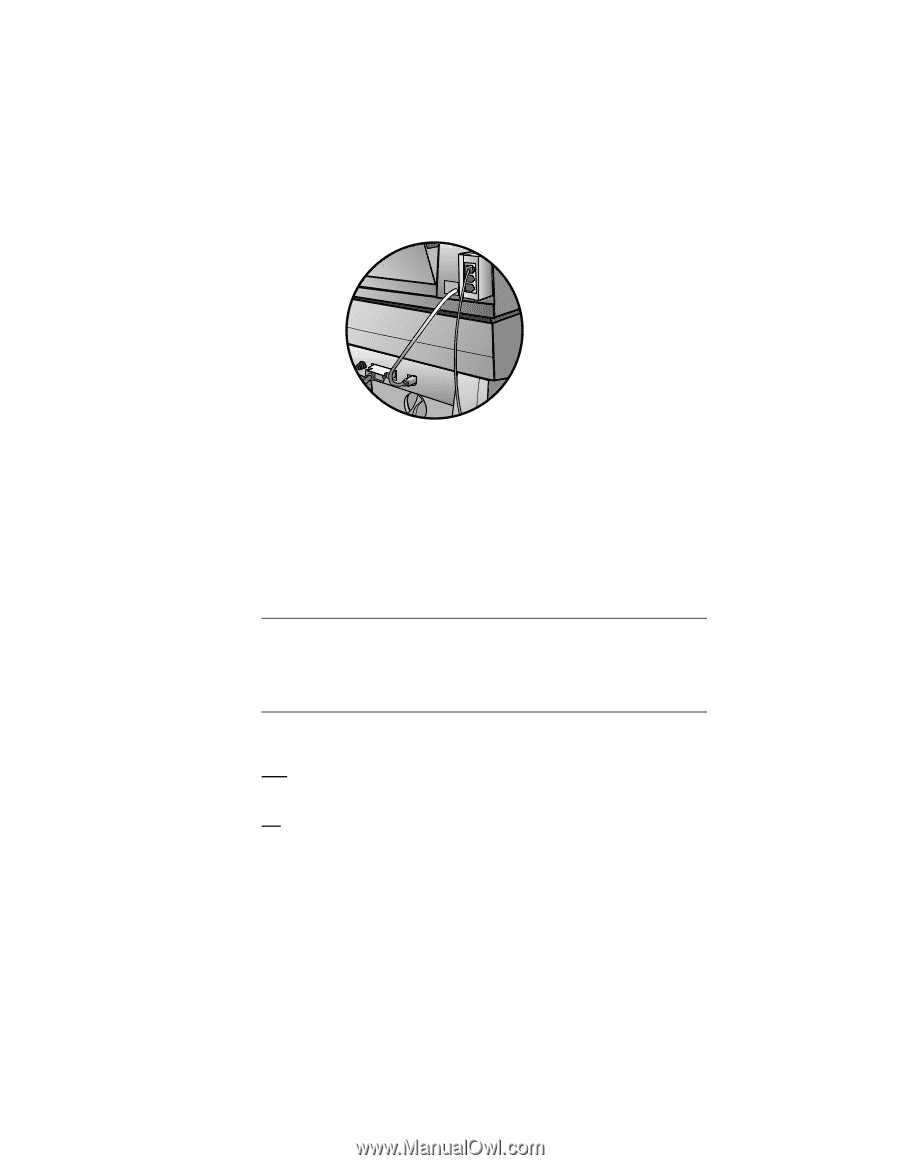
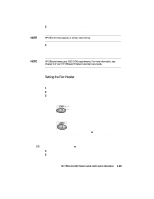
Checking the Line Connector 1 Verify that the fax/phone line connector is securely inserted into the back of the HP OfficeJet lid and that the phone connector is inserted in the top slot of the line connector. NOTE 2 Plug the other end of the phone cord into the telephone wall jack that you will use for your fax line. Connecting Your Office Equipment Notice the two ports on the back of the fax/phone line connector labeled "To Phone, Answering Machine or Modem." Use either port to connect any of these device types; the two ports are interchangeable. Your telephone line(s), answering machine, modem, and/or voice mail determine whether you can receive faxes automatically or must receive them manually. Answer these questions to determine how you can receive faxes. As you connect your office equipment you will select certain fax settings for use with your HP OfficeJet. For a detailed map of the various settings that are available and how to get to them, see the chart on the inside of the back cover of this guide. You can press Stop Fax any time to exit a menu or start over. Are you using the same phone line to receive voice and fax calls? Yes Skip to the next section, "Do you have distinctive ringing?" No 1 On the fax panel, verify that Auto Answer is enabled. The light next to Auto Answer is on when the feature is enabled. Press the Auto Answer button to turn it on or off. 2 Skip to and complete the steps outlined later under "Setting Your Basic Fax Settings." 1-18 Setting Up Your New HP OfficeJet R Series
-
 1
1 -
2
-
3
-
4
-
5
-
6
-
7
-
8
-
9
-
10
-
11
-
12
-
13
-
14
-
15
-
16
-
17
-
18
-
19
-
 20
20 -
 21
21 -
 22
22 -
 23
23 -
 24
24 -
 25
25 -
 26
26 -
 27
27 -
 28
28 -
 29
29 -
 30
30 -
31
-
32
-
33
-
34
-
35
-
36
-
37
-
38
-
39
-
40
-
41
-
42
-
43
-
44
-
45
-
46
-
47
-
48
-
49
-
50
-
51
-
52
-
53
-
54
-
55
-
56
-
57
-
58
-
59
-
60
-
61
-
62
-
63
 |
 |