Konica Minolta bizhub C552 bizhub C452/C552/C552DS/C652/C652DS Fax Driver Oper - Page 22
Reference
 |
View all Konica Minolta bizhub C552 manuals
Add to My Manuals
Save this manual to your list of manuals |
Page 22 highlights
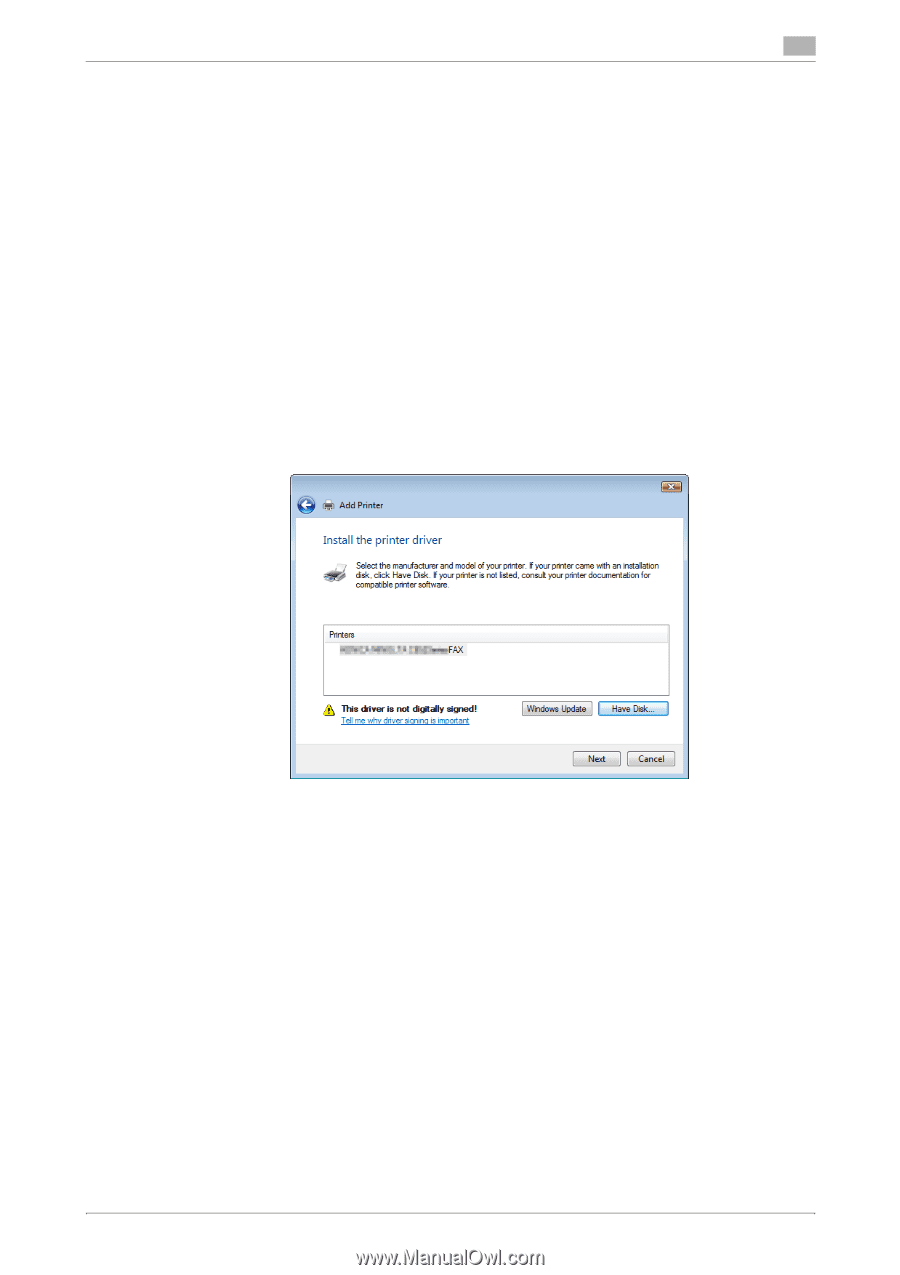
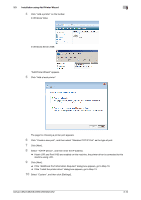
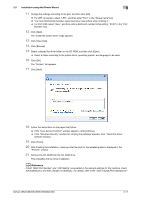
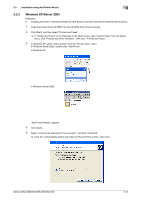
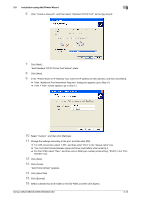
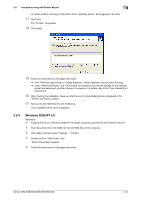
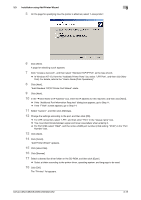
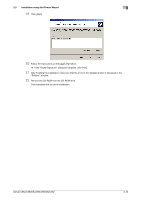
3.3 Installation using Add Printer Wizard 3 11 Change the settings according to the port, and then click [OK]. % For LPR connection, select "LPR", and then enter "Print" in the "Queue name" box. % You must discriminate between upper and lower case letters when entering it. % For Port 9100, select "Raw", and then enter a RAW port number (initial setting: "9100") in the "Port Number" box. 12 Click [Next]. The "Install the printer driver" page appears. 13 Click [Have Disk]. 14 Click [Browse]. 15 Select a desired fax driver folder on the CD-ROM, and then click [Open]. % Select a folder according to the printer driver, operating system, and language to be used. 16 Click [OK]. The "Printers" list appears. 17 Click [Next]. 18 Follow the instructions on the pages that follow. % If the "User Account Control" window appears, click [Continue]. % If the "Windows Security" window for verifying the publisher appears, click "Install this driver software anyway". 19 Click [Finish]. 20 After finishing the installation, make sure that the icon for the installed printer is displayed in the "Printers" window. 21 Remove the CD-ROM from the CD-ROM drive. This completes the fax driver installation. d Reference If both "RAW Port Number" and "LPD Setting" are enabled in the network settings for this machine, check the enabled port, and then change it if necessary. For details, refer to the "User's Guide [Print Operations]". bizhub C652/C652DS/C552/C552DS/C452 3-11
-
 1
1 -
2
-
3
-
4
-
5
-
6
-
7
-
8
-
9
-
10
-
11
-
12
-
13
-
14
-
15
-
16
-
 17
17 -
 18
18 -
 19
19 -
 20
20 -
 21
21 -
 22
22 -
 23
23 -
 24
24 -
 25
25 -
 26
26 -
 27
27 -
28
-
29
-
30
-
31
-
32
-
33
-
34
-
35
-
36
-
37
-
38
-
39
-
40
-
41
-
42
-
43
-
44
-
45
-
46
-
47
-
48
-
49
-
50
-
51
-
52
-
53
-
54
-
55
-
56
-
57
-
58
-
59
-
60
-
61
-
62
-
63
-
64
-
65
-
66
-
67
-
68
-
69
-
70
-
71
-
72
-
73
 |
 |