Konica Minolta bizhub C552 bizhub C452/C552/C552DS/C652/C652DS Fax Driver Oper - Page 25
Windows 2000/NT 4.0
 |
View all Konica Minolta bizhub C552 manuals
Add to My Manuals
Save this manual to your list of manuals |
Page 25 highlights
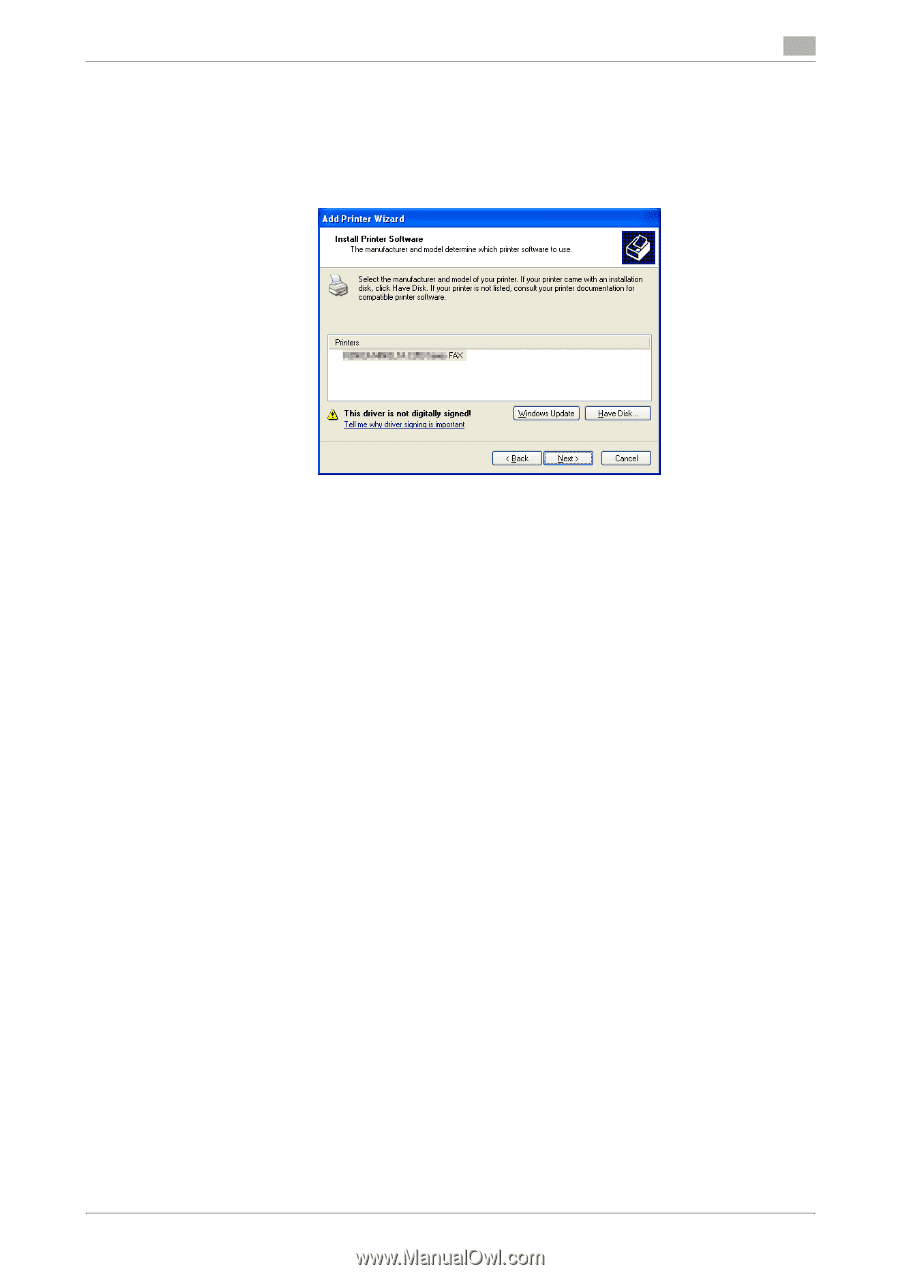
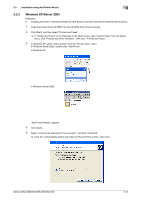
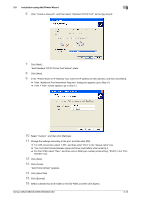
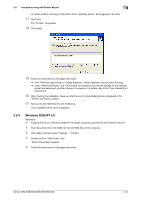
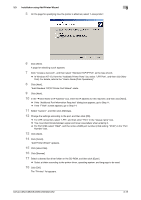
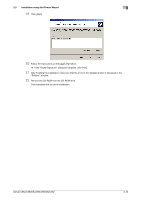
3.3 Installation using Add Printer Wizard 3 % Select a folder according to the printer driver, operating system, and language to be used. 17 Click [OK]. The "Printers" list appears. 18 Click [Next]. 19 Follow the instructions on the pages that follow. % If the "Windows logo testing" or "Digital Signature" window appears, click [Continue Anyway]. % If both "RAW Port Number" and "LPD Setting" are enabled in the network settings for this machine, check the enabled port, and then change it if necessary. For details, refer to the "User's Guide [Print Operations]". 20 After finishing the installation, make sure that the icon for the installed printer is displayed in the "Printers and Faxes" window. 21 Remove the CD-ROM from the CD-ROM drive. This completes the fax driver installation. 3.3.4 Windows 2000/NT 4.0 Reference - Installing the driver to Windows 2000/NT 4.0-based computers requires the administrator authority. 1 Insert the printer driver CD-ROM into the CD-ROM drive of the computer. 2 Click [Start], and then select "Settings" - "Printers". 3 Double-click the "Add Printer" icon. "Add Printer Wizard" appears. 4 Follow the instructions on the pages that follow. bizhub C652/C652DS/C552/C552DS/C452 3-14
-
 1
1 -
2
-
3
-
4
-
5
-
6
-
7
-
8
-
9
-
10
-
11
-
12
-
13
-
14
-
15
-
16
-
17
-
18
-
19
-
 20
20 -
 21
21 -
 22
22 -
 23
23 -
 24
24 -
 25
25 -
 26
26 -
 27
27 -
 28
28 -
 29
29 -
 30
30 -
31
-
32
-
33
-
34
-
35
-
36
-
37
-
38
-
39
-
40
-
41
-
42
-
43
-
44
-
45
-
46
-
47
-
48
-
49
-
50
-
51
-
52
-
53
-
54
-
55
-
56
-
57
-
58
-
59
-
60
-
61
-
62
-
63
-
64
-
65
-
66
-
67
-
68
-
69
-
70
-
71
-
72
-
73
 |
 |