Kyocera KM-5530 Printing System Q Operation Guide (Functions) - Page 72
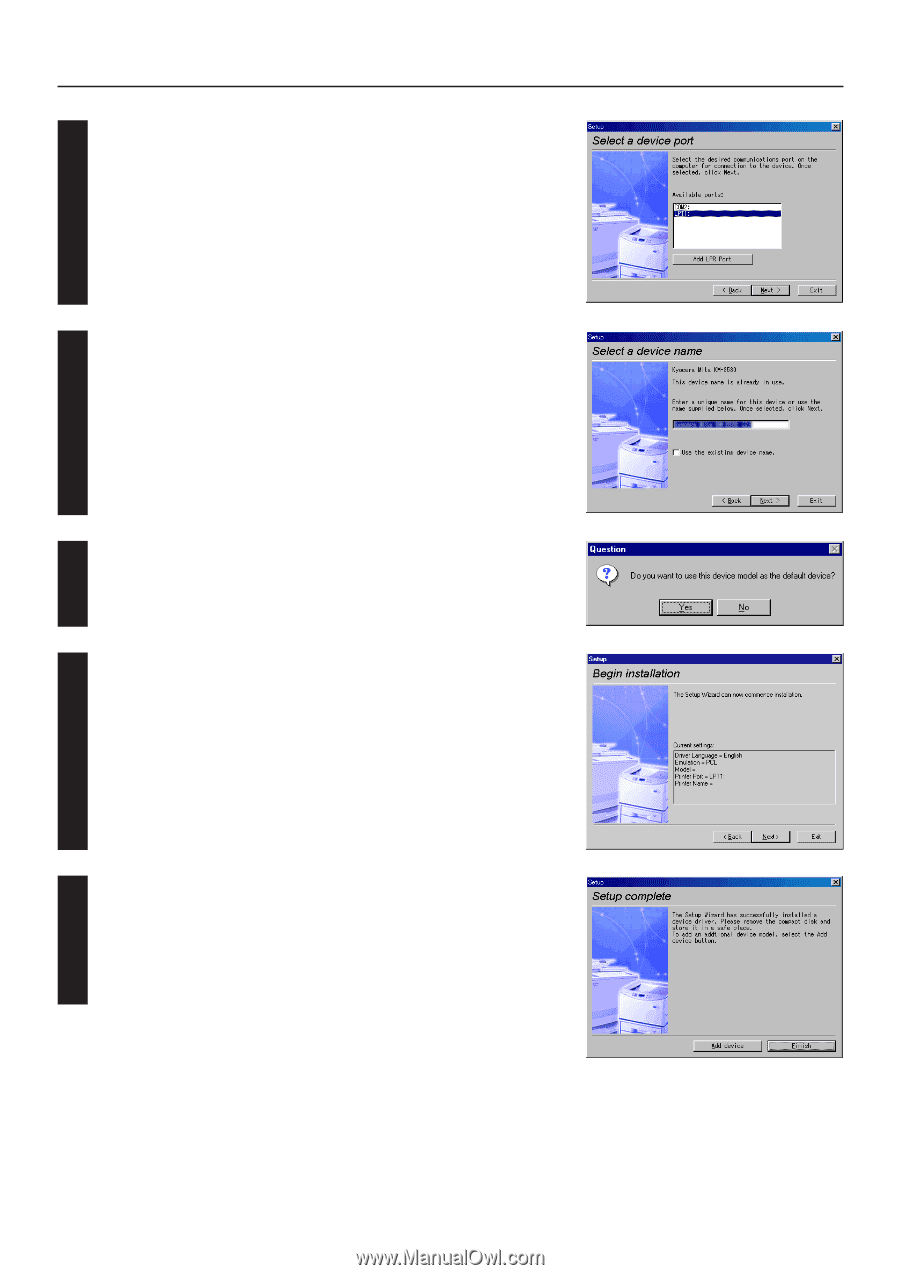
The settings you have made so far will appear. If they are correct, click Next., Click Yes if so
 |
View all Kyocera KM-5530 manuals
Add to My Manuals
Save this manual to your list of manuals |
Page 72 highlights
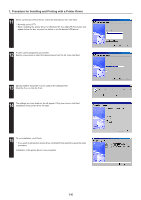
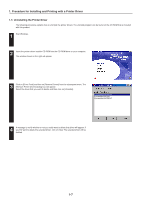
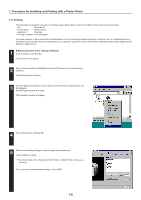
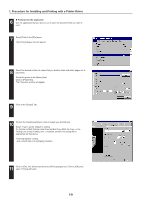
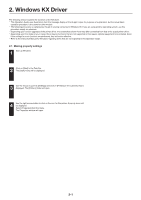
1. Procedure for Installing and Printing with a Printer Driver 11 Select a printer port. From the list, select the desired port, then click Next. * Normally, set to LPT1. * When installing the printer driver for Windows NT, the Add LPR Port button will appear below the box, so press the button to set the desired LPR printer. 12 A name can be assigned to your printer. Specify a new name or select the desired name from the list, then click Next. 13 Specify whether this printer is to be used as the default printer. Click Yes if so, or click No if not. 14 The settings you have made so far will appear. If they are correct, click Next. Installation of the printer driver will start. 15 To exit installation, click Finish. * If you want to add another printer driver, click Add Printer and then repeat the same procedure. Installation of the printer driver is now complete. 1-6
-
 1
1 -
2
-
3
-
4
-
5
-
6
-
7
-
8
-
9
-
10
-
11
-
12
-
13
-
14
-
15
-
16
-
17
-
18
-
19
-
20
-
21
-
22
-
23
-
24
-
25
-
26
-
27
-
28
-
29
-
30
-
31
-
32
-
33
-
34
-
35
-
36
-
37
-
38
-
39
-
40
-
41
-
42
-
43
-
44
-
45
-
46
-
47
-
48
-
49
-
50
-
51
-
52
-
53
-
54
-
55
-
56
-
57
-
58
-
59
-
60
-
61
-
62
-
63
-
64
-
65
-
66
-
 67
67 -
 68
68 -
 69
69 -
 70
70 -
 71
71 -
 72
72 -
 73
73 -
 74
74 -
 75
75 -
 76
76 -
 77
77 -
78
-
79
-
80
-
81
-
82
-
83
-
84
-
85
-
86
-
87
-
88
-
89
-
90
-
91
-
92
-
93
-
94
-
95
-
96
 |
 |