Kyocera KM-5530 Printing System Q Operation Guide (Functions) - Page 87
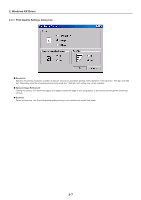
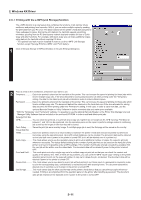
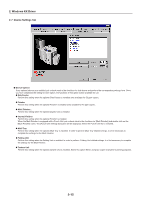
Open the [Hard Disk Settings] dialog box in the [Device Settings] Tab.
 |
View all Kyocera KM-5530 manuals
Add to My Manuals
Save this manual to your list of manuals |
Page 87 highlights
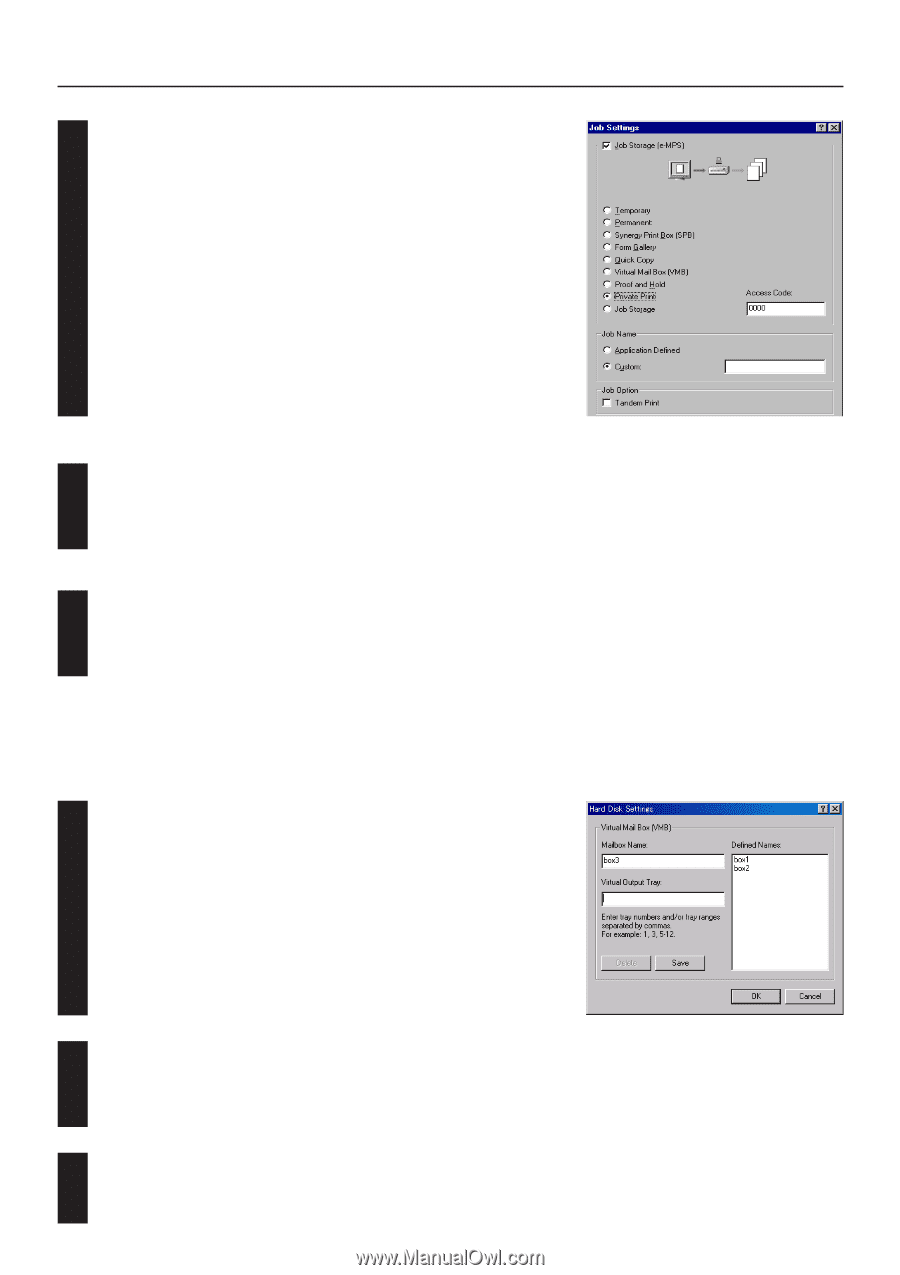
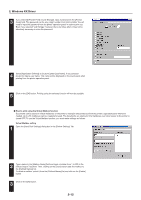
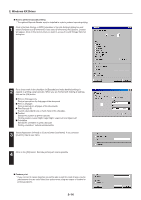
2. Windows KX Driver 3 If you selected [Private Print] or [Job Storage], input a password in the [Access Code] field. This password can be any 4-digit number from 0000 to 9999. You will need to input this password from the printer operation panel in order to print out. Even if you selected "Job Storage" however, there are times when it may not be absolutely necessary to enter the password. 4 Select [Application Defined] or [Custom] under [Job Name]. If you selected [Custom], input a user name. This name will be displayed on the touch panel when printing from the printer operation panel. 5 Click on the [OK] button. Printing using the selected function will now be possible. I How to print using the Virtual Mailbox function Documents can be stored in virtual mailboxes on the printer's hard disk and printed out from the printer's operation panel whenever needed. Up to 255 mailboxes can be created and used. The documents are retained in the mailboxes even when power to the printer is turned OFF. To use the Virtual Mailbox function, you must make settings as follows. Virtual Mailbox setting 1 Open the [Hard Disk Settings] dialog box in the [Device Settings] Tab. 2 Type a name in the [Mailbox Name] field and input a number from 1 to 255 in the [Virtual Output Tray] field. Then, clicking on the [Save] button adds the mailbox to the [Defined Names] list. To delete a mailbox, select it from the [Defined Names] list and click on the [Delete] button. 3 Click on the [OK] button. 2-12
-
 1
1 -
2
-
3
-
4
-
5
-
6
-
7
-
8
-
9
-
10
-
11
-
12
-
13
-
14
-
15
-
16
-
17
-
18
-
19
-
20
-
21
-
22
-
23
-
24
-
25
-
26
-
27
-
28
-
29
-
30
-
31
-
32
-
33
-
34
-
35
-
36
-
37
-
38
-
39
-
40
-
41
-
42
-
43
-
44
-
45
-
46
-
47
-
48
-
49
-
50
-
51
-
52
-
53
-
54
-
55
-
56
-
57
-
58
-
59
-
60
-
61
-
62
-
63
-
64
-
65
-
66
-
67
-
68
-
69
-
70
-
71
-
72
-
73
-
74
-
75
-
76
-
77
-
78
-
79
-
80
-
81
-
 82
82 -
 83
83 -
 84
84 -
 85
85 -
 86
86 -
 87
87 -
 88
88 -
 89
89 -
 90
90 -
 91
91 -
 92
92 -
93
-
94
-
95
-
96
 |
 |