Olympus DM-620 DM-620 Detailed Instructions (English) - Page 92
Transfer the voice files to your PC
 |
View all Olympus DM-620 manuals
Add to My Manuals
Save this manual to your list of manuals |
Page 92 highlights
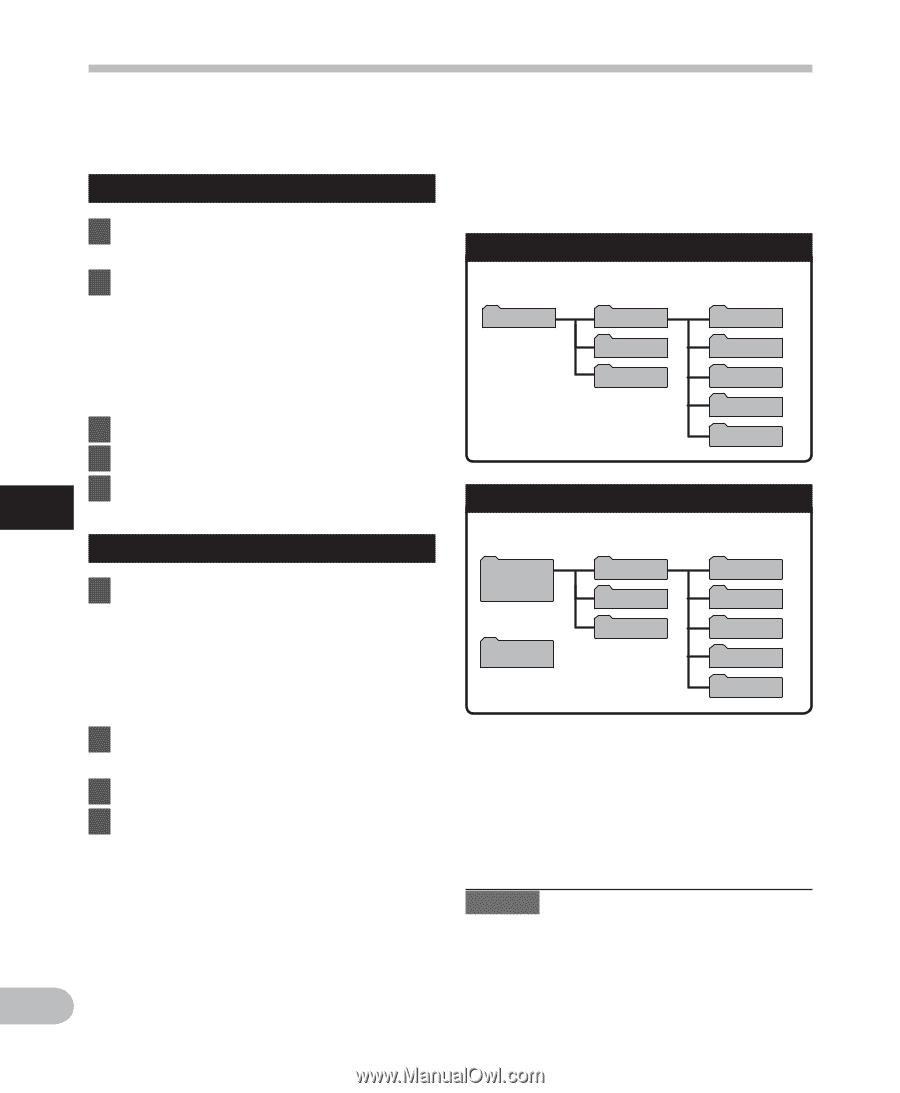
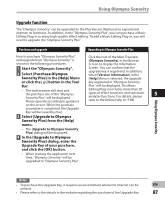
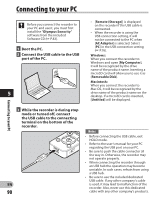
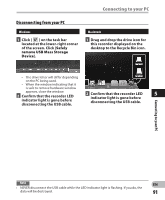
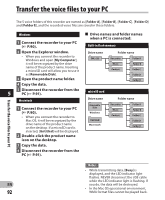
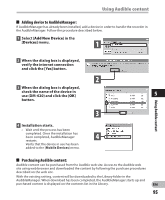
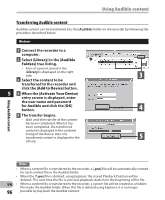
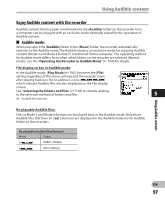
Transfer the voice files to your PC Transfer the voice files to your PC The 5 voice folders of this recorder are named as [Folder A], [Folder B], [Folder C], [Folder D] and [Folder E], and the recorded voice files are saved in these folders. Windows 1 Connect the recorder to your PC (☞ P.90). 4 Drive names and folder names when a PC is connected: Built-in flash memory 2 Open the Explorer window. • When you connect the recorder to Windows and open [My Computer], it will be recognized by the drive name of the product name. Inserting a microSD card will allow you to use it as [Removable Disk]. 3 Open the product name folder. 4 Copy the data. Drive name DM_620 Folder name Recorder Folder A Music Folder B Podcast Folder C Folder D Folder E 5 Disconnect the recorder from the 5 PC (☞ P.91). microSD card Macintosh 1 Connect the recorder to your PC (☞ P.90). • When you connect the recorder to Mac OS, it will be recognized by the drive name of the product name on the desktop. If a microSD card is inserted, [Untitled] will be displayed. 2 Double-click the product name icon on the desktop. Drive name Removable Disk Windows Untitled Macintosh Folder name Recorder Folder A Music Folder B Podcast Folder C Folder D Folder E 3 Copy the data. 4 Disconnect the recorder from the PC (☞ P.91). Notes • While transmitting data, [Busy] is displayed, and the LED indicator light flashes. NEVER disconnect the USB cable while the LED indicator light is flashing. If EN you do, the data will be destroyed. • In the Mac OS operational environment, 92 WMA format files cannot be played back.
-
 1
1 -
2
-
3
-
4
-
5
-
6
-
7
-
8
-
9
-
10
-
11
-
12
-
13
-
14
-
15
-
16
-
17
-
18
-
19
-
20
-
21
-
22
-
23
-
24
-
25
-
26
-
27
-
28
-
29
-
30
-
31
-
32
-
33
-
34
-
35
-
36
-
37
-
38
-
39
-
40
-
41
-
42
-
43
-
44
-
45
-
46
-
47
-
48
-
49
-
50
-
51
-
52
-
53
-
54
-
55
-
56
-
57
-
58
-
59
-
60
-
61
-
62
-
63
-
64
-
65
-
66
-
67
-
68
-
69
-
70
-
71
-
72
-
73
-
74
-
75
-
76
-
77
-
78
-
79
-
80
-
81
-
82
-
83
-
84
-
85
-
86
-
 87
87 -
 88
88 -
 89
89 -
 90
90 -
 91
91 -
 92
92 -
 93
93 -
 94
94 -
 95
95 -
 96
96 -
 97
97 -
98
-
99
-
100
-
101
-
102
-
103
-
104
-
105
-
106
-
107
-
108
-
109
-
110
-
111
-
112
-
113
 |
 |