Panasonic DMC-FX5 Digital Still Camera - Page 43
Taking Pictures using the Built-in Flash, Switching to the appropriate flash setting
 |
UPC - 037988977581
View all Panasonic DMC-FX5 manuals
Add to My Manuals
Save this manual to your list of manuals |
Page 43 highlights
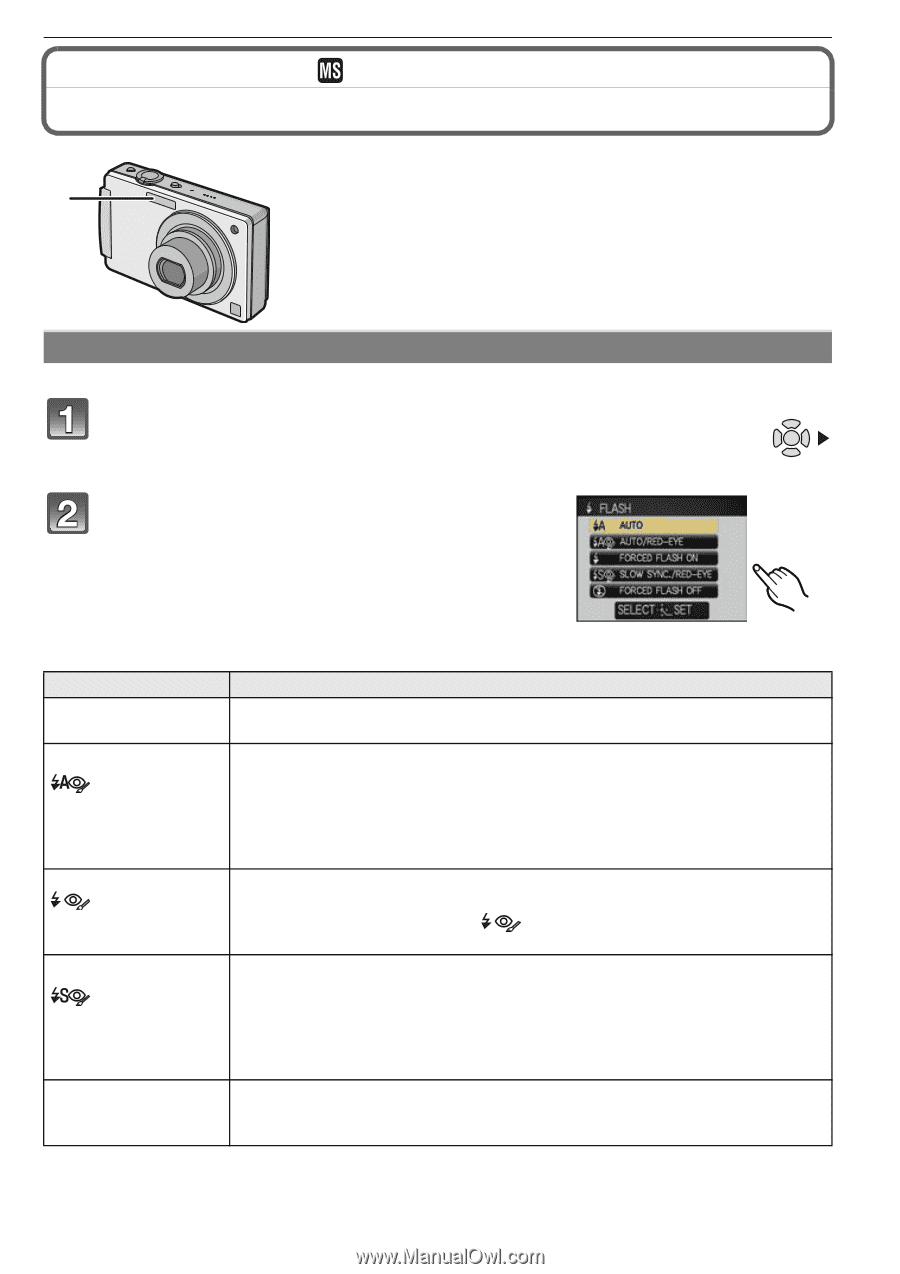
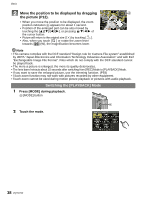
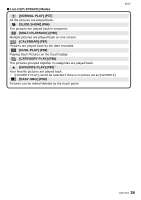
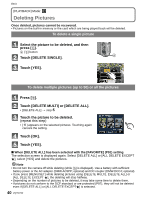
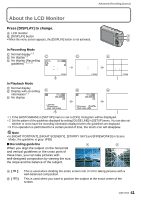
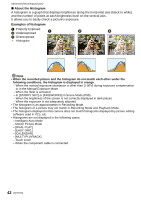
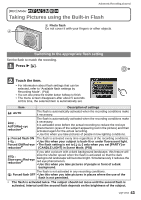
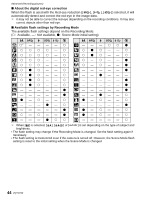
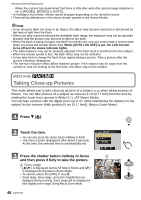
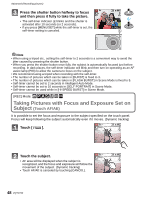
Advanced (Recording pictures) [REC] Mode Taking Pictures using the Built-in Flash A Photo flash Do not cover it with your fingers or other objects. Switching to the appropriate flash setting Set the flash to match the recording. Press 1 [‰]. Touch the item. • For information about flash settings that can be selected, refer to "Available flash settings by Recording Mode". (P44) • You can also press the shutter button halfway to finish. • The menu screen disappears after about 5 seconds. At this time, the selected item is automatically set. Item Description of settings ‡: AUTO The flash is automatically activated when the recording conditions make it necessary. : AUTO/Red-eye reduction¢ The flash is automatically activated when the recording conditions make it necessary. It is activated once before the actual recording to reduce the red-eye phenomenon (eyes of the subject appearing red in the picture) and then activated again for the actual recording. • Use this when you take pictures of people in low lighting conditions. ‰: Forced flash ON The flash is activated every time regardless of the recording conditions. : • Use this when your subject is back-lit or under fluorescent light. Forced ON/Red-eye • The flash setting is set to [ ] only when you set [PARTY] or reduction¢ [CANDLE LIGHT] in Scene Mode. (P55) If you take a picture with a dark background landscape, this feature will : Slow sync./Red-eye reduction¢ slow the shutter speed when the flash is activated so that the dark background landscape will become bright. Simultaneously it reduces the red-eye phenomenon. • Use this when you take pictures of people in front of a dark background. The flash is not activated in any recording conditions. Œ: Forced flash OFF • Use this when you take pictures in places where the use of the flash is not permitted. ¢ The flash is activated twice. The subject should not move until the second flash is activated. Interval until the second flash depends on the brightness of the subject. VQT1Y62 43
-
 1
1 -
2
-
3
-
4
-
5
-
6
-
7
-
8
-
9
-
10
-
11
-
12
-
13
-
14
-
15
-
16
-
17
-
18
-
19
-
20
-
21
-
22
-
23
-
24
-
25
-
26
-
27
-
28
-
29
-
30
-
31
-
32
-
33
-
34
-
35
-
36
-
37
-
 38
38 -
 39
39 -
 40
40 -
 41
41 -
 42
42 -
 43
43 -
 44
44 -
 45
45 -
 46
46 -
 47
47 -
 48
48 -
49
-
50
-
51
-
52
-
53
-
54
-
55
-
56
-
57
-
58
-
59
-
60
-
61
-
62
-
63
-
64
-
65
-
66
-
67
-
68
-
69
-
70
-
71
-
72
-
73
-
74
-
75
-
76
-
77
-
78
-
79
-
80
-
81
-
82
-
83
-
84
-
85
-
86
-
87
-
88
-
89
-
90
-
91
-
92
-
93
-
94
-
95
-
96
-
97
-
98
-
99
-
100
-
101
-
102
-
103
-
104
-
105
-
106
-
107
-
108
-
109
-
110
-
111
-
112
-
113
-
114
-
115
-
116
-
117
-
118
-
119
-
120
-
121
-
122
-
123
-
124
-
125
-
126
-
127
-
128
-
129
-
130
-
131
-
132
-
133
-
134
-
135
-
136
-
137
-
138
-
139
-
140
-
141
-
142
-
143
-
144
 |
 |