Pioneer AVH-X8500BHS Owner's Manual - Page 11
Adjusting the angle of the, LCD panel and ejecting media, Setting the clock, Basic operations - release date
 |
View all Pioneer AVH-X8500BHS manuals
Add to My Manuals
Save this manual to your list of manuals |
Page 11 highlights
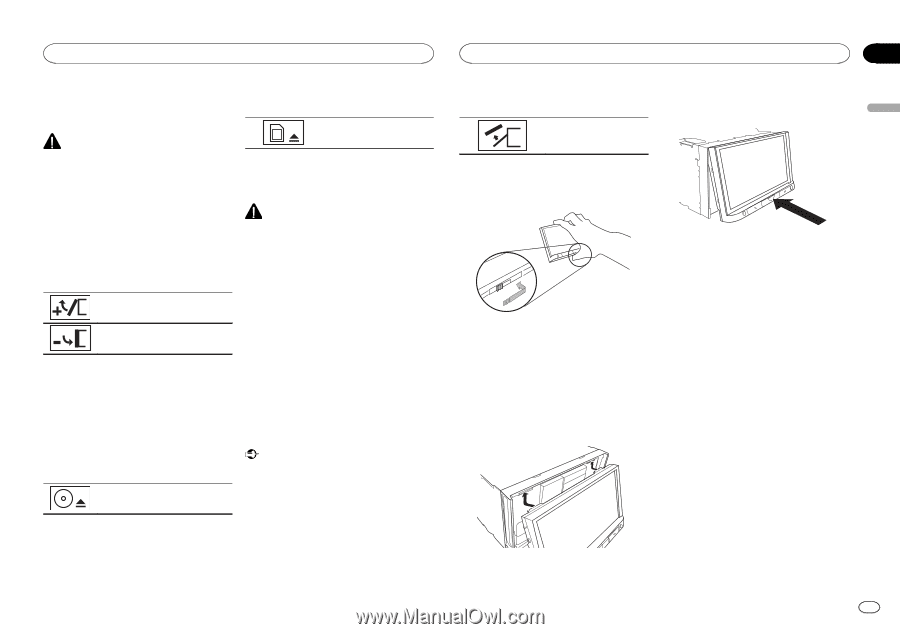
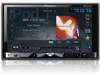
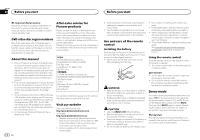
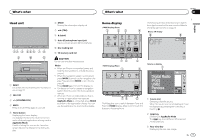
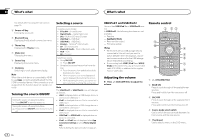
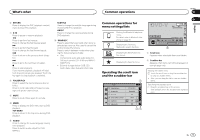
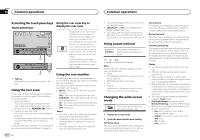
Basic operations Basic operations Section 05 English Adjusting the angle of the LCD panel and ejecting media CAUTION Keep hands and fingers clear of the unit when opening, closing, or adjusting the LCD panel. Be especially cautious of children's hands and fingers. 2 Eject an SD. Ejecting an SD. 3 Press an SD to eject. Removing the front panel Adjusting the LCD panel angle 1 Press h(eject) to display the ejecting menu. 2 Adjust the LCD panel to an easily viewable angle. Laying the panel down. Returning the panel to the upright position. # As the set angle is saved, the LCD panel will automatically be adjusted to the same position the next time the LCD panel is opened. Ejecting a disc 1 Press h(eject) to display the ejecting menu. 2 Eject a disc. Ejecting a disc. Ejecting an SD 1 Press h(eject) to display the ejecting menu. CAUTION ! Do not attempt to detach the front panel while DISC/SD is in the eject position. ! Do not attempt to detach the front panel while data is being written to USB/SD. Doing so may cause the data to become corrupted. ! After the front panel has been detached, the attaching plate will move back to its original position automatically. Be careful not to let hands or other objects get caught behind the monitor as it is moving back. ! Please make sure that the front panel is in its original position while the vehicle is in motion. It is dangerous to drive with the front panel sticking out. ! Do not place beverages or other objects on top of the front panel while it is fully open. Important ! Handle the front panel with care when removing or attaching it. ! Avoid subjecting the front panel to excessive shock. ! Keep the front panel out of direct sunlight and high temperatures. ! If removed, replace the front panel on the unit before starting up your vehicle. 1 Press h (eject) to release the front panel. 2 Touch the detach key. The front panel automatically slides toward you. 2 Push on the bottom of the front panel until it clicks into place. 3 Slide the dial at the bottom of the front panel to the right, and lift up the front panel while pushing down on the dial. Setting the clock 1 Touch the Clock key. The Clock Adjustment screen appears. For details refer to Home display on page 7. 4 Put the front panel into the provided protective case for safe keeping. Attaching the front panel 2 Select the item to set. 3 Touch a or b to set the correct date and time. 1 Slide the front panel into the top of the unit and push it into place. Slide the inserter on the front panel into the insertion slot on top of the unit and push it into place. En 11
-
 1
1 -
2
-
3
-
4
-
5
-
 6
6 -
 7
7 -
 8
8 -
 9
9 -
 10
10 -
 11
11 -
 12
12 -
 13
13 -
 14
14 -
 15
15 -
 16
16 -
17
-
18
-
19
-
20
-
21
-
22
-
23
-
24
-
25
-
26
-
27
-
28
-
29
-
30
-
31
-
32
-
33
-
34
-
35
-
36
-
37
-
38
-
39
-
40
-
41
-
42
-
43
-
44
-
45
-
46
-
47
-
48
-
49
-
50
-
51
-
52
-
53
-
54
-
55
-
56
-
57
-
58
-
59
-
60
-
61
-
62
-
63
-
64
-
65
-
66
-
67
-
68
-
69
-
70
-
71
-
72
-
73
-
74
-
75
-
76
-
77
-
78
-
79
-
80
-
81
-
82
-
83
-
84
-
85
-
86
-
87
-
88
-
89
-
90
-
91
-
92
-
93
-
94
-
95
-
96
-
97
-
98
-
99
-
100
-
101
-
102
-
103
-
104
-
105
-
106
-
107
-
108
-
109
-
110
-
111
-
112
-
113
-
114
-
115
-
116
-
117
-
118
-
119
-
120
-
121
-
122
-
123
-
124
-
125
-
126
-
127
-
128
-
129
-
130
-
131
-
132
-
133
-
134
-
135
-
136
-
137
-
138
-
139
-
140
-
141
-
142
-
143
-
144
-
145
-
146
-
147
-
148
-
149
-
150
-
151
-
152
-
153
-
154
-
155
-
156
-
157
-
158
-
159
-
160
-
161
-
162
-
163
-
164
-
165
-
166
-
167
-
168
-
169
-
170
-
171
-
172
-
173
-
174
-
175
-
176
-
177
-
178
-
179
-
180
-
181
-
182
-
183
-
184
-
185
-
186
-
187
-
188
-
189
-
190
-
191
-
192
-
193
-
194
-
195
-
196
-
197
-
198
-
199
-
200
-
201
-
202
-
203
-
204
-
205
-
206
-
207
-
208
-
209
-
210
-
211
-
212
-
213
-
214
-
215
-
216
-
217
-
218
-
219
-
220
-
221
-
222
-
223
-
224
-
225
-
226
-
227
-
228
 |
 |