Samsung SGH-I547 User Manual Ver.li3_f7 (English(north America)) - Page 119
Adding an IPsec VPN, Kies via Wi-Fi, Show advanced options, Settings, Advanced IPsec VPN
 |
View all Samsung SGH-I547 manuals
Add to My Manuals
Save this manual to your list of manuals |
Page 119 highlights
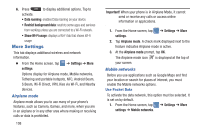
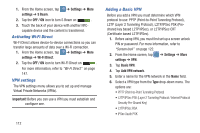
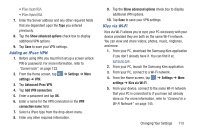
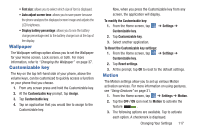
• IPSec Xauth RSA • IPSec Hybrid RSA 7. Enter the Server address and any other required fields that are dependent upon the Type you entered previously. 8. Tap the Show advanced options check box to display additional VPN options. 9. Tap Save to save your VPN settings. Adding an IPsec VPN 1. Before using VPN, you must first set up a screen unlock PIN or password. For more information, refer to "Screen lock" on page 122. 2. From the Home screen, tap settings ➔ VPN. ➔ Settings ➔ More 3. Tap Advanced IPsec VPN. 4. Tap Add VPN connection. 5. Enter a password and tap OK. 6. Enter a name for the VPN connection in the VPN connection name field. 7. Select a IPsec type from the drop-down menu. 8. Enter any other required information. 9. Tap the Show advanced options check box to display additional VPN options. 10. Tap Save to save your VPN settings. Kies via Wi-Fi Kies via Wi-Fi allows you to sync your PC wirelessly with your device provided they are both on the same Wi-Fi network. You can view and share videos, photos, music, ringtones, and more. 1. From your PC, download the Samsung Kies application if you don't already have it. You can find it at samsung.com. 2. From your PC, launch the Samsung Kies application. 3. From your PC, connect to a Wi-Fi network. 4. From the Home screen, tap settings ➔ Kies via Wi-Fi. ➔ Settings ➔ More 5. From your device, connect to the same Wi-Fi network that your PC is connected to if you have not already done so. For more information, refer to "Connect to a Wi-Fi Network" on page 145. Changing Your Settings 113
-
 1
1 -
2
-
3
-
4
-
5
-
6
-
7
-
8
-
9
-
10
-
11
-
12
-
13
-
14
-
15
-
16
-
17
-
18
-
19
-
20
-
21
-
22
-
23
-
24
-
25
-
26
-
27
-
28
-
29
-
30
-
31
-
32
-
33
-
34
-
35
-
36
-
37
-
38
-
39
-
40
-
41
-
42
-
43
-
44
-
45
-
46
-
47
-
48
-
49
-
50
-
51
-
52
-
53
-
54
-
55
-
56
-
57
-
58
-
59
-
60
-
61
-
62
-
63
-
64
-
65
-
66
-
67
-
68
-
69
-
70
-
71
-
72
-
73
-
74
-
75
-
76
-
77
-
78
-
79
-
80
-
81
-
82
-
83
-
84
-
85
-
86
-
87
-
88
-
89
-
90
-
91
-
92
-
93
-
94
-
95
-
96
-
97
-
98
-
99
-
100
-
101
-
102
-
103
-
104
-
105
-
106
-
107
-
108
-
109
-
110
-
111
-
112
-
113
-
 114
114 -
 115
115 -
 116
116 -
 117
117 -
 118
118 -
 119
119 -
 120
120 -
 121
121 -
 122
122 -
 123
123 -
 124
124 -
125
-
126
-
127
-
128
-
129
-
130
-
131
-
132
-
133
-
134
-
135
-
136
-
137
-
138
-
139
-
140
-
141
-
142
-
143
-
144
-
145
-
146
-
147
-
148
-
149
-
150
-
151
-
152
-
153
-
154
-
155
-
156
-
157
-
158
-
159
-
160
-
161
-
162
-
163
-
164
-
165
-
166
-
167
-
168
-
169
-
170
-
171
-
172
-
173
-
174
-
175
-
176
-
177
-
178
-
179
-
180
-
181
-
182
-
183
-
184
-
185
-
186
-
187
-
188
-
189
-
190
-
191
-
192
-
193
-
194
-
195
-
196
-
197
-
198
-
199
-
200
-
201
-
202
-
203
-
204
-
205
-
206
-
207
-
208
-
209
-
210
-
211
-
212
-
213
-
214
-
215
-
216
-
217
-
218
-
219
-
220
-
221
-
222
-
223
-
224
-
225
-
226
-
227
-
228
-
229
-
230
 |
 |