Xerox 3300MFP User Guide - Page 42
Clone copying, Erasing background images, Copying on both sides of paper, Setting copy timeout
 |
UPC - 095205744415
View all Xerox 3300MFP manuals
Add to My Manuals
Save this manual to your list of manuals |
Page 42 highlights
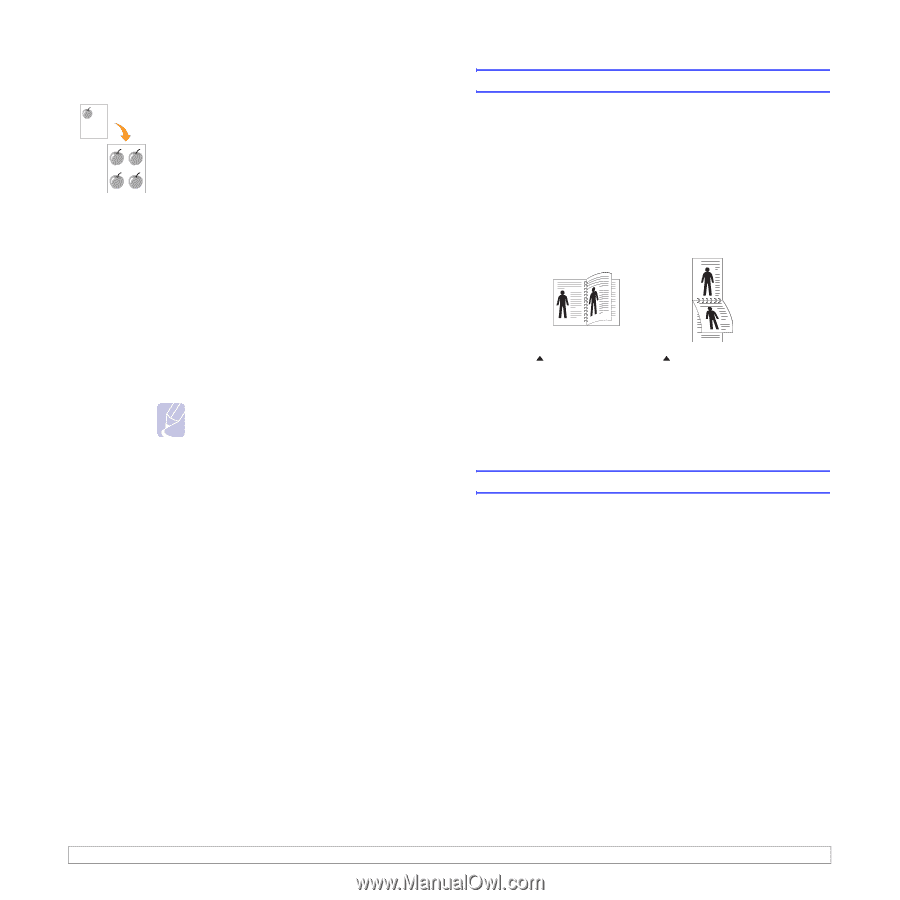
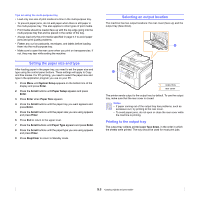
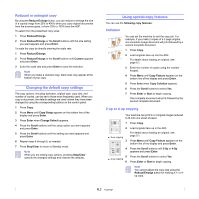
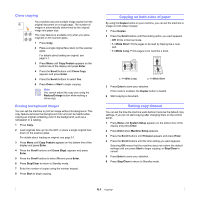
Clone copying Your machine can print multiple image copies from the original document on a single page. The number of images is automatically determined by the original image and paper size. This copy feature is available only when you place originals on the scanner glass. 1 Press Copy. 2 Place a single original face down on the scanner glass. For details about loading an original, see page 5.1. 3 Press Menu until Copy Feature appears on the bottom line of the display and press Enter. 4 Press the Scroll buttons until Clone Copy appears and press Enter. 5 Press the Scroll buttons to select Yes. 6 Press Enter or Start to begin copying. Note You cannot adjust the copy size using the Reduce/Enlarge button while making a clone copy. Erasing background images You can set the machine to print an image without its background. This copy feature removes the background color and can be helpful when copying an original containing color in the background, such as a newspaper or a catalog. 1 Press Copy. 2 Load originals face up into the ADF, or place a single original face down on the scanner glass. For details about loading an original, see page 5.1. 3 Press Menu until Copy Feature appears on the bottom line of the display and press Enter. 4 Press the Scroll buttons until Erase Bkgd. appears and press Enter. 5 Press the Scroll buttons to select On and press Enter. 6 Press Stop/Clear to return to Standby mode. 7 Enter the number of copies using the number keypad. 8 Press Start to begin copying. Copying on both sides of paper By using the Duplex button on your machine, you can set the machine to image on both sides of paper. 1 Press Duplex. 2 Press the Scroll buttons until the binding option you want appears. • Off: Prints in Normal mode. • 1->2Side Short: Prints pages to be read by flipping like a note pad. • 1->2Side Long: Prints pages to be read like a book. 2 3 2 5 1->2Side Long 3 5 1->2Side Short 3 Press Enter to save your selection. If the mode is enabled, the Duplex button is backlit. 4 Start copying a document. Setting copy timeout You can set the time the machine waits before it restores the default copy settings, if you do not start copying after changing them on the control panel. 1 Press Menu until System Setup appears on the bottom line of the display and press Enter. 2 Press Enter when Machine Setup appears. 3 Press the Scroll buttons until Timeout appears and press Enter. 4 Press the Scroll buttons until the time setting you want appears. Selecting Off means that the machine does not restore the default settings until you press Start to begin copying, or Stop/Clear to cancel. 5 Press Enter to save your selection. 6 Press Stop/Clear to return to Standby mode. 6.4
-
 1
1 -
2
-
3
-
4
-
5
-
6
-
7
-
8
-
9
-
10
-
11
-
12
-
13
-
14
-
15
-
16
-
17
-
18
-
19
-
20
-
21
-
22
-
23
-
24
-
25
-
26
-
27
-
28
-
29
-
30
-
31
-
32
-
33
-
34
-
35
-
36
-
 37
37 -
 38
38 -
 39
39 -
 40
40 -
 41
41 -
 42
42 -
 43
43 -
 44
44 -
 45
45 -
 46
46 -
 47
47 -
48
-
49
-
50
-
51
-
52
-
53
-
54
-
55
-
56
-
57
-
58
-
59
-
60
-
61
-
62
-
63
-
64
-
65
-
66
-
67
-
68
-
69
-
70
-
71
-
72
-
73
-
74
-
75
-
76
-
77
-
78
-
79
-
80
-
81
-
82
-
83
-
84
-
85
-
86
-
87
-
88
-
89
-
90
-
91
-
92
-
93
-
94
-
95
-
96
-
97
-
98
-
99
-
100
-
101
-
102
-
103
-
104
-
105
-
106
-
107
-
108
-
109
-
110
-
111
-
112
-
113
-
114
-
115
-
116
-
117
-
118
-
119
-
120
-
121
-
122
-
123
-
124
-
125
-
126
-
127
-
128
-
129
-
130
-
131
-
132
-
133
-
134
-
135
-
136
-
137
-
138
-
139
-
140
-
141
-
142
-
143
-
144
-
145
-
146
-
147
-
148
 |
 |