Brother International HL-6050DN Users Manual - English - Page 133
Troubleshooting, LCD messages, Error messages - firmware
 |
UPC - 012502609568
View all Brother International HL-6050DN manuals
Add to My Manuals
Save this manual to your list of manuals |
Page 133 highlights
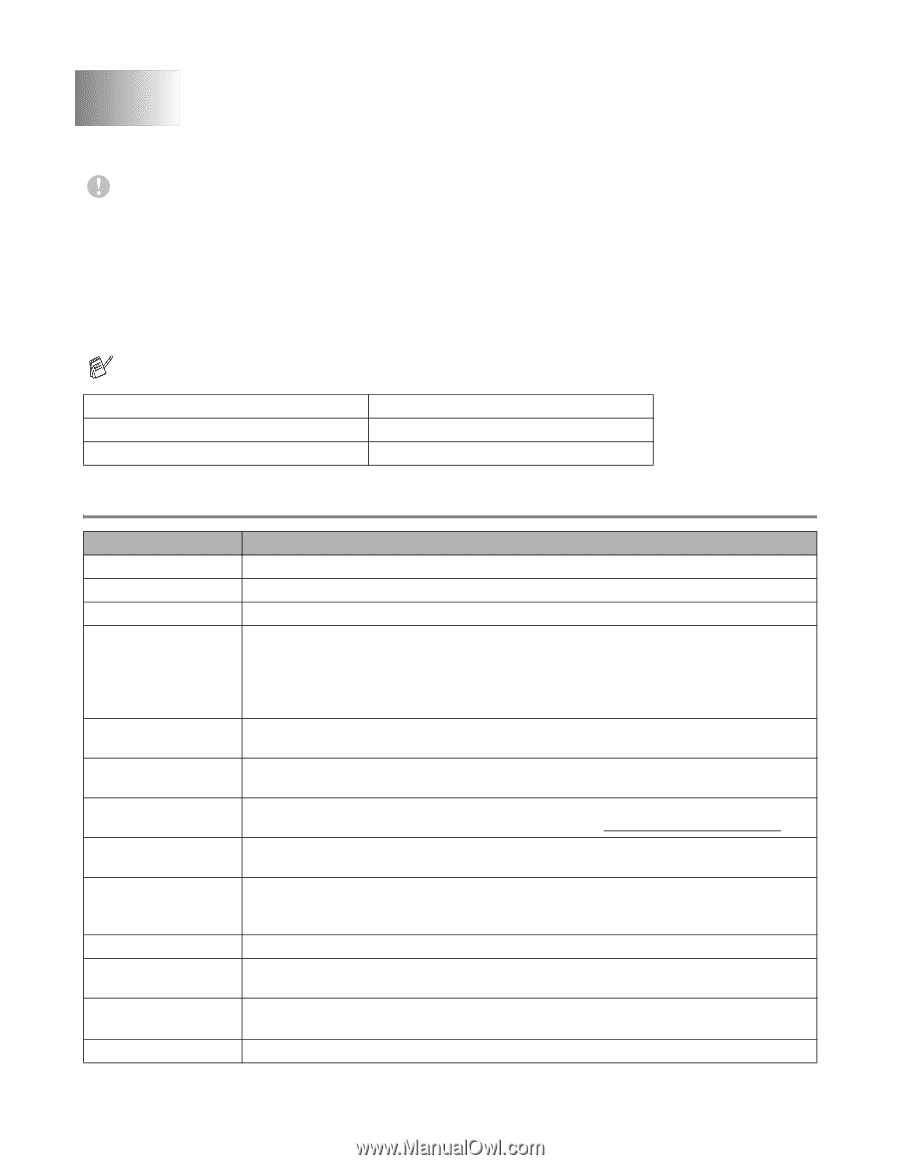
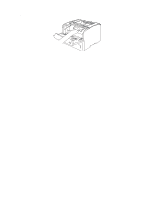
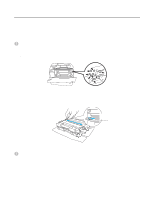
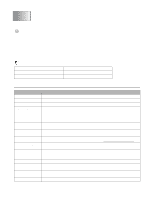
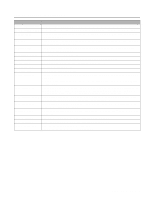
6 Troubleshooting If you do not follow the instructions for using the printer, you may be responsible for all repairs. LCD messages If any problems occur, the printer automatically stops printing, diagnoses the problem, and displays the resulting message on the LCD to alert you. Take the appropriate action, referring to the following tables. If you cannot clear the problem, call the dealer you bought the printer from or Brother Customer Service. The LCD names for the paper trays are as follows. Upper paper tray Multi-purpose tray Optional Lower tray TRAY 1 MP TRAY TRAY 2 Error messages Error message BACK TRAY CLOSED BACK TRAY OPEN BUFFER ERROR CARD ERROR CARTRIDGE ERROR CHECK NET BOARD CHECK NET VER. CLEAN DRUM UNIT DIMM ERROR DOWNLOAD FULL DX LEVER ERROR ERROR FUSER FONT FULL Action Open the back output tray. Push down the two blue levers, and then press Go. Close the back output tray located at the back of the printer. Check the Interface settings. Make sure of the following: The CompactFlashTM card is installed properly. The installed CompactFlashTM card is formatted properly Turn off the printer. Wait a few seconds, then turn it on again. If this error message appears again, replace the CompactFlashTM card with a new one. Take out the toner cartridge and put it back into the printer again. See Replacing the toner cartridge on page 5-3. The istalled network board is not compatible. Please install the recommended network board. The firmware version of the installed network board is not up to date. Please update the firmware by accessing the Brother Solutions Center at http://solutions.brother.com Open the front cover. Take out the drum unit assembly. Gently slide the blue tab of the drum unit across several times. Re-install the DIMM correctly. Turn off the printer. Wait a few seconds, and then turn it on again. If this error message appears again, replace the DIMM with a new one. Add more memory. See Installing additional memory on page 4-12. Move the lever at the back of the printer to the correct paper size position; A4, Letter or Legal Turn the power switch off, wait a few seconds and then turn it on again. Leave the printer for 15 minutes with the power on. Add more memory. See Installing additional memory on page 4-12. 6 - 1 TROUBLESHOOTING
-
 1
1 -
2
-
3
-
4
-
5
-
6
-
7
-
8
-
9
-
10
-
11
-
12
-
13
-
14
-
15
-
16
-
17
-
18
-
19
-
20
-
21
-
22
-
23
-
24
-
25
-
26
-
27
-
28
-
29
-
30
-
31
-
32
-
33
-
34
-
35
-
36
-
37
-
38
-
39
-
40
-
41
-
42
-
43
-
44
-
45
-
46
-
47
-
48
-
49
-
50
-
51
-
52
-
53
-
54
-
55
-
56
-
57
-
58
-
59
-
60
-
61
-
62
-
63
-
64
-
65
-
66
-
67
-
68
-
69
-
70
-
71
-
72
-
73
-
74
-
75
-
76
-
77
-
78
-
79
-
80
-
81
-
82
-
83
-
84
-
85
-
86
-
87
-
88
-
89
-
90
-
91
-
92
-
93
-
94
-
95
-
96
-
97
-
98
-
99
-
100
-
101
-
102
-
103
-
104
-
105
-
106
-
107
-
108
-
109
-
110
-
111
-
112
-
113
-
114
-
115
-
116
-
117
-
118
-
119
-
120
-
121
-
122
-
123
-
124
-
125
-
126
-
127
-
 128
128 -
 129
129 -
 130
130 -
 131
131 -
 132
132 -
 133
133 -
 134
134 -
 135
135 -
 136
136 -
 137
137 -
 138
138 -
139
-
140
-
141
-
142
-
143
-
144
-
145
-
146
-
147
-
148
-
149
-
150
-
151
-
152
-
153
-
154
-
155
-
156
-
157
-
158
-
159
-
160
-
161
-
162
-
163
-
164
-
165
-
166
-
167
-
168
-
169
-
170
-
171
-
172
-
173
-
174
-
175
-
176
-
177
-
178
-
179
 |
 |