Dell PowerConnect W-IAP92 Dell Instant 5.0.3.0-1.1.0.0 User Guide - Page 82
Certificates, Loading Certificates
 |
View all Dell PowerConnect W-IAP92 manuals
Add to My Manuals
Save this manual to your list of manuals |
Page 82 highlights
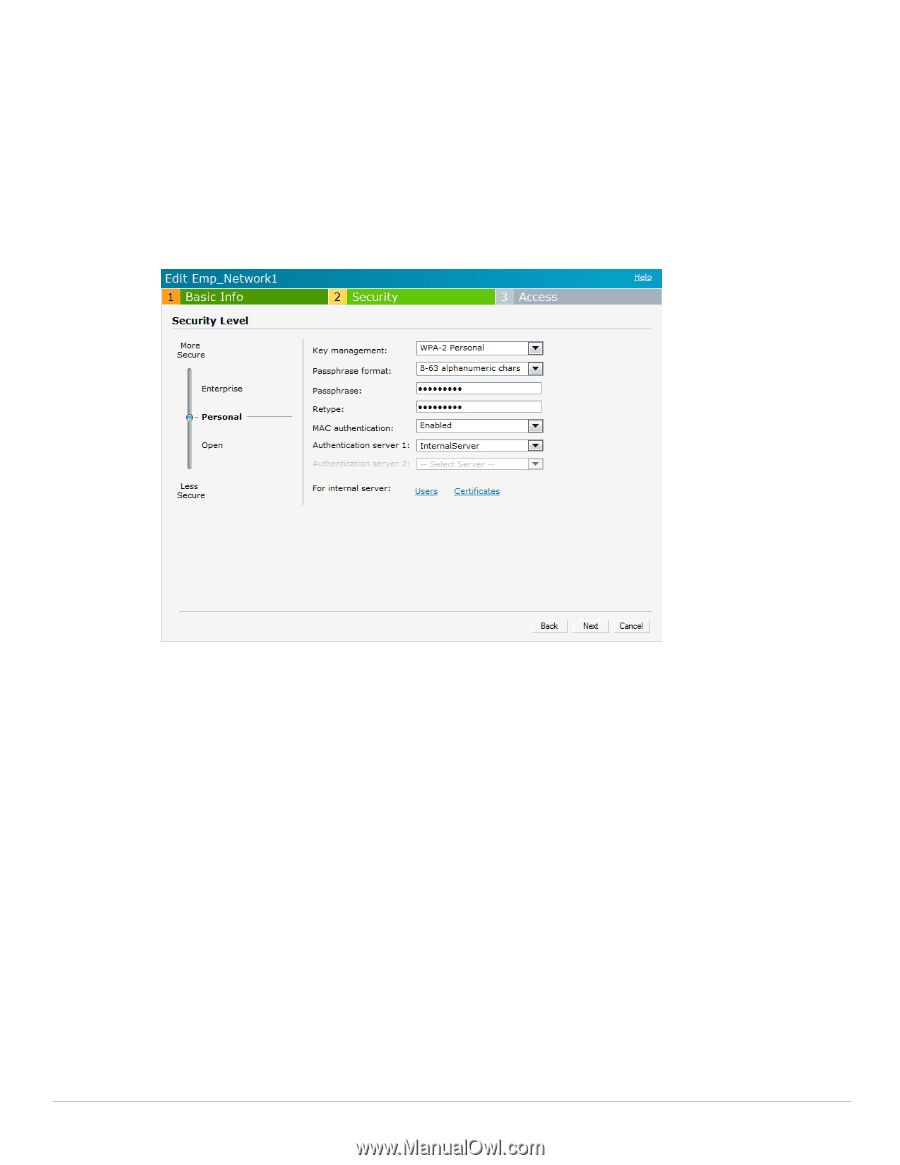
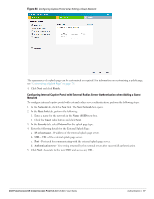
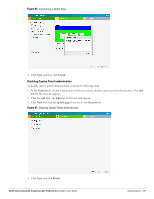
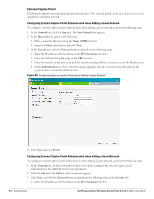
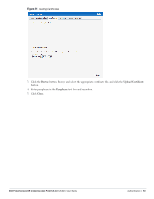
2. Click the Primary link and perform the following steps: 3. Enter the IP address of the external RADIUS server in the IP address text box. 4. Enter the authorization port number of the external RADIUS server in the Auth Port text box. The port number is set to 1812 by default. 5. Enter a shared key for communicating with the external RADIUS server in the Shared key text box. 6. Enter the virtual controller IP address in the NAS IP address text box. The NAS IP is the virtual controller IP address that is sent in the data packets. 4. Click the Backup link and set appropriate values for the backup RADIUS server. Figure 70 Configuring MAC Authentication 5. Click Next and click Finish. Certificates A certificate is a digital file that certifies the identity of the organization or products of the organization. It is also used to establish your credentials for any web transactions. It contains the organization name, a serial number, expiration date, a copy of the certificate-holder's public key, and the digital signature of the certificate-issuing authority so that a recipient can ensure that the certificate is real. Dell Instant supports certificate files in Privacy Enhanced Mail (.pem) format. Loading Certificates To load a certificate, perform the following steps: 1. At the top right corner of Instant UI, click the Maintenance link. The Maintenance box appears. 2. Click the Certificates tab. 82 | Authentication Dell PowerConnect W-Instant Access Point 5.0.3.0-1.1.0.0 | User Guide
-
 1
1 -
2
-
3
-
4
-
5
-
6
-
7
-
8
-
9
-
10
-
11
-
12
-
13
-
14
-
15
-
16
-
17
-
18
-
19
-
20
-
21
-
22
-
23
-
24
-
25
-
26
-
27
-
28
-
29
-
30
-
31
-
32
-
33
-
34
-
35
-
36
-
37
-
38
-
39
-
40
-
41
-
42
-
43
-
44
-
45
-
46
-
47
-
48
-
49
-
50
-
51
-
52
-
53
-
54
-
55
-
56
-
57
-
58
-
59
-
60
-
61
-
62
-
63
-
64
-
65
-
66
-
67
-
68
-
69
-
70
-
71
-
72
-
73
-
74
-
75
-
76
-
 77
77 -
 78
78 -
 79
79 -
 80
80 -
 81
81 -
 82
82 -
 83
83 -
 84
84 -
 85
85 -
 86
86 -
 87
87 -
88
-
89
-
90
-
91
-
92
-
93
-
94
-
95
-
96
-
97
-
98
-
99
-
100
-
101
-
102
-
103
-
104
-
105
-
106
-
107
-
108
-
109
-
110
-
111
-
112
-
113
-
114
-
115
-
116
-
117
-
118
-
119
-
120
-
121
-
122
-
123
-
124
-
125
-
126
-
127
-
128
-
129
-
130
-
131
-
132
-
133
-
134
-
135
-
136
-
137
-
138
-
139
-
140
 |
 |