Denon DRW840 Operating Instructions - Page 11
English, Maintenance
 |
UPC - 081577500643
View all Denon DRW840 manuals
Add to My Manuals
Save this manual to your list of manuals |
Page 11 highlights
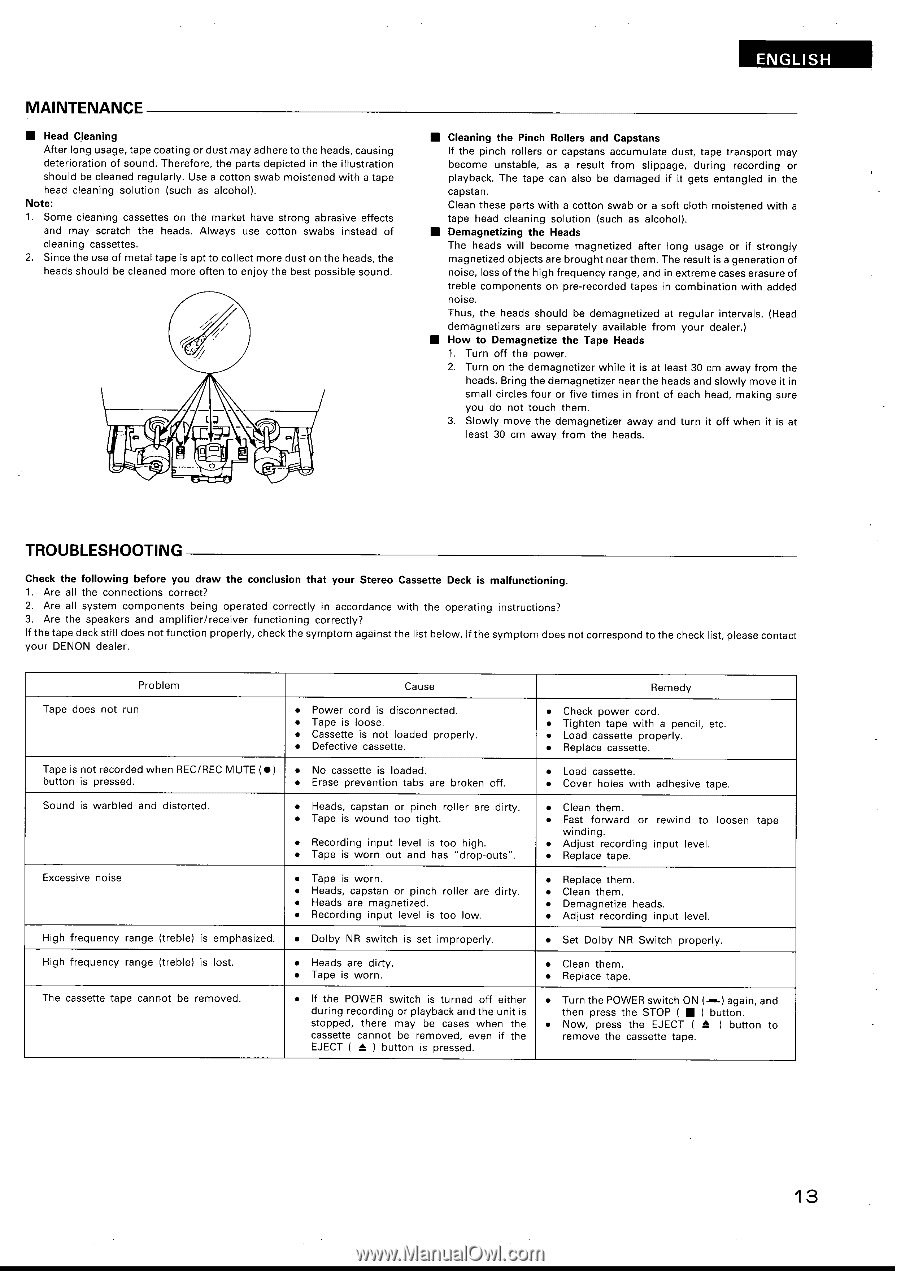
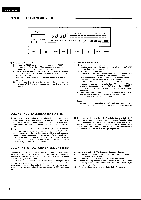
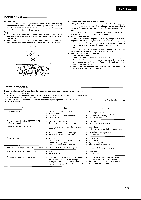
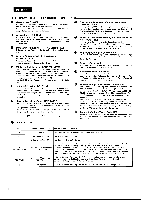
ENGLISH MAINTENANCE ■ Head Cleaning After long usage, tape coating or dust may adhere to the heads, causing deterioration of sound. Therefore, the parts depicted in the illustration should be cleaned regularly. Use a cotton swab moistened with a tape head cleaning solution (such as alcohol). Note: 1. Some cleaning cassettes on the market have strong abrasive effects and may scratch the heads. Always use cotton swabs instead of cleaning cassettes. 2. Since the use of metal tape is apt to collect more dust on the heads, the heads should be cleaned more often to enjoy the best possible sound. O O ■ Cleaning the Pinch Rollers and Capstans If the pinch rollers or capstans accumulate dust, tape transport may become unstable, as a result from slippage, during recording or playback. The tape can also be damaged if it gets entangled in the capstan. Clean these parts with a cotton swab or a soft cloth moistened with a tape head cleaning solution (such as alcohol). ■ Demagnetizing the Heads The heads will become magnetized after long usage or if strongly magnetized objects are brought near them. The result is a generation of noise, loss of the high frequency range, and in extreme cases erasure of treble components on pre-recorded tapes in combination with added noise. Thus, the heads should be demagnetized at regular intervals. (Head demagnetizers are separately available from your dealer.) ■ How to Demagnetize the Tape Heads 1. Turn off the power. 2. Turn on the demagnetizer while it is at least 30 cm away from the heads. Bring the demagnetizer near the heads and slowly move it in smal l circles four or five times in front of each head, making sure you do not touch them. 3. Slowly move the demagnetizer away and turn it off when it is at least 30 cm away from the heads. TROUBLESHOOTING Check the following before you draw the conclusion that your Stereo Cassette Deck is malfunctioning. 1. Are all the connections correct? 2. Are all system components being operated correctly in accordance with the operating instructions? 3. Are the speakers and amplifier/receiver functioning correctly? If the tape deck still does not function properly, check the symptom against the list below. If the symptom does not correspond to the check list, please contact your DENON dealer. Problem Tape does not run Tape is not recorded when REC/REC MUTE ( • ) button is pressed. Sound is warbled and distorted. Excessive noise High frequency range (treble) is emphasized. High frequency range (treble) is lost. The cassette tape cannot be removed. Cause • Power cord is disconnected. • Tape is loose. • Cassette is not loaded properly. • Defective cassette. • No cassette is loaded. • Erase prevention tabs are broken off. • Heads, capstan or pinch roller are dirty. • Tape is wound too tight. • Recording input level is too high. • Tape is worn out and has "drop-outs". • Tape is worn. • Heads, capstan or pinch roller are dirty. • Heads are magnetized. • Recording input level is too low. • Dolby NR switch is set improperly. • Heads are dirty. • Tape is worn. • If the POWER switch is turned off either during recording or playback and the unit is stopped, there may be cases when the cassette cannot be removed, even if the EJECT ( 1 ) button is pressed. Remedy • Check power cord. • Tighten tape with a pencil, etc. • Load cassette properly. • Replace cassette. • Load cassette. • Cover holes with adhesive tape. • Clean them. • Fast forward or rewind to loosen tape winding. • Adjust recording input level. • Replace tape. • Replace them. • Clean them. • Demagnetize heads. • Adjust recording input level. • Set Dolby NR Switch properly. • Clean them. • Replace tape. • Turn the POWER switch ON (- -) again, and then press the STOP ( ■ ) button. • Now, press the EJECT ( I' ) button to remove the cassette tape. 13
-
 1
1 -
2
-
3
-
4
-
5
-
 6
6 -
 7
7 -
 8
8 -
 9
9 -
 10
10 -
 11
11 -
 12
12 -
 13
13 -
 14
14 -
 15
15 -
 16
16 -
17
-
18
-
19
-
20
-
21
-
22
-
23
-
24
-
25
-
26
-
27
-
28
-
29
-
30
-
31
-
32
-
33
-
34
-
35
-
36
-
37
-
38
-
39
-
40
-
41
-
42
-
43
-
44
-
45
-
46
-
47
-
48
-
49
-
50
-
51
-
52
-
53
-
54
-
55
-
56
-
57
-
58
-
59
-
60
-
61
-
62
-
63
-
64
-
65
-
66
-
67
-
68
-
69
-
70
-
71
-
72
-
73
-
74
-
75
-
76
 |
 |