Denon DRW840 Operating Instructions - Page 9
English, Synchronized, Recording, Function
 |
UPC - 081577500643
View all Denon DRW840 manuals
Add to My Manuals
Save this manual to your list of manuals |
Page 9 highlights
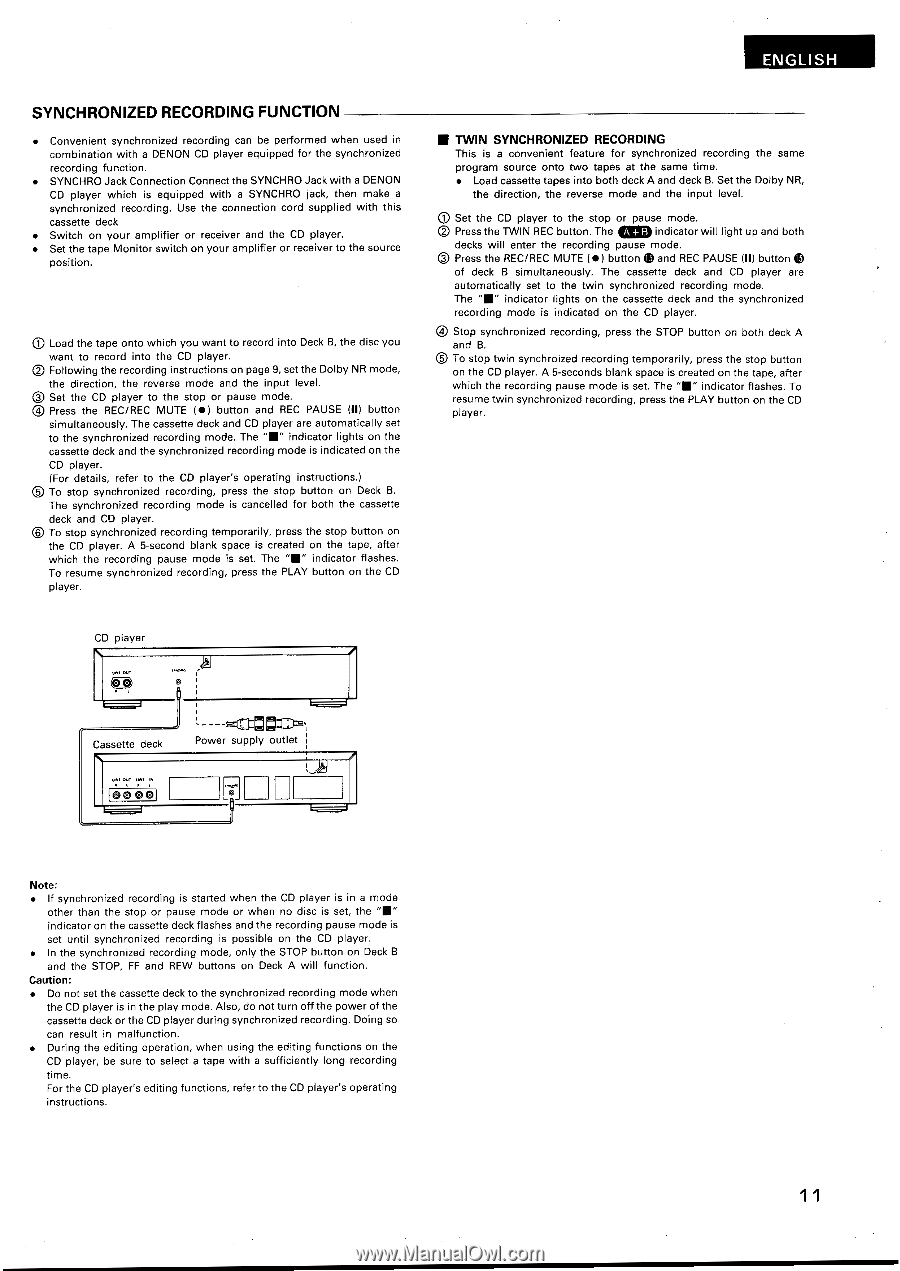
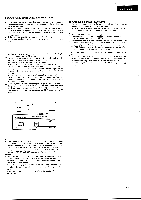
ENGLISH SYNCHRONIZED RECORDING FUNCTION • Convenient synchronized recording can be performed when used in combination with a DENON CD player equipped for the synchronized recording function. • SYNCHRO Jack Connection Connect the SYNCHRO Jack with a DENON CD player which is equipped with a SYNCHRO jack, then make a synchronized recording. Use the connection cord supplied with this cassette deck • Switch on your amplifier or receiver and the CD player. • Set the tape Monitor switch on your amplifier or receiver to the source position. O Load the tape onto which you want to record into Deck B, the disc you want to record into the CD player. ® Following the recording instructions on page 9, set the Dolby NR mode, the direction, the reverse mode and the input level. 0 Set the CD player to the stop or pause mode. ® Press the REC/REC MUTE (•) button and REC PAUSE (II) button simultaneously. The cassette deck and CD player are automatically set to the synchronized recording mode. The "■" indicator lights on the cassette deck and the synchronized recording mode is indicated on the CD player. (For details, refer to the CD player's operating instructions.) ® To stop synchronized recording, press the stop button on Deck B. The synchronized recording mode is cancelled for both the cassette deck and CD player. 0 To stop synchronized recording temporarily, press the stop button on the CD player. A 5-second blank space is created on the tape, after which the recording pause mode is set. The "■" indicator flashes. To resume synchronized recording, press the PLAY button on the CD player. ■ TWIN SYNCHRONIZED RECORDING This is a convenient feature for synchronized recording the same program source onto two tapes at the same time. • Load cassette tapes into both deck A and deck B. Set the Dolby NR, the direction, the reverse mode and the input level. O Set the CD player to the stop or pause mode. O Press the TWIN REC button. The A + B indicator will light up and both decks will enter the recording pause mode. O Press the REC/REC MUTE ( • ) button ® and REC PAUSE (II) button • of deck B simultaneously. The cassette deck and CD player are automatically set to the twin synchronized recording mode. The "■" indicator lights on the cassette deck and the synchronized recording mode is indicated on the CD player. ® Stop synchronized recording, press the STOP button on both deck A and B. ® To stop twin synchroized recording temporarily, press the stop button on the CD player. A 5-seconds blank space is created on the tape, after which the recording pause mode is set. The "■" indicator flashes. To resume twin synchronized recording, press the PLAY button on the CD player. CD player ♦ OUT 00 Cassette deck Power supply outlet I Lee 0 61 Note: • If synchronized recording is started when the CD player is in a mode other than the stop or pause mode or when no disc is set, the "■" indicator on the cassette deck flashes and the recording pause mode is set until synchronized recording is possible on the CD player. • In the synchronized recording mode, only the STOP button on Deck B and the STOP, FF and REW buttons on Deck A will function. Caution: • Do not set the cassette deck to the synchronized recording mode when the CD player is in the play mode. Also, do not turn off the power of the cassette deck or the CD player during synchronized recording. Doing so can result in malfunction. • During the editing operation, when using the editing functions on the CD player, be sure to select a tape with a sufficiently long recording time. For the CD player's editing functions, refer to the CD player's operating instructions. 11
-
 1
1 -
2
-
3
-
 4
4 -
 5
5 -
 6
6 -
 7
7 -
 8
8 -
 9
9 -
 10
10 -
 11
11 -
 12
12 -
 13
13 -
 14
14 -
15
-
16
-
17
-
18
-
19
-
20
-
21
-
22
-
23
-
24
-
25
-
26
-
27
-
28
-
29
-
30
-
31
-
32
-
33
-
34
-
35
-
36
-
37
-
38
-
39
-
40
-
41
-
42
-
43
-
44
-
45
-
46
-
47
-
48
-
49
-
50
-
51
-
52
-
53
-
54
-
55
-
56
-
57
-
58
-
59
-
60
-
61
-
62
-
63
-
64
-
65
-
66
-
67
-
68
-
69
-
70
-
71
-
72
-
73
-
74
-
75
-
76
 |
 |