Epson 755c User's Guide - Page 95
The Background Color appears around images that don't fill
 |
UPC - 010343855366
View all Epson 755c manuals
Add to My Manuals
Save this manual to your list of manuals |
Page 95 highlights
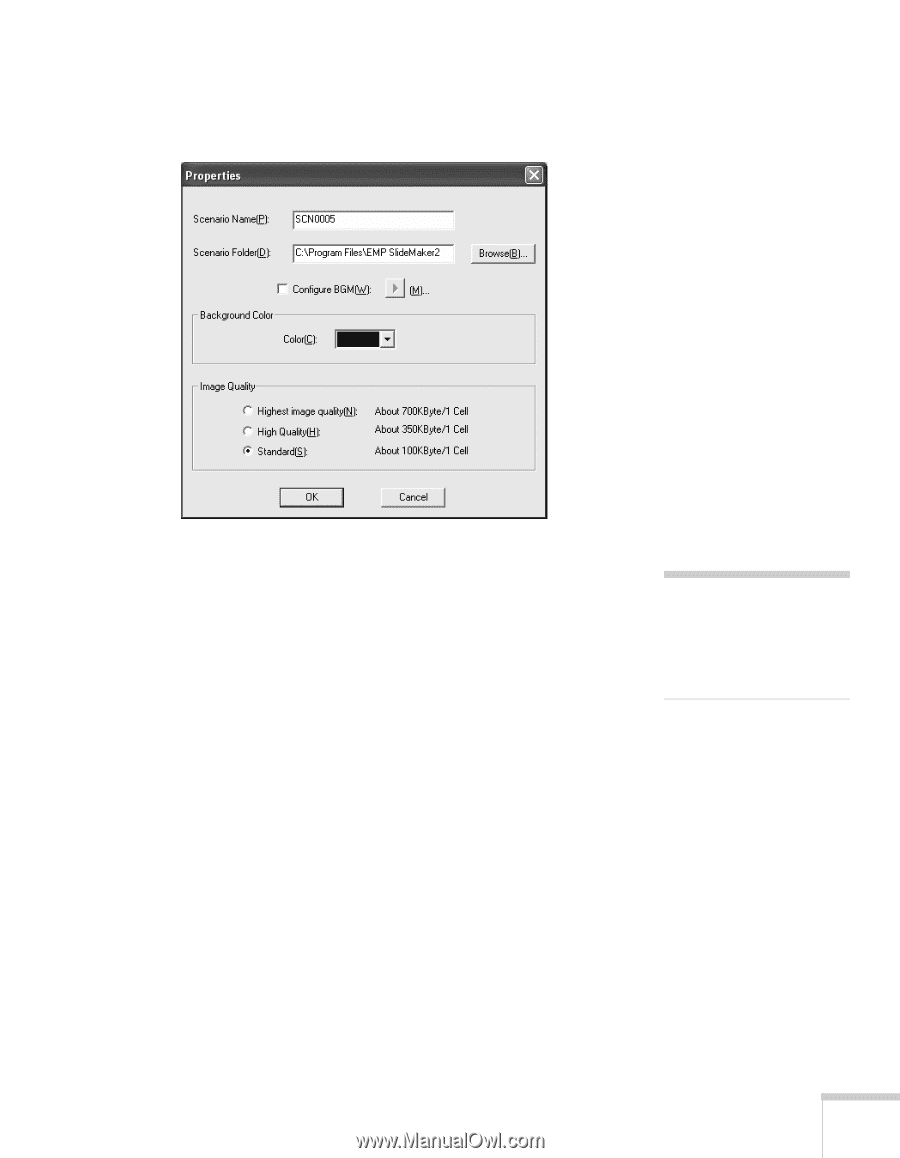
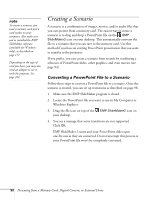
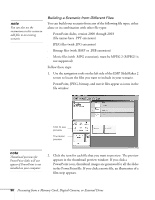
2. Choose New from the File menu. You see the scenario Properties dialog box: 3. Type a name for your scenario file and folder that's easy to remember, using up to eight capital letters and numbers. Then select from the following options: ■ The default location for the scenario file and folder is in the \Program Files\EMP SlideMaker2 folder. Click Browse to choose a new location. ■ Click Configure BGM(W) to play an audio file during the scenario. A selection screen appears letting you choose a .WAV file. After you select the file you want, click the arrow button to the right of the option to play it. ■ The Background Color appears around images that don't fill the entire screen area. Select a new color, if desired. ■ Select the Image Quality for imported PowerPoint slides. Higher-quality images look better on the screen but may take longer to appear. 4. Click OK. You return to the EMP SlideMaker 2 screen. Continue with the instructions in the next section to build your scenario. note The scenario name you enter is also the name of the folder for your scenario on your hard drive. Presenting from a Memory Card, Digital Camera, or External Drive 95
-
 1
1 -
2
-
3
-
4
-
5
-
6
-
7
-
8
-
9
-
10
-
11
-
12
-
13
-
14
-
15
-
16
-
17
-
18
-
19
-
20
-
21
-
22
-
23
-
24
-
25
-
26
-
27
-
28
-
29
-
30
-
31
-
32
-
33
-
34
-
35
-
36
-
37
-
38
-
39
-
40
-
41
-
42
-
43
-
44
-
45
-
46
-
47
-
48
-
49
-
50
-
51
-
52
-
53
-
54
-
55
-
56
-
57
-
58
-
59
-
60
-
61
-
62
-
63
-
64
-
65
-
66
-
67
-
68
-
69
-
70
-
71
-
72
-
73
-
74
-
75
-
76
-
77
-
78
-
79
-
80
-
81
-
82
-
83
-
84
-
85
-
86
-
87
-
88
-
89
-
 90
90 -
 91
91 -
 92
92 -
 93
93 -
 94
94 -
 95
95 -
 96
96 -
 97
97 -
 98
98 -
 99
99 -
 100
100 -
101
-
102
-
103
-
104
-
105
-
106
-
107
-
108
-
109
-
110
-
111
-
112
-
113
-
114
-
115
-
116
-
117
-
118
-
119
-
120
-
121
-
122
-
123
-
124
-
125
-
126
-
127
-
128
-
129
-
130
-
131
-
132
-
133
-
134
-
135
-
136
-
137
-
138
-
139
-
140
-
141
-
142
-
143
-
144
-
145
-
146
-
147
-
148
-
149
-
150
-
151
-
152
-
153
-
154
-
155
-
156
-
157
-
158
-
159
-
160
-
161
-
162
-
163
-
164
-
165
-
166
-
167
-
168
-
169
-
170
-
171
-
172
-
173
-
174
-
175
-
176
-
177
-
178
-
179
-
180
-
181
-
182
-
183
-
184
-
185
-
186
-
187
-
188
-
189
-
190
-
191
-
192
-
193
-
194
-
195
-
196
-
197
-
198
 |
 |