Epson LQ-300 User Manual - Page 69
Color Upgrade Kit
 |
View all Epson LQ-300 manuals
Add to My Manuals
Save this manual to your list of manuals |
Page 69 highlights
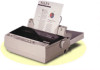
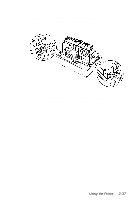
Color Upgrade Kit The optional Color Upgrade Kit (C83211*) includes a color ribbon cartridge and a motor unit. Here's how to install the kit: 1. Turn off the printer and remove the printer cover. If the original ribbon cartridge is installed, remove it. Then slide the connector cover on the printer and pull it out as shown. 2. Install the motor unit in the right hand corner of the printer, with the gear facing the center of the printer. Push it down firmly to fit the metal pins into the slots. Using the Printer 2-35
-
 1
1 -
2
-
3
-
4
-
5
-
6
-
7
-
8
-
9
-
10
-
11
-
12
-
13
-
14
-
15
-
16
-
17
-
18
-
19
-
20
-
21
-
22
-
23
-
24
-
25
-
26
-
27
-
28
-
29
-
30
-
31
-
32
-
33
-
34
-
35
-
36
-
37
-
38
-
39
-
40
-
41
-
42
-
43
-
44
-
45
-
46
-
47
-
48
-
49
-
50
-
51
-
52
-
53
-
54
-
55
-
56
-
57
-
58
-
59
-
60
-
61
-
62
-
63
-
 64
64 -
 65
65 -
 66
66 -
 67
67 -
 68
68 -
 69
69 -
 70
70 -
 71
71 -
 72
72 -
 73
73 -
 74
74 -
75
-
76
-
77
-
78
-
79
-
80
-
81
-
82
-
83
-
84
-
85
-
86
-
87
-
88
-
89
-
90
-
91
-
92
-
93
-
94
-
95
-
96
-
97
-
98
-
99
-
100
-
101
-
102
-
103
-
104
-
105
-
106
-
107
-
108
-
109
-
110
-
111
-
112
-
113
-
114
-
115
-
116
-
117
 |
 |
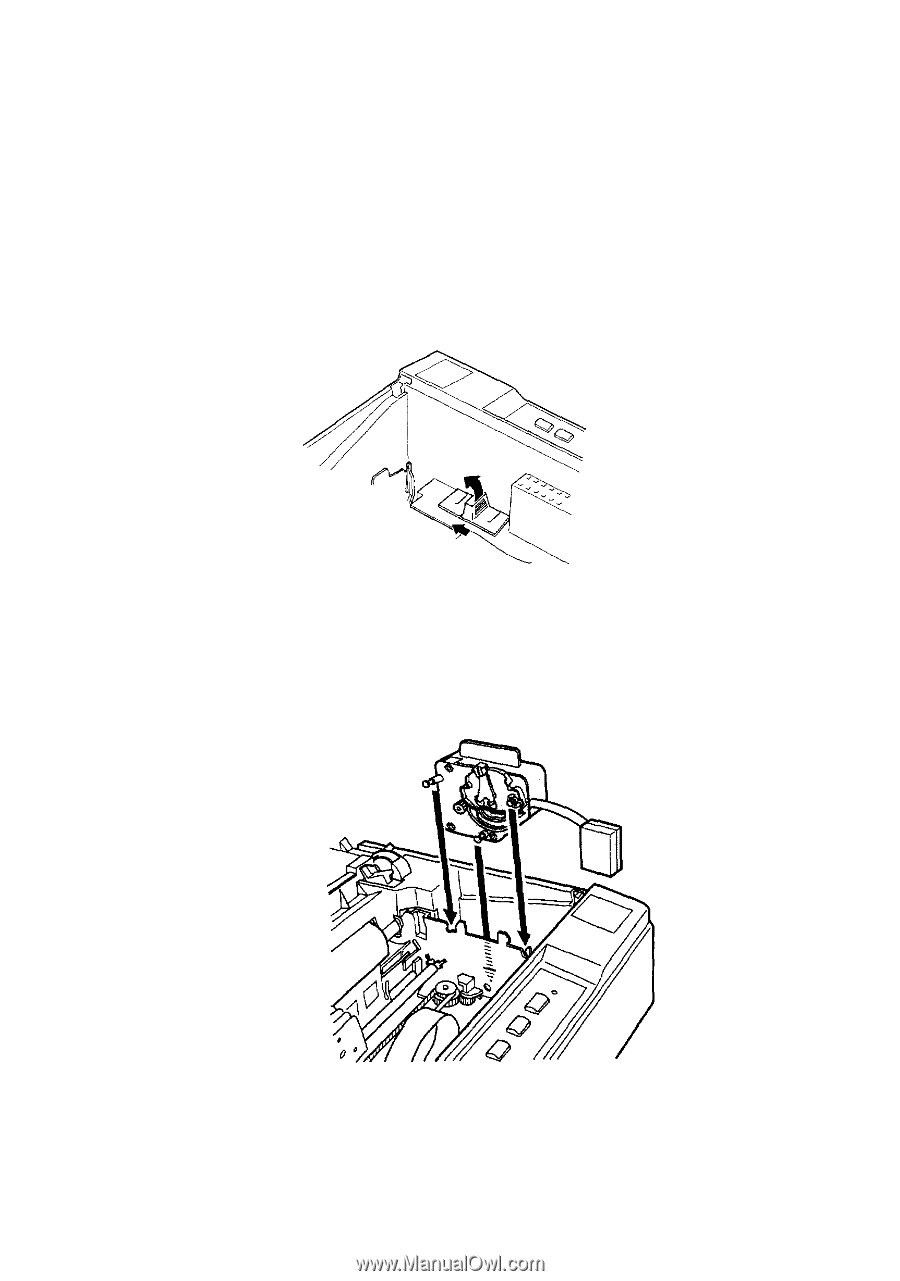
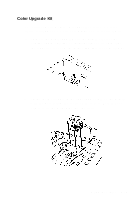
Color Upgrade Kit
The optional Color Upgrade Kit (C83211*) includes a color
ribbon cartridge and a motor unit. Here’s how to install the kit:
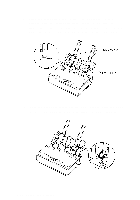
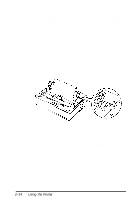
1.
Turn off the printer and remove the printer cover. If the
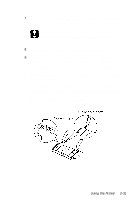
original ribbon cartridge is installed, remove it. Then slide
the connector cover on the printer and pull it out as shown.
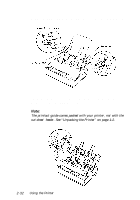
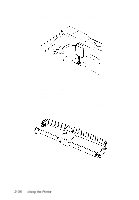
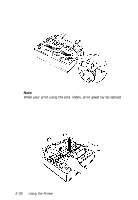
2.
Install the motor unit in the right hand corner of the printer,
with the gear facing the center of the printer. Push it down
firmly to fit the metal pins into the slots.
Using the Printer
2-35