Epson LQ-300 User Manual - Page 70
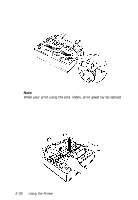
Turn the ribbon-tightening knob in the direction of the arrow, to remove any slack in the ribbon.
 |
View all Epson LQ-300 manuals
Add to My Manuals
Save this manual to your list of manuals |
Page 70 highlights
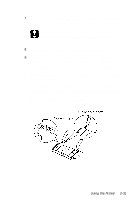
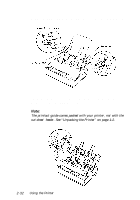
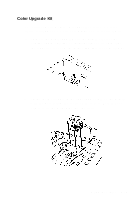
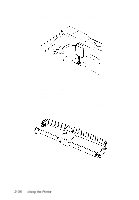
3. Insert the motor unit plug into the connector on the printer. 4. Slide the print head to the middle of the printer. Remove the retaining tape from the cartridge and then slide the movable ribbon guide on the color ribbon to the center of the cartridge. 5. Turn the ribbon-tightening knob in the direction of the arrow to remove any slack in the ribbon. 2-36 Using the Printer
-
 1
1 -
2
-
3
-
4
-
5
-
6
-
7
-
8
-
9
-
10
-
11
-
12
-
13
-
14
-
15
-
16
-
17
-
18
-
19
-
20
-
21
-
22
-
23
-
24
-
25
-
26
-
27
-
28
-
29
-
30
-
31
-
32
-
33
-
34
-
35
-
36
-
37
-
38
-
39
-
40
-
41
-
42
-
43
-
44
-
45
-
46
-
47
-
48
-
49
-
50
-
51
-
52
-
53
-
54
-
55
-
56
-
57
-
58
-
59
-
60
-
61
-
62
-
63
-
64
-
 65
65 -
 66
66 -
 67
67 -
 68
68 -
 69
69 -
 70
70 -
 71
71 -
 72
72 -
 73
73 -
 74
74 -
 75
75 -
76
-
77
-
78
-
79
-
80
-
81
-
82
-
83
-
84
-
85
-
86
-
87
-
88
-
89
-
90
-
91
-
92
-
93
-
94
-
95
-
96
-
97
-
98
-
99
-
100
-
101
-
102
-
103
-
104
-
105
-
106
-
107
-
108
-
109
-
110
-
111
-
112
-
113
-
114
-
115
-
116
-
117
 |
 |
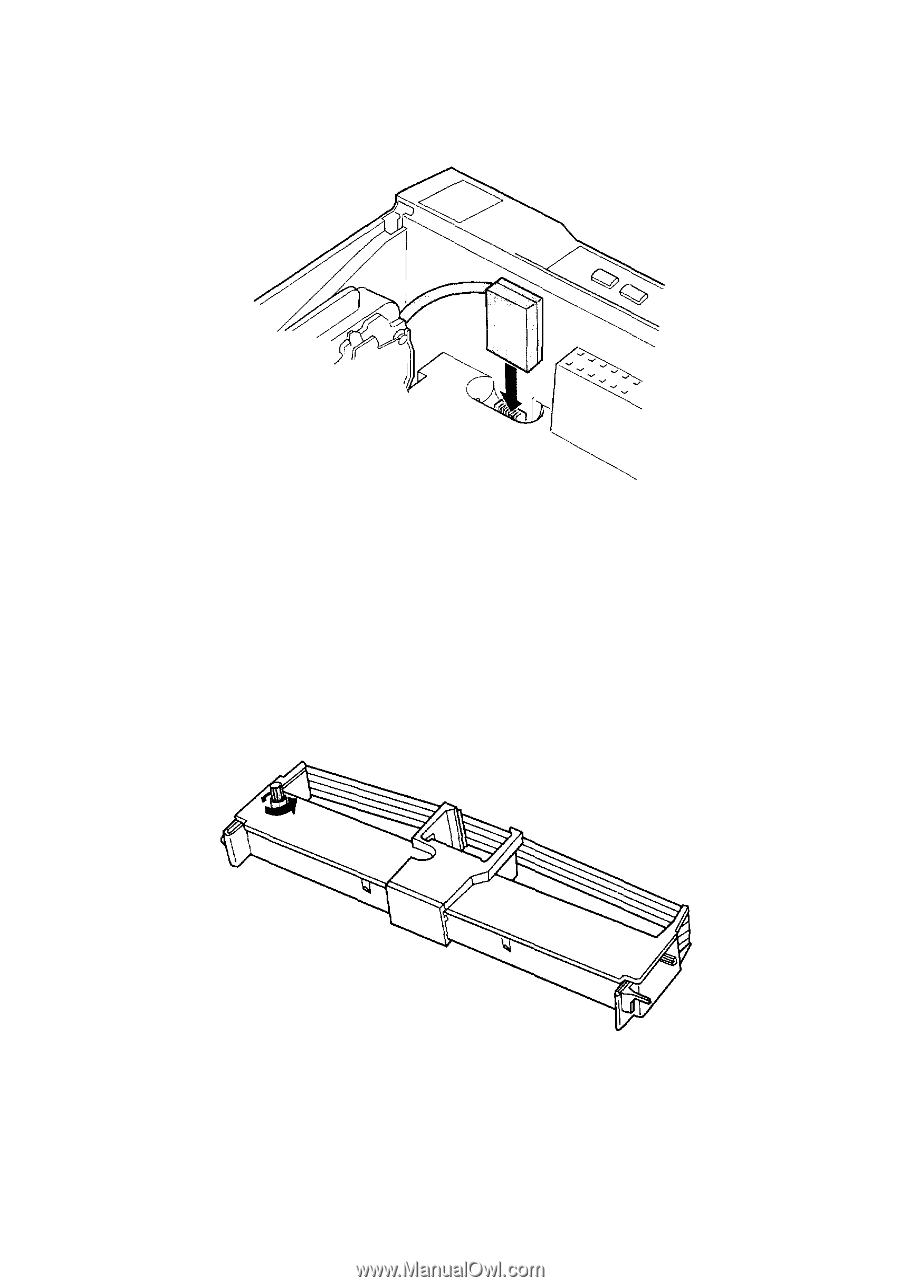
3.
Insert the motor unit plug into the connector on the printer.
4.
Slide the print head to the middle of the printer. Remove
the retaining tape from the cartridge and then slide the
movable ribbon guide on the color ribbon to the center of
the cartridge.
5.
Turn the ribbon-tightening knob in the direction of the arrow
to remove any slack in the ribbon.
2-36
Using the Printer