Epson PowerLite 9000NL User Manual - Page 140
Selecting User Logo Area window appears., Selecting Area, Save As, Sending, User Logo
 |
View all Epson PowerLite 9000NL manuals
Add to My Manuals
Save this manual to your list of manuals |
Page 140 highlights
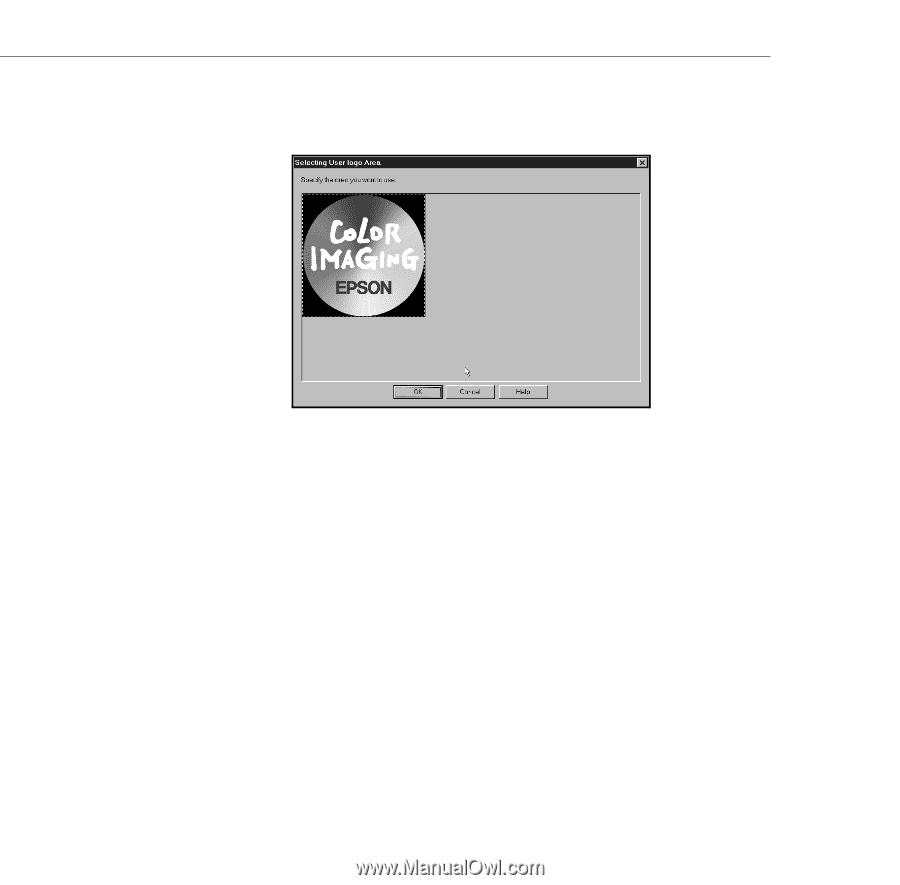
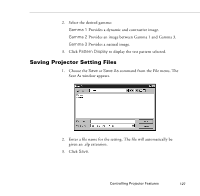
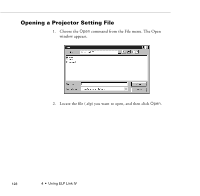
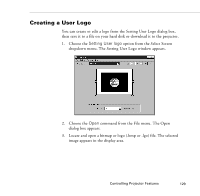
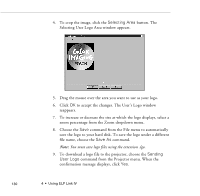
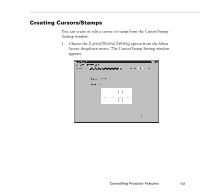
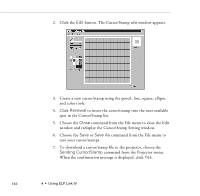
4. To crop the image, click the Selecting Area button. The Selecting User Logo Area window appears. 5. Drag the mouse over the area you want to use as your logo. 6. Click OK to accept the changes. The User's Logo window reappears. 7. To increase or decrease the size at which the logo displays, select a zoom percentage from the Zoom dropdown menu. 8. Choose the Save command from the File menu to automatically save the logo to your hard disk. To save the logo under a different file name, choose the Save As command. Note: You must save logo files using the extension .lgo. 9. To download a logo file to the projector, choose the Sending User Logo command from the Projector menu. When the confirmation message displays, click Yes. 130 4 • Using ELP Link IV
-
 1
1 -
2
-
3
-
4
-
5
-
6
-
7
-
8
-
9
-
10
-
11
-
12
-
13
-
14
-
15
-
16
-
17
-
18
-
19
-
20
-
21
-
22
-
23
-
24
-
25
-
26
-
27
-
28
-
29
-
30
-
31
-
32
-
33
-
34
-
35
-
36
-
37
-
38
-
39
-
40
-
41
-
42
-
43
-
44
-
45
-
46
-
47
-
48
-
49
-
50
-
51
-
52
-
53
-
54
-
55
-
56
-
57
-
58
-
59
-
60
-
61
-
62
-
63
-
64
-
65
-
66
-
67
-
68
-
69
-
70
-
71
-
72
-
73
-
74
-
75
-
76
-
77
-
78
-
79
-
80
-
81
-
82
-
83
-
84
-
85
-
86
-
87
-
88
-
89
-
90
-
91
-
92
-
93
-
94
-
95
-
96
-
97
-
98
-
99
-
100
-
101
-
102
-
103
-
104
-
105
-
106
-
107
-
108
-
109
-
110
-
111
-
112
-
113
-
114
-
115
-
116
-
117
-
118
-
119
-
120
-
121
-
122
-
123
-
124
-
125
-
126
-
127
-
128
-
129
-
130
-
131
-
132
-
133
-
134
-
 135
135 -
 136
136 -
 137
137 -
 138
138 -
 139
139 -
 140
140 -
 141
141 -
 142
142 -
 143
143 -
 144
144 -
 145
145 -
146
-
147
-
148
-
149
-
150
-
151
-
152
-
153
-
154
-
155
-
156
-
157
-
158
-
159
-
160
-
161
-
162
-
163
-
164
-
165
-
166
-
167
-
168
-
169
-
170
-
171
-
172
-
173
-
174
-
175
-
176
-
177
-
178
 |
 |