HP LaserJet Pro 200 HP LaserJet Pro 200 Color M251 - Software Technical Refere - Page 144
Detailed Mac installation, Overview, Continue
 |
View all HP LaserJet Pro 200 manuals
Add to My Manuals
Save this manual to your list of manuals |
Page 144 highlights
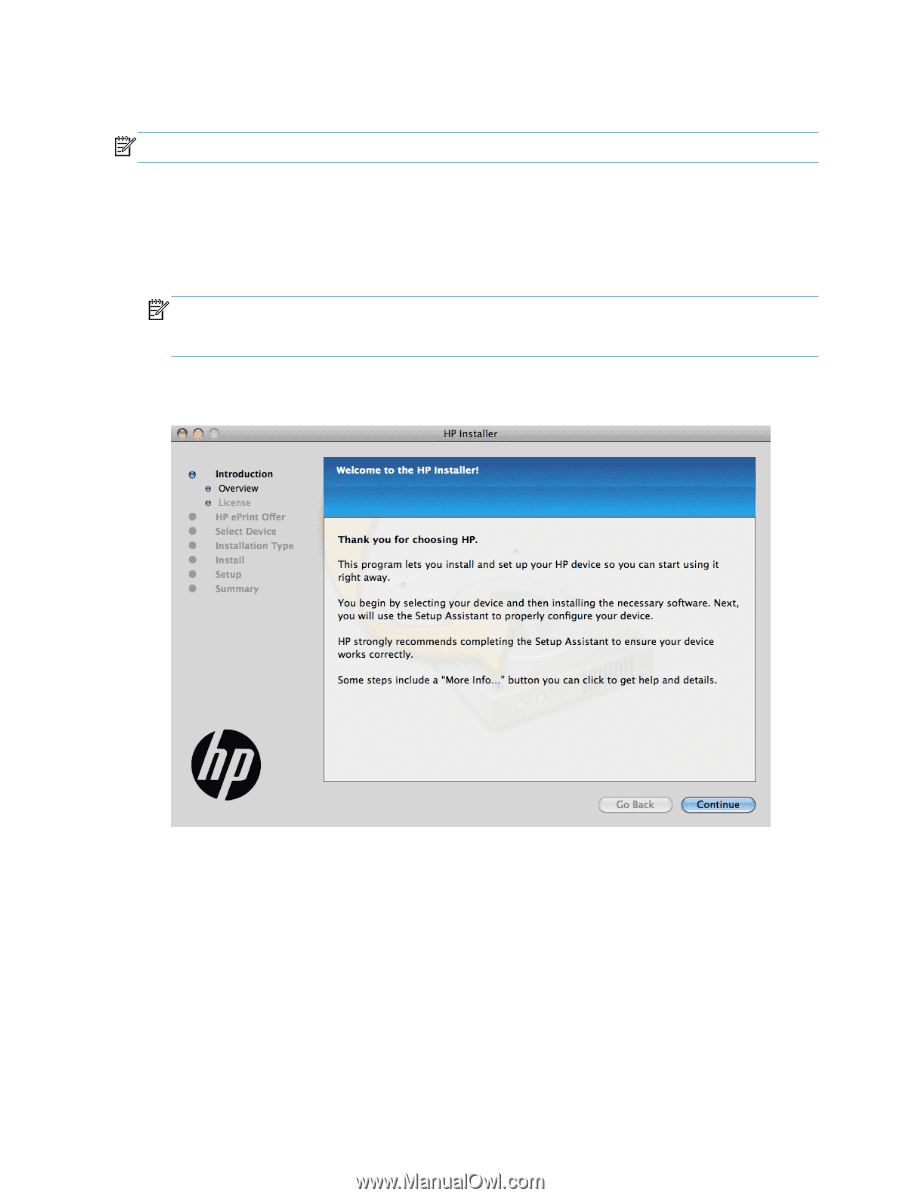
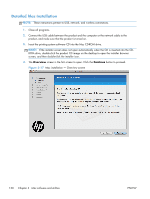
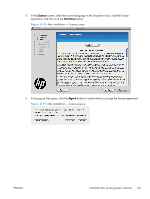
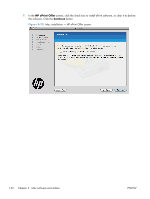
Detailed Mac installation NOTE: These instructions pertain to USB, network, and wireless connections. 1. Close all programs. 2. Connect the USB cable between the product and the computer or the network cable to the product, and make sure that the product is turned on. 3. Insert the printing system software CD into the Mac CD-ROM drive. NOTE: If the installer screen does not open automatically when the CD is inserted into the CDROM drive, double-click the product CD image on the desktop to open the installer browser screen, and then double-click the installer icon. 4. The Overview screen is the first screen to open. Click the Continue button to proceed. Figure 3-17 Mac installation - Overview screen 130 Chapter 3 Mac software and utilities ENWW
-
 1
1 -
2
-
3
-
4
-
5
-
6
-
7
-
8
-
9
-
10
-
11
-
12
-
13
-
14
-
15
-
16
-
17
-
18
-
19
-
20
-
21
-
22
-
23
-
24
-
25
-
26
-
27
-
28
-
29
-
30
-
31
-
32
-
33
-
34
-
35
-
36
-
37
-
38
-
39
-
40
-
41
-
42
-
43
-
44
-
45
-
46
-
47
-
48
-
49
-
50
-
51
-
52
-
53
-
54
-
55
-
56
-
57
-
58
-
59
-
60
-
61
-
62
-
63
-
64
-
65
-
66
-
67
-
68
-
69
-
70
-
71
-
72
-
73
-
74
-
75
-
76
-
77
-
78
-
79
-
80
-
81
-
82
-
83
-
84
-
85
-
86
-
87
-
88
-
89
-
90
-
91
-
92
-
93
-
94
-
95
-
96
-
97
-
98
-
99
-
100
-
101
-
102
-
103
-
104
-
105
-
106
-
107
-
108
-
109
-
110
-
111
-
112
-
113
-
114
-
115
-
116
-
117
-
118
-
119
-
120
-
121
-
122
-
123
-
124
-
125
-
126
-
127
-
128
-
129
-
130
-
131
-
132
-
133
-
134
-
135
-
136
-
137
-
138
-
 139
139 -
 140
140 -
 141
141 -
 142
142 -
 143
143 -
 144
144 -
 145
145 -
 146
146 -
 147
147 -
 148
148 -
 149
149 -
150
-
151
-
152
-
153
-
154
-
155
-
156
-
157
-
158
-
159
-
160
-
161
-
162
-
163
-
164
-
165
-
166
-
167
-
168
-
169
-
170
-
171
-
172
 |
 |