Panasonic NV-GS400 Operating Instructions - Page 19
Recording, About
 |
View all Panasonic NV-GS400 manuals
Add to My Manuals
Save this manual to your list of manuals |
Page 19 highlights
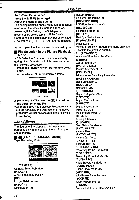
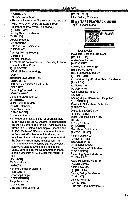
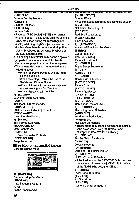
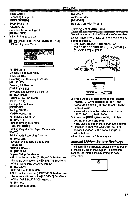
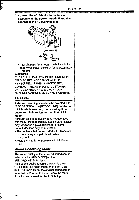
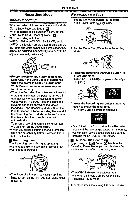
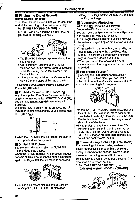
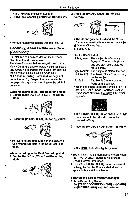
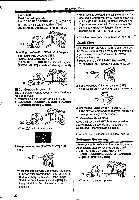
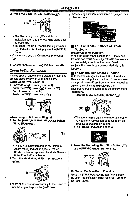
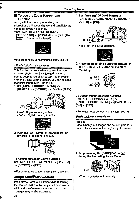
Recording Mode Recording Mode About Recording alaimmintamaimecaoRagaraxes [a ]. When recording pictures on a tape, set the Mode Dial to Tape Recording Mode When recording still pictures on a card, set the Mode Dial to Card Recording Mode [0]. When recording with the [AUTO/MANUAUAE LOCK] Switch (31) set to [AUTO], the Movie Camera automatically adjusts the focus and white balance. In some cases, they cannot be adjusted automatically and need to be adjusted manually. (-28-, -3,9-) Recording on a Tape 1 Set the [OFF/ON] Switch OA) to [ON]. •The Power Lamp 4s lights up. (5) o 48 O O 2 Set the Mode Dial (D to Tape Recording Mode. NJTO O (31) 'AE LOCK •Before turning on the power, remove the Lens Cap. If the Lens Cap Is still attached when the power is turned on, Automatic White Balance Adjustment (-28.) may not function correctly. •When the Recording Pause Mode continues for more than 6 minutes, the power is turned off automatically for tape protection and power conservation. (If the AC Adaptor is used, the power is turned off only when the tape Is Inserted in Tape Recording Mode.) When the tape is inserted in Tape Recording Mode and if the Recording Pause Mode continues for more than 6 minutes, the power is turned off automatically. To resume recording from this condition, turn off, then turn on the power again. •When you record pictures under a fluorescent lamp, the screen may flicker. However, this is not a malfunction. II Recording Lamp The Recording Lamp (1_4) lights up during recording and alerts those being recorded that recording is in progress. 3 Press the Recording Start/Stop Button (g). • Recording starts. • After the [RECORD] is displayed, it changes to [REC]. (47 REC RECORD O 4 Press the Recording Start/Stop Button (i,/) again to pause the recording. •The [PAUSE] Indication is displayed. ...rje!pIAUSE •Even if the Mode Dial is set to Tape Recording Mode and the recording to a tape is In progress, you can also record a still picture on a card by pressing the [PHOTO SHOT] Button. To Check the Recording By pressing the [E]] Button (p) briefly in the Recording Pause Mode, you can play back the last few seconds of the recorded scene. O •The Recording Lamp does not light up if the [REC LAMP] on the [INITIAL] Sub-Menu is set to [OFF]. L 0 •The [CHK] Indication is displayed. After checking, the Movie Camera resumes the Recording Pause Mode. • For other notes concerning this item, see -54-. 19
-
 1
1 -
2
-
3
-
4
-
5
-
6
-
7
-
8
-
9
-
10
-
11
-
12
-
13
-
 14
14 -
 15
15 -
 16
16 -
 17
17 -
 18
18 -
 19
19 -
 20
20 -
 21
21 -
 22
22 -
 23
23 -
 24
24 -
25
-
26
-
27
-
28
-
29
-
30
-
31
-
32
-
33
-
34
-
35
-
36
-
37
-
38
-
39
-
40
-
41
-
42
-
43
-
44
-
45
-
46
-
47
-
48
-
49
-
50
-
51
-
52
-
53
-
54
-
55
-
56
-
57
-
58
-
59
-
60
-
61
-
62
-
63
-
64
-
65
-
66
-
67
-
68
-
69
-
70
 |
 |
