Panasonic NV-GS400 Operating Instructions - Page 32
Using, Pop-up, Flash, Adjusting
 |
View all Panasonic NV-GS400 manuals
Add to My Manuals
Save this manual to your list of manuals |
Page 32 highlights
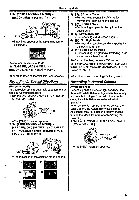
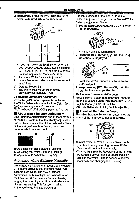
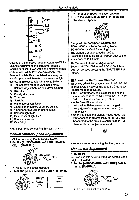
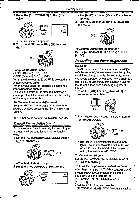
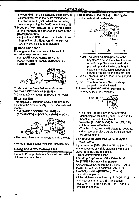
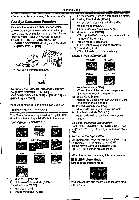
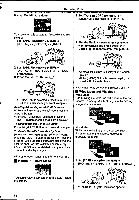
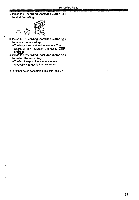
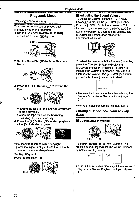
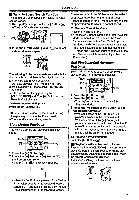
Recording Mode the sound will not be distorted at the maximum volume level. When the Zoom Microphone Function is set to [ON], adjust the recording level after pushing the [W/T] Lever toward [T]. 3 Press the [1010-] Button CD or [44] Button IC) to Increase or decrease the bars of the [GAIN] Indication. *Adjust the [GAIN] value so that the last three Bars of the [LEVEL (MIC)] will not light red. (Otherwise, the Sound is distorted.) • Bass Enhancer It strengthens the lower area of the audio to record more powerful audio. 1 Set [TAPE RECORDING MENU]» [ADVANCED] » [BASS ENHANCE] » [3dB] or [6dB]. a C4 II To Cancel the Bass Enhancer Function Set [TAPE RECORDING MENU] » [ADVANCED] » [BASS ENHANCE] » [0dB]. • Colour Bar This displays 7 colour bars which are useful for adjusting the picture quality of the TV or external monitor. 1 Set [TAPE RECORDING MENU] » [ADVANCED] » [COLOUR BAR] » [ON]. a 16 •The colour bars are not recorded onto the card. • For other notes concerning this item, see -58- Using the Auto Pop-up Flash The Auto Pop-up Flash enables you to record still pictures in a dark place. 1 Repeatedly press the [S] Button C) to select a desired flash mode. C)s 0 1) 2) 3) 1) Auto: The Movie Camera perceives the brightness around the subject and the Auto Pop-up Flash is automatically popped up and activated. (In bright places, the indication disappears and the Auto Pop-up Flash does not light.) 2) OFF: The Auto Pop-up Flash Is not popped up and activated. 3) ON: The Auto Pop-up Flash is always popped up and activated. 2 Press the [PHOTO SHOT] Button (a) halfway to pop up the Flash. (52) MD EC" v al p •The Auto Pop-up Flash is not activated depending on the setting on the flash and the brightness around the subject. 3 Press the [PHOTO SHOT] Button (D fully which is pressed halfway. •The flash lights and a still picture is recorded. *After recording, close the Auto Pop-up Flash by pressing on it. To Activate the Auto Pop-up Flash by the [STILL] Button If you press the [STILL] Button (D in Step 2, the image becomes still. (It is cancelled when you press the [STILL] Button again.) Record your favourite scene. Adjusting Brightness of the Video Flash Set [TAPE RECORDING MENU] or [CARD RECORDING MENU] » [CAMERA] » _ [FLASH LEVEL] » a desired Flash Level. •Normally, set it to [NORMAL]. (The [t] Indication appears.) •11the brightness is not enough in [NORMAL] setting, set It to [+] (the [S+] Indication appears), if it is too much, set it to [-] (the [S-] Indication appears). 32
-
 1
1 -
2
-
3
-
4
-
5
-
6
-
7
-
8
-
9
-
10
-
11
-
12
-
13
-
14
-
15
-
16
-
17
-
18
-
19
-
20
-
21
-
22
-
23
-
24
-
25
-
26
-
 27
27 -
 28
28 -
 29
29 -
 30
30 -
 31
31 -
 32
32 -
 33
33 -
 34
34 -
 35
35 -
 36
36 -
 37
37 -
38
-
39
-
40
-
41
-
42
-
43
-
44
-
45
-
46
-
47
-
48
-
49
-
50
-
51
-
52
-
53
-
54
-
55
-
56
-
57
-
58
-
59
-
60
-
61
-
62
-
63
-
64
-
65
-
66
-
67
-
68
-
69
-
70
 |
 |
