Panasonic NV-GS400 Operating Instructions - Page 25
Backlight, Compensation, Function, Night, Functions
 |
View all Panasonic NV-GS400 manuals
Add to My Manuals
Save this manual to your list of manuals |
Page 25 highlights
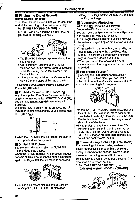
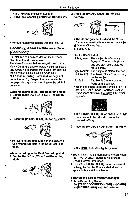
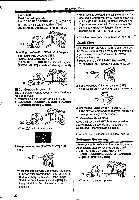
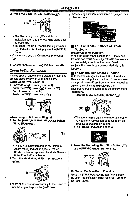
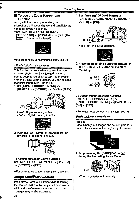
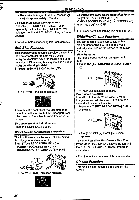
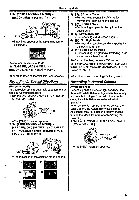
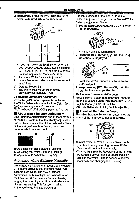
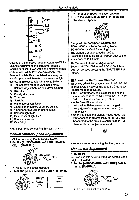
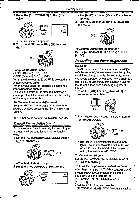
Recording Mode 2 When the Image is completely gone, press the Recording Start/Stop Button (47) to start recording. •The [Its] Indication flashes and then is displayed. *The entire screen becomes brighter. CID 3 Release the [FADE] Button (jT) about 3 seconds after starting recording. •The image reappears gradually. Fade Out Fade Out causes images and sounds to disappear gradually, leaving a black screen at the end of a scene. • • -* ST r.771. 4 7".MII ILA• ^4 44 1 ...AA, To Resume Normal Recording Press the [BACK LIGHT] Button. *For other notes concerning this item, see -56-. Night View Functions Super Colour Night Vfew Function This function allows you to record colour images brightly in a dark place. 1 Press the [COLOUR NIGHT VIEW] Button (13) until the [C.NIGHT VIEW] Indication appears. 1 Keep pressing the [FADE] Button (2ii while recording. L) •The image fades out gradually. 2 When the image is completely gone, press the Recording Start/Stop Button (ED to stop recording. ) 9 0 Lux Night View Function Using the LCD Monitor light, a dark scene of almost 0 lux can be recorded. 1 Press the [COLOUR NIGHT VIEW] Button CiD until the [0LUX NIGHT VIEW] Indication appears. 3 Release the [FADE] Button (20). 4 41 1C.NIGHT VIEW OlittH/X •The still picture cannot fade in or fade out. Backlight Compensation Function This prevents the subject from being recorded too darkly when backlit. (Backlight is the light that shines from behind the subject being recorded.) 1 Press the [BACK LIGHT] Button *The [REVERSE THE LCD MONITOR] Indication appears. 2 Rotate the LCD Monitor frontward (to the lens side). 0 Pt 0 ni LIGHT •The screen becomes white and the Viewfinder turns on. 25
-
 1
1 -
2
-
3
-
4
-
5
-
6
-
7
-
8
-
9
-
10
-
11
-
12
-
13
-
14
-
15
-
16
-
17
-
18
-
19
-
 20
20 -
 21
21 -
 22
22 -
 23
23 -
 24
24 -
 25
25 -
 26
26 -
 27
27 -
 28
28 -
 29
29 -
 30
30 -
31
-
32
-
33
-
34
-
35
-
36
-
37
-
38
-
39
-
40
-
41
-
42
-
43
-
44
-
45
-
46
-
47
-
48
-
49
-
50
-
51
-
52
-
53
-
54
-
55
-
56
-
57
-
58
-
59
-
60
-
61
-
62
-
63
-
64
-
65
-
66
-
67
-
68
-
69
-
70
 |
 |
